Most beginner filmmakers believe the same myth: you need a gimbal to get cinematic footage. It’s the first piece of gear that gets recommended in every forum, every YouTube comment section, and every “starter kit” list online.
Here’s the truth — gimbals are expensive, finicky, and often slow you down when you need to move fast. Between the setup time, the charging, the calibration, and the sheer bulk of carrying one around, a gimbal can actually work against you in real-world shooting situations.
The good news? Smooth, cinematic shots without a gimbal are completely achievable. Professional filmmakers, documentary directors, and full-time content creators do it every single day using a combination of body mechanics, smart camera settings, affordable gear, and post-production tools.
In this guide, you’ll get a complete breakdown of every technique, tool, and setting you need to stabilize your video and shoot cinematic footage — no gimbal required.
What Makes a Shot “Cinematic”? (Understanding the Goal First)
Before diving into techniques, it helps to understand what “cinematic” actually means. A lot of creators chase it without knowing what they’re really after.
Cinematic footage is defined by a few core qualities:
- Smooth, controlled motion — no jarring bumps or unintended shake
- Intentional camera movement — every move has a purpose and a direction
- Strong composition and framing — rule of thirds, leading lines, foreground depth
- Natural motion blur — achieved through proper shutter speed settings
- A consistent visual rhythm — shots feel deliberate, not reactive
Stabilization is just one piece of this puzzle. You could have perfectly steady footage that still looks nothing like cinema because of poor composition, bad lighting, or wrong settings. Keep that in mind as you work through this guide — technique and creativity matter just as much as your gear.
Why You Don’t Actually Need a Gimbal
Let’s address the myth head-on.
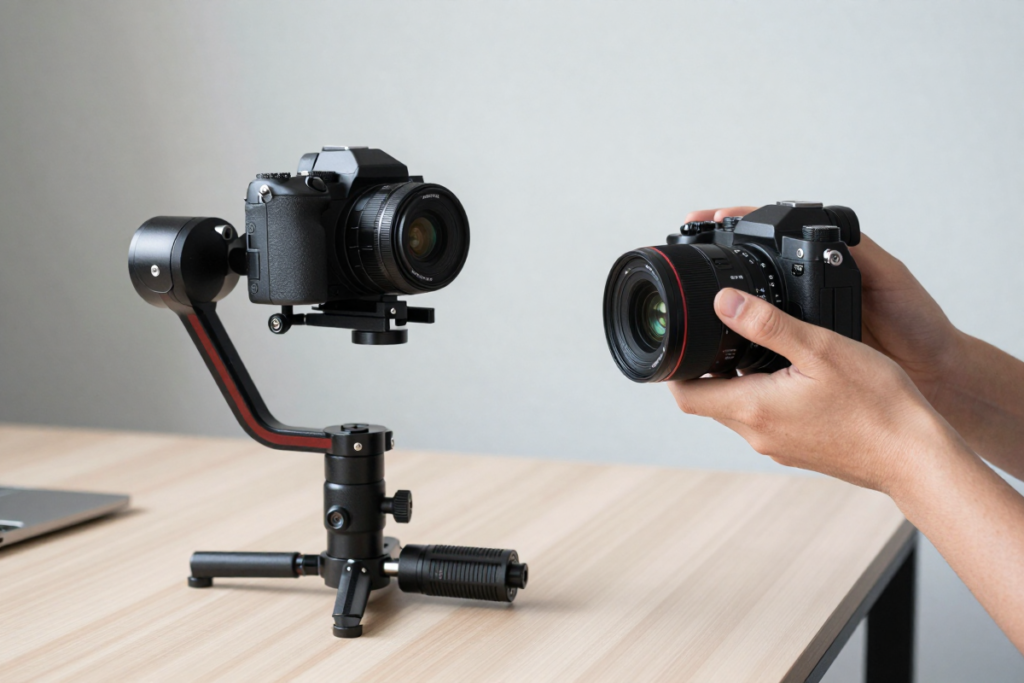
Gimbals range from $100 for a basic smartphone model to $500+ for a DSLR or mirrorless setup. For a beginner trying to improve their footage, that’s a significant investment — especially when the same money could go toward better lenses, lighting, or audio gear that will have a far bigger impact on your overall production quality.
Beyond cost, gimbals come with real limitations:
- Setup time kills spontaneous shots and run-and-gun filming
- Battery dependency means you can always be caught unprepared
- Size and weight restrict travel, street filming, and one-person operations
- Learning curve — a poorly calibrated gimbal can make footage look worse
Some of the most visually striking footage you’ve ever seen was shot handheld. Think documentary filmmaking, indie cinema, street photography-style video. The handheld aesthetic, when controlled, actually adds energy and authenticity that a perfectly smooth gimbal shot sometimes lacks.
The goal isn’t to fake a gimbal. It’s to develop real skill.
Core Principles of Stable Handheld Footage
This is the foundation everything else builds on. Master these body mechanics, and you’ll immediately see a difference in your footage — without spending a single dollar.
Master the “Ninja Walk” Technique
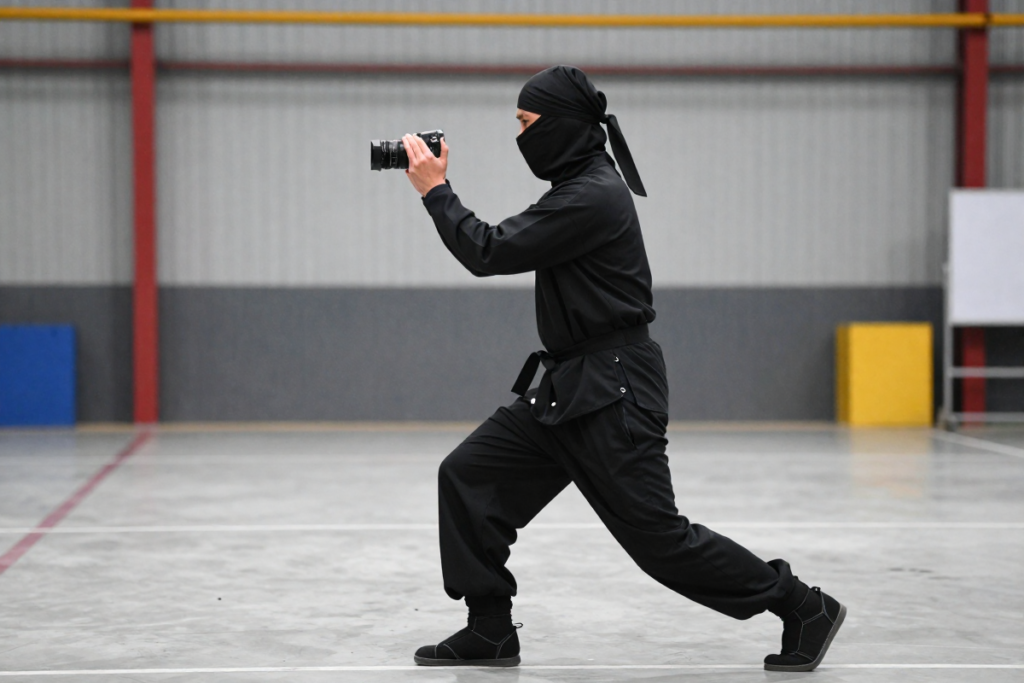
The ninja walk is the most important handheld filming technique you can learn. It’s exactly what it sounds like: move like a ninja.
- Bend your knees slightly — this lowers your center of gravity and absorbs vertical bounce
- Step heel-to-toe — rolling through each step eliminates the up-down bobbing that makes handheld footage look amateurish
- Keep your torso completely still — your legs act as shock absorbers while your upper body floats
- Slow down — move at roughly half the speed that feels natural
Practice this without a camera first. Walk across a room in slow motion, focusing on keeping your eye level perfectly stable. Once you can do that consistently, add the camera.
Use Your Body as a Stabilizer
Your body is a remarkably effective stabilization system when you use it correctly.
- Tuck your elbows tightly into your ribcage — this creates a rigid two-point contact system that dramatically reduces side-to-side shake
- Control your breathing — exhale slowly and hold slightly before critical moments; don’t hold your breath entirely as tension causes micro-shake
- Widen your stance for stationary shots — a wider base gives you a more stable platform
- Use a two-handed grip whenever possible — one hand on the body, one supporting the lens
Control Your Movement Speed
One of the most common mistakes in handheld filmmaking is moving too fast. Every movement — pans, tilts, push-ins — should be slower than what feels natural in the moment.
A useful trick: if you plan to move your camera across a scene in three seconds, practice doing it in six. You can always speed it up slightly in edit, but you can’t easily slow down jerky motion without it looking unnatural.
Camera Settings That Instantly Make Footage Look Cinematic
Technique matters, but your camera settings can either work with you or against you. Here are the three most important settings for smooth handheld cinematic video.
Shoot at Higher Frame Rates (60fps or 120fps)
Shooting at 60fps or 120fps and slowing the footage down to 24fps in post is one of the most effective ways to hide handheld camera shake. When footage is played back at half or quarter speed, imperfections in motion become far less visible — and the slow-motion effect itself adds a cinematic quality that’s hard to achieve any other way.
Use 60fps for subtle slow motion and natural movement. Use 120fps when you want dramatic slow motion or you’re shooting fast-moving subjects where even tiny shake becomes visible at normal speed.
Use Proper Shutter Speed (The 180-Degree Rule)
The 180-degree shutter rule is a fundamental principle of cinematic video. Your shutter speed should be set to approximately double your frame rate:
- Shooting at 24fps → shutter speed at 1/50
- Shooting at 60fps → shutter speed at 1/120
- Shooting at 120fps → shutter speed at 1/250
This creates natural motion blur that mimics the way film cameras have always captured movement. Footage shot with too high a shutter speed looks clinical and harsh — the opposite of cinematic. This single setting change can transform the feel of your footage immediately.
Turn On Built-In Stabilization (If Available)
Most modern cameras offer some form of stabilization — and it’s worth understanding what you’re working with.
- IBIS (In-Body Image Stabilization) — found in cameras like the Sony a7 series, Fujifilm X-T5, and others, IBIS physically moves the sensor to counteract camera movement. It’s highly effective for handheld shooting.
- OIS (Optical Image Stabilization) — built into certain lenses, this stabilizes at the lens level and works well in combination with IBIS.
- Digital/Electronic Stabilization (EIS) — crops into your image to digitally smooth movement. Effective but costs you field of view and some image quality.
For best results, use IBIS + OIS together when your camera and lens support it, and leave digital stabilization as a backup option or for post-production.
Budget Gear That Replaces a Gimbal
If you want a hardware solution that doesn’t cost $400, these options give you stability, mobility, and professional results at a fraction of the price.
Tripods with Fluid Heads
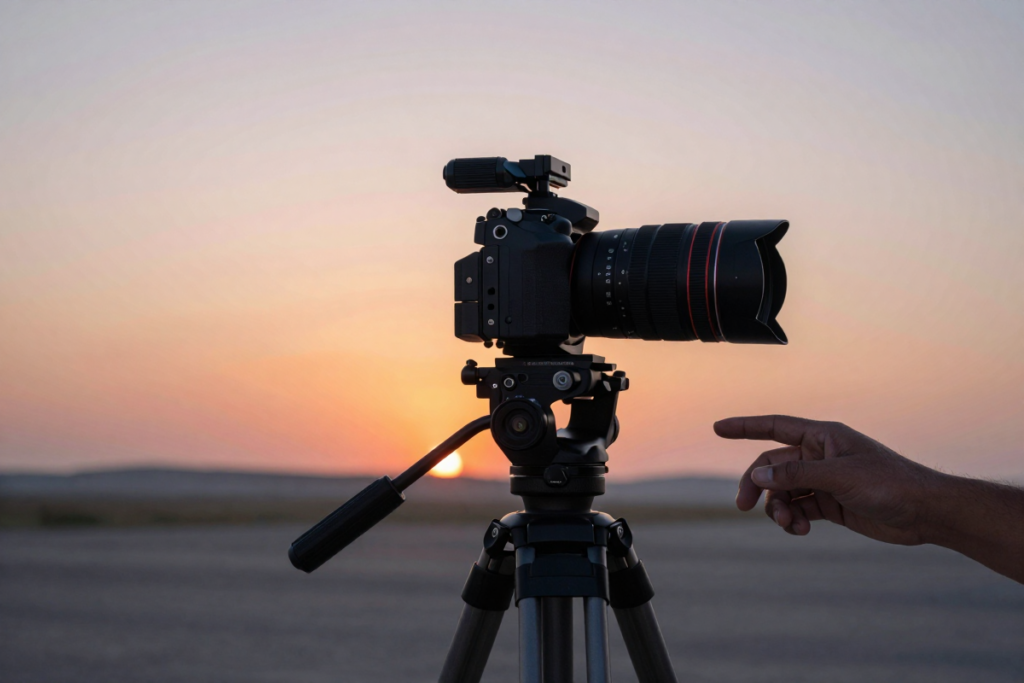
A tripod with a fluid drag head allows you to execute buttery smooth pans and tilts that a basic tripod simply cannot do. The fluid mechanism creates resistance that you control, resulting in professional-looking camera movements.
Best for: interviews, static shots, slow reveals, and controlled panning.
👉 [Fluid Head Tripod Recommendation]
Monopods for Mobility
A monopod is one of the most underrated tools in a solo filmmaker’s kit. It supports the weight of your camera, reduces vertical shake dramatically, and still allows you to move quickly from shot to shot. It’s far more mobile than a tripod and far more stable than going fully handheld.
Great for events, travel filmmaking, street shooting, and sports.
👉 [Video Monopod Recommendation]
Shoulder Rigs
A shoulder rig distributes the weight of your camera across your shoulder and both hands, creating multiple points of contact that dramatically improve stability. The added mass also helps dampen vibrations — heavier systems are naturally more resistant to small movements.
Shoulder rigs give your footage a classic cinema feel and are a genuine gimbal alternative for medium-length takes.
👉 [Shoulder Rig Recommendation]
Camera Straps for Tension Shooting
This DIY trick is surprisingly effective and costs almost nothing. Attach a camera strap to your camera, step on the other end (or loop it under your foot), and pull upward slightly to create tension. This downward resistance stabilizes the camera against unwanted movement.
It’s not a perfect solution, but for run-and-gun situations where you need something fast, it genuinely works.
👉 [Camera Strap Recommendation]
Creative Ways to Stabilize Your Shots Without Extra Gear
Some of the best stabilization “gear” is already around you.
Use Your Environment
- Lean your body against a wall for stationary or slow-moving shots — the wall becomes your tripod
- Rest the camera on a surface — tables, fences, car hoods, rocks, and ledges all make excellent improvised supports
- Use railings for sliding shots — rest the camera on a smooth railing and push slowly for a DIY slider effect
Lock-Off Shots (Intentional Static)
Sometimes the most cinematic choice is to not move at all. A perfectly still, well-composed shot reads as intentional and controlled. Cut between multiple locked-off angles and your edit will feel dynamic even if no individual shot involves camera movement.
Slide Instead of Walk
Instead of walking through a scene, find smooth surfaces and slide along them. Floors, countertops, or any flat surface can become a DIY slider if you move slowly and deliberately. Place the camera on a small cloth or slick surface and push gently for smooth horizontal movement.
Cinematic Camera Movements You Can Do Without a Gimbal
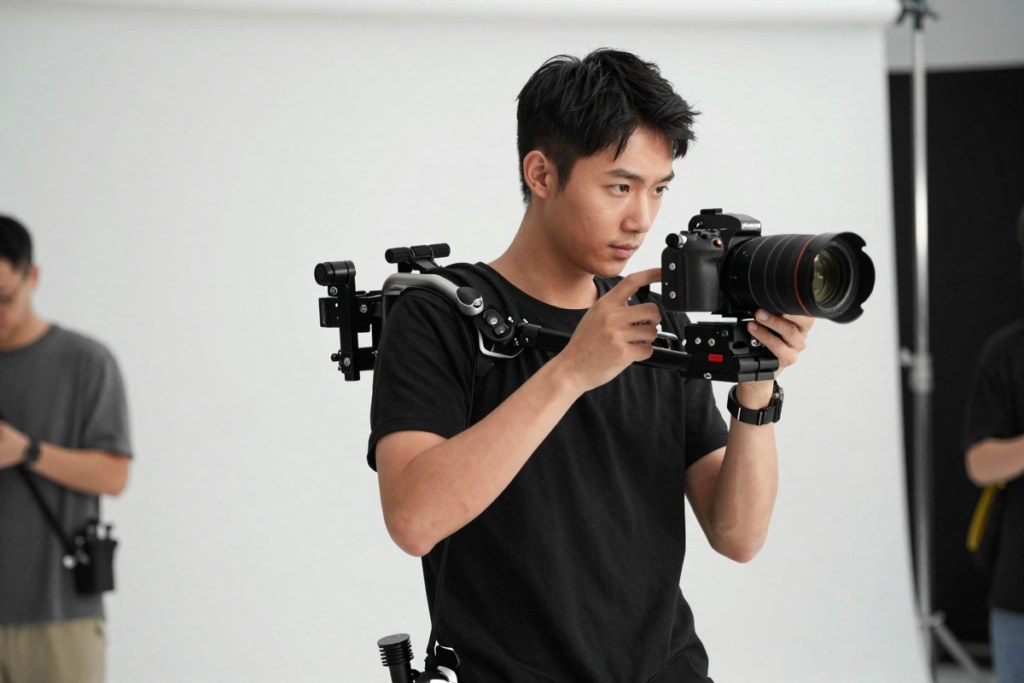
These are the movements that define cinematic video — and all of them are achievable handheld with the right technique.
Push-In / Pull-Out: Slow forward or backward movement toward or away from a subject. Move from your hips, not your arms. Keep your eye line steady.
Panning Shots: Pivot your body smoothly from the waist. Plant your feet, and let your upper body rotate — don’t shuffle your feet mid-pan. Start and end the pan with a beat of stillness.
Reveal Shots: Begin behind an object — a wall, a tree, a doorframe — and slowly move to reveal your subject. These shots add narrative depth and are remarkably easy to execute handheld.
Tracking Shots: Follow your subject at a consistent distance using the ninja walk technique. Maintain the same spatial relationship throughout the shot. Focus on the subject’s movement rhythm and match it.
Use Lenses to Your Advantage
Your lens choice has a direct impact on how stable your handheld footage looks.
Wider Lenses = Smoother Footage
Wide-angle lenses (24mm, 16mm, and below on a full-frame sensor) naturally hide camera shake because small movements translate to very little change in the frame. A telephoto lens, by contrast, amplifies every tiny motion dramatically.
If handheld stability is a priority, shoot wider whenever your composition allows it.
Prime vs Zoom Lenses
Prime lenses are typically lighter, sharper, and often include optical stabilization. Zoom lenses add weight and mechanical complexity. For handheld shooting, a stabilized prime lens is usually the better choice for clean, smooth footage.
Recommended Budget Lenses for Handheld Video
👉 [Wide Angle Prime Lens Recommendation]
👉 [Budget Stabilized Lens Recommendation]
Stabilization in Post-Production (Fix It in the Edit)
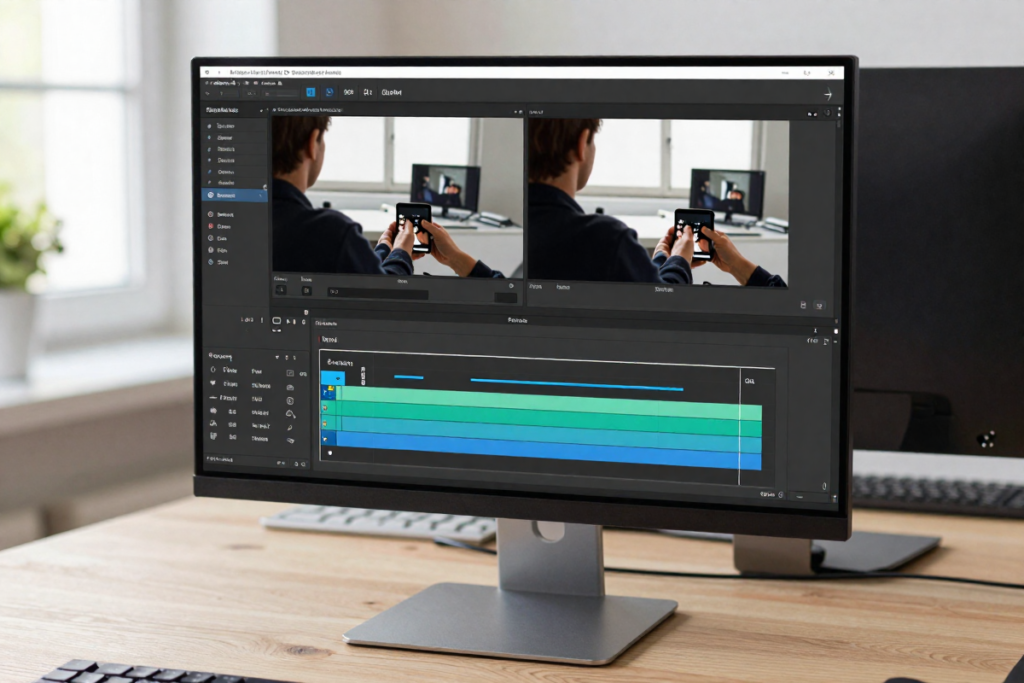
Even with great technique, some shots will need a stabilization pass in post. Here’s what works.
Built-In Software Stabilization
- Adobe Premiere Pro — Warp Stabilizer: Apply it to your clip, let it analyze, and adjust the smoothness and crop settings to taste. Set it to “No Motion” for locked shots or “Smooth Motion” for handheld feel. Be cautious with aggressive settings — warping artifacts can appear at high levels.
- Final Cut Pro — SmoothCam: Similar functionality, easy to apply, and works well for moderate shake.
- DaVinci Resolve — Stabilization (free): Found in the Color page under the Tracker panel. Excellent results and free to use.
Mobile Apps for Stabilization
For phone footage, CapCut offers a free stabilization tool that works well for moderate shake. Gyroflow is an open-source option that uses gyroscope data for extremely precise stabilization — ideal for action or travel footage.
When NOT to Over-Stabilize
Software stabilization has limits. Pushing it too hard creates a “jello” effect — wobbly, warped edges that look worse than the original shake. If your footage is extremely shaky, the better solution is to reshoot it, not over-process it. Use stabilization as a polish tool, not a rescue tool.
Common Mistakes That Ruin Cinematic Footage
Avoid these and you’ll already be ahead of most beginners:
- Moving too fast — slow every movement down significantly
- Not planning shots in advance — improvised camera movements rarely look intentional
- Poor posture while shooting — hunching causes instability; stand tall, core engaged
- Ignoring composition — a stable but poorly framed shot is still a bad shot
- Over-relying on post stabilization — fix it in camera first, always
Pro Tips to Instantly Upgrade Your Footage

These are the details that separate good footage from great footage:
- Add foreground elements — shooting through objects in the foreground adds depth and dimension that looks inherently cinematic
- Shoot during golden hour — the hour after sunrise and before sunset gives you warm, directional light that flatters almost any subject
- Use manual focus — autofocus hunting is jarring and looks amateurish; lock your focus and control it yourself
- Shoot multiple takes — professionals always do; your best take is rarely your first
- Build a shot list — know what you need before you start shooting; intention shows on screen
When You Should Actually Use a Gimbal
To be balanced: gimbals do have their place. If you’re in any of these situations, a gimbal is worth the investment:
- Weddings and live events where you have one take and zero margin for error
- Fast-moving subjects like athletes or vehicles where body mechanics can’t keep up
- Complex multi-axis tracking shots that require mechanical precision
- Extended continuous takes where physical fatigue would degrade handheld quality over time
For everything else — especially if you’re still developing your filmmaking skills — the techniques in this guide will serve you better than any piece of gear.
Conclusion
The best filmmakers in the world understand one thing that beginners often miss: skill always outperforms gear. A gimbal in the hands of someone who doesn’t understand composition, movement, or timing produces mediocre footage. The ninja walk technique, proper shutter speed settings, and a $40 monopod in the hands of someone who’s practiced? That produces footage that looks professional.
Start with the body mechanics. Master the 180-degree shutter rule. Pick up a fluid head tripod or a monopod. Learn how to use Warp Stabilizer in post. Build those skills one layer at a time, and your footage will improve faster than you think.
👉 Check out our recommended gear list to find the best budget filmmaking tools for your setup. [Gear Roundup Page]
📖 Related Reads:
- Must-Have Budget Filmmaking Accessories (Gear List)
- DSLR vs Mirrorless for Filmmaking (What Actually Matters?)
- Movie Making: How to Use What You Have Such as Natural Light, Free Locations & Non-Actors
Frequently Asked Questions
Can you shoot cinematic video handheld?
Yes — with proper body mechanics like the ninja walk technique, correct camera settings (180-degree shutter rule, higher frame rates), and tools like a monopod or shoulder rig, you can achieve smooth, professional-looking handheld footage without a gimbal.
What is the best alternative to a gimbal?
The best alternatives depend on your use case. For mobility, a monopod is excellent. For controlled movements, a fluid head tripod is ideal. For a cinema feel, a shoulder rig distributes weight and adds stability. For fixing footage after the fact, Warp Stabilizer in Premiere Pro is highly effective.
How do filmmakers stabilize shots without a gimbal?
Professional filmmakers use a combination of body technique (ninja walk, breathing control, wide stance), camera settings (IBIS, OIS, high frame rates), physical tools (monopods, shoulder rigs, environmental supports), and post-production stabilization software.
Is image stabilization enough for cinematic handheld video?
IBIS combined with optical lens stabilization is highly effective for most handheld shooting scenarios. For dynamic movement or long tracking shots, you’ll want to layer in body technique as well. Digital (electronic) stabilization works as a secondary option but crops your image.
What frame rate is best for handheld cinematic footage?
Shoot at 60fps or 120fps and slow it down to 24fps in post. The slow motion playback naturally smooths out handheld imperfections while adding a cinematic quality to your footage.
Disclaimer: This article contains affiliate links. If you purchase an item through the link I will earn a small commission at no extra cost to you.
Leave a Reply