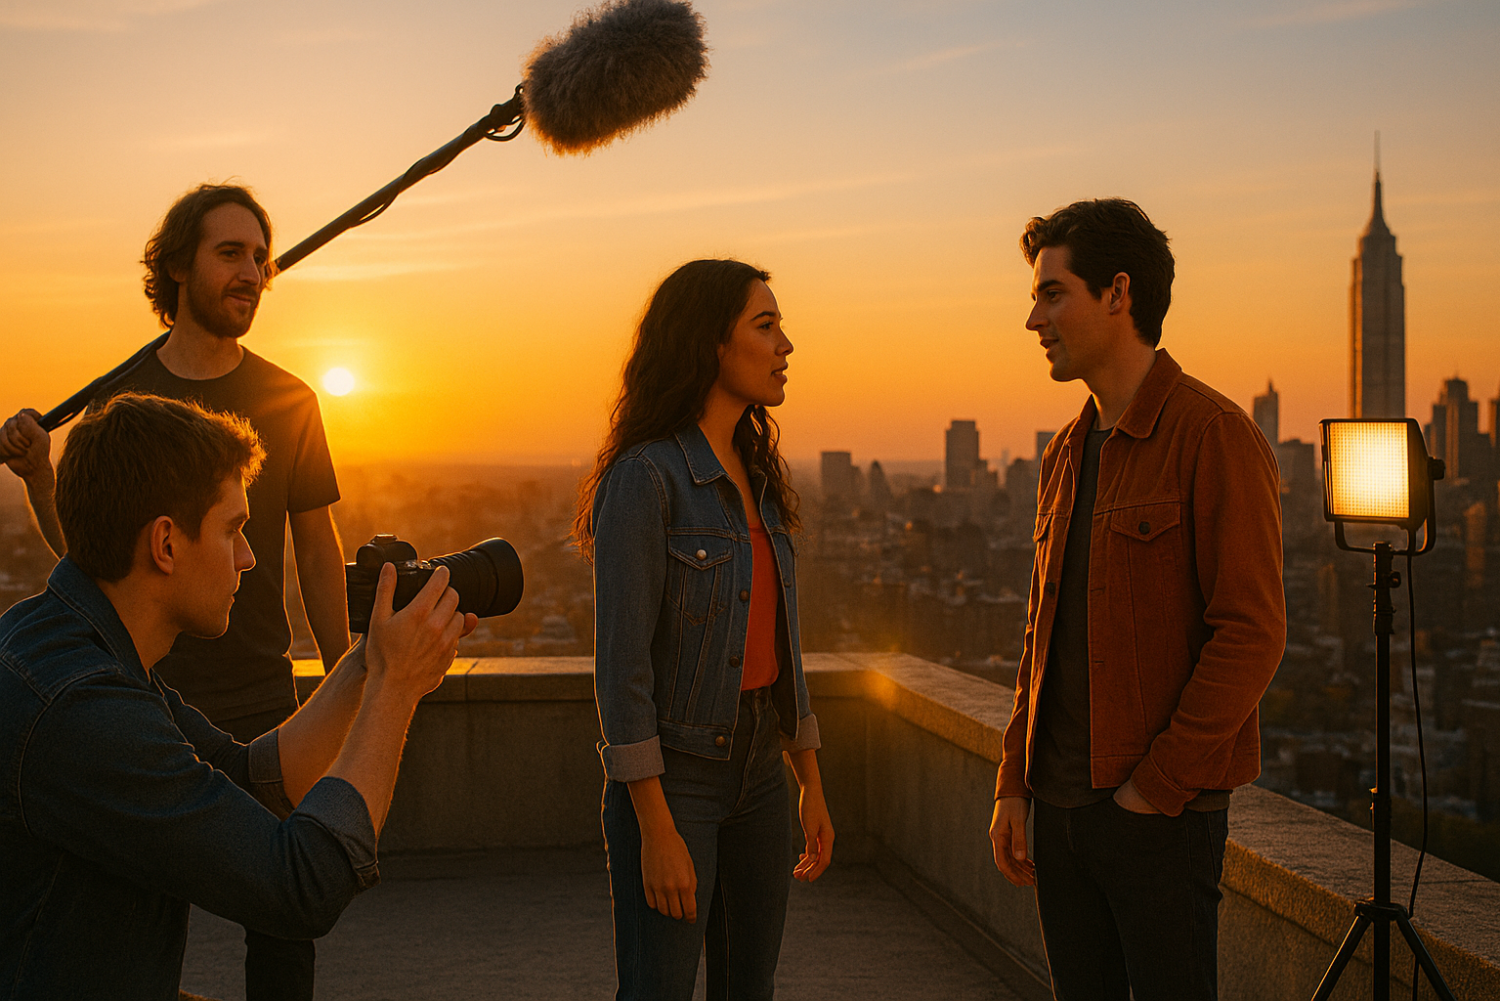
You don’t need a Hollywood budget, a professional crew, or a rented studio to make a great film. In fact, some of the most compelling, authentic, and visually stunning movies ever made were shot with nothing more than available sunlight, real-world locations, and everyday people in front of the camera.
If you’ve been waiting until you can “afford” to start filmmaking, this guide is your wake-up call. Whether you’re working on a short film, a YouTube series, a documentary, or any type of no budget video production, the tools you already have access to are more powerful than you think. In otherwords, stop dreaming about it and just do it!
In this post, we’ll walk through the three core pillars of low budget filmmaking: mastering natural light, finding and using free filming locations, and getting great performances from non-actors. By the end, you’ll have a clear, actionable workflow to start creating cinematic content — starting today.
Why Constraints Make You More Creative
Here’s something film school doesn’t always teach you: limitations are a feature, not a bug.
Some of the most celebrated films in cinema history were born out of constraint. The Italian Neorealism movement of the 1940s used real streets, real buildings, and non-professional actors to create raw emotional truth. The Dogme 95 movement intentionally banned artificial lighting and studio sets to force filmmakers back to authenticity. More recently, Sean Baker shot Tangerine entirely on an iPhone, and The Florida Project featured a largely non-professional cast — both films earned widespread critical acclaim.
When you can’t throw money at a problem, you’re forced to think creatively. That leads to:
- Faster production — fewer variables, simpler setups, quicker decisions
- More authentic content — real environments and real people resonate with audiences
- Accelerated skill development — every constraint teaches you something a budget can’t buy
Constraint-based filmmaking isn’t a compromise. It’s a philosophy. And once you embrace it, your storytelling will improve dramatically.
Let’s start with your most powerful free tool…
Mastering Natural Light: Your #1 Free Resource
Natural light filmmaking is one of the most searched and least fully understood topics in DIY content creation. Here’s what you actually need to know.
Understanding Natural Light Basics
Not all sunlight is created equal. The time of day you shoot has an enormous impact on the look and feel of your footage.
- Golden Hour (the hour after sunrise and before sunset) produces warm, soft, directional light that is flattering, cinematic, and low-contrast. This is the sweet spot for available light cinematography.
- Midday Sun is harsh and creates strong shadows, particularly under eyes and chins. Avoid it for close-ups unless you’re using shade or diffusion.
- Overcast Days act as a natural giant softbox. The clouds diffuse the sunlight evenly, eliminating hard shadows. This is ideal for interviews, emotional scenes, or any footage where you want soft, consistent exposure.
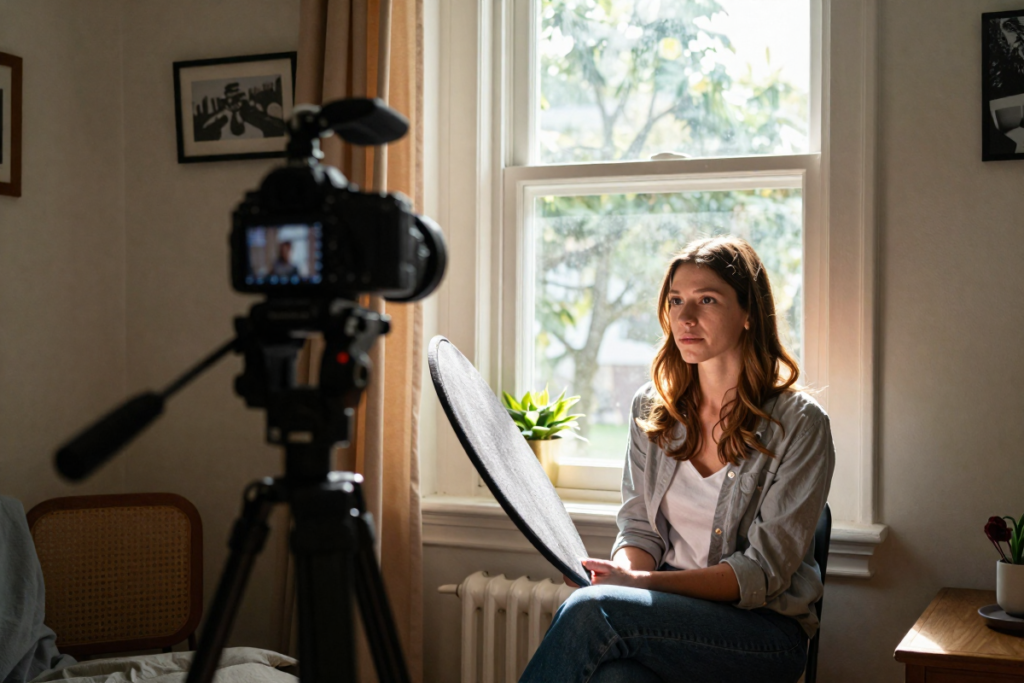
Indoors, natural window light can be just as beautiful — but you need to understand its direction. A subject facing a window gets beautiful, even front light. Position them at 90 degrees for a dramatic side-lit look. Backlighting (window behind the subject) creates a silhouette effect or a glowing rim light.
How to Shape and Control Natural Light
You don’t need expensive equipment to modify natural light. Here’s what works:
- White walls naturally bounce and soften light throughout a room
- Bedsheets or white curtains act as diffusers when hung over windows to soften harsh sunlight
- Foam boards (available at any dollar or craft store) work as DIY reflectors to bounce light back onto a subject’s face
- Moving your subject closer or further from the window dramatically changes exposure and contrast
[Budget-friendly 5-in-1 reflector/diffuser kit ]
[Entry-level smartphone tripod or camera tripod ]
Common Natural Light Mistakes to Avoid
- Shooting at noon outdoors without shade or diffusion creates unflattering shadows
- Mixed lighting indoors — combining window light with warm artificial bulbs creates unpleasant color casts. Turn off indoor lights or correct in post
- Ignoring continuity — natural light changes throughout the day. Plan to shoot scenes in the same lighting window back-to-back, or embrace the change as an intentional stylistic choice
- Overexposing highlights — keep an eye on your histogram or zebra patterns to avoid blown-out windows or sky
Finding and Using Free Locations for Filming
One of the biggest myths in low budget filmmaking is that you need to rent a location to make your film look professional. The truth? Free filming locations are everywhere — you just need to know how to find and use them.
Where to Look for Free Locations
Your own home is the most underrated film set available. With smart framing and a little staging, different rooms, corners, and even hallways can become entirely distinct “sets.” A kitchen table becomes a boardroom. A bedroom window becomes a dramatic character moment.
Beyond your home:
- Friends’ and family homes — different architecture, furniture, and natural light give you variety without cost
- Public parks and outdoor spaces — open to filming in most jurisdictions without a permit for small, non-commercial productions
- Libraries and community centers — often permit quiet filming during off-hours
- Local businesses — approach them with a proposal to film in exchange for a shoutout, feature in the video, or social media tag. Many small business owners are happy to say yes
How to Make Any Location Look Cinematic

A cinematic look has less to do with where you are and more to do with how you frame it.
- Use depth — place subjects away from walls so backgrounds fall out of focus. Even a smartphone can create this effect
- Declutter ruthlessly — remove anything that doesn’t serve the scene. Visual noise pulls attention away from your subject
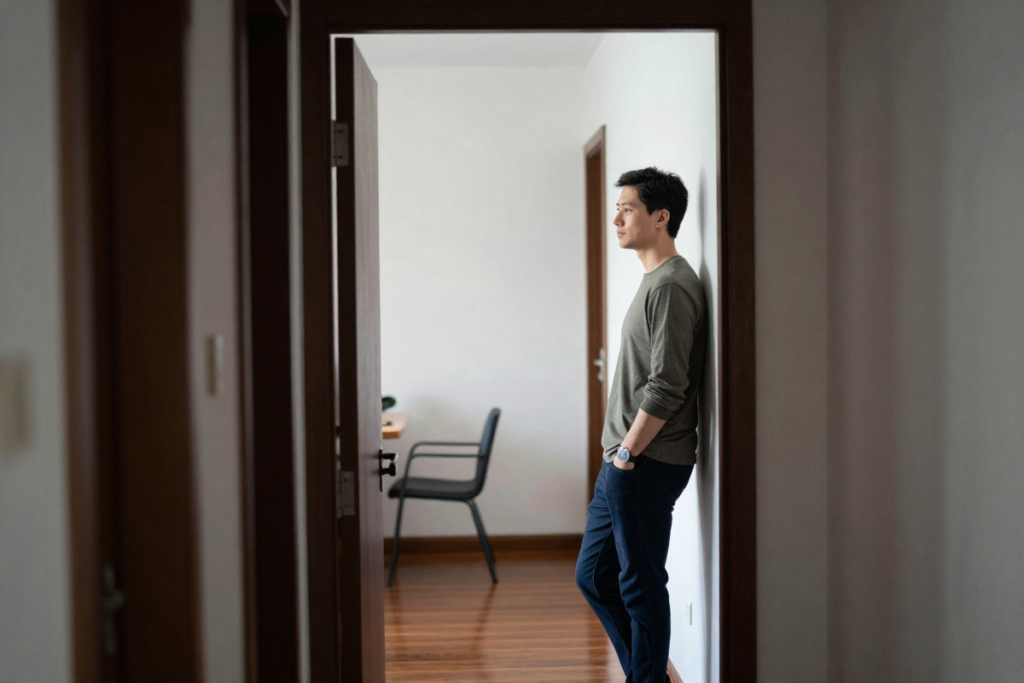
- Use leading lines — doorframes, hallways, roads, and fences naturally draw the eye toward your subject
- Control your background — a slightly blurred background with interesting shapes or color instantly elevates the look of your footage
Legal and Practical Considerations
Guerrilla filmmaking in public spaces is common, but it comes with some considerations:
- Most public spaces like parks and sidewalks allow filming for personal or non-commercial use without a permit. Commercial productions often require one — check your local city or county guidelines
- Private property always requires permission — even if it looks abandoned
- Noise and crowds are your biggest practical enemies. Scout locations at the time of day you plan to shoot to assess both
- Permit requirements vary by state and city — a quick search for “[your city] film permit” will give you the official local rules
📌 Internal link opportunity: [Beginner’s Guide to Location Scouting on a Zero Budget]
Transforming One Location into Multiple Scenes
Here’s a professional trick: shoot different angles, focal lengths, and lighting setups within the same space to create the illusion of multiple distinct locations. Swap a prop, change the background, adjust the curtains. Your single-bedroom apartment can become three or four completely different “sets” with the right approach.
Working with Non-Actors (And Getting Great Performances)
This is where many first-time filmmakers stumble — and where you can gain a significant edge. Directing non-professional actors, or casting from your community, is a skill that separates good low budget films from great ones.
Why Non-Actors Can Actually Be Better
Training can create polish, but polish can also create distance. Non-actors bring emotional authenticity that trained performers sometimes have to work hard to recapture. This is why documentaries feel so immediate, why cinema vérité moved audiences, and why films like Nomadland and Beasts of the Southern Wild resonate so deeply — real people bring real truth.
For audience-facing content, YouTube videos, short films, and branded storytelling, relatable over polished almost always wins.
How to Direct Non-Actors Effectively
The number one rule: don’t direct them like actors.
- Give simple, clear instructions in plain language. Instead of “find your motivation,” say “you just got good news and you’re trying not to smile.”
- Avoid technical jargon entirely. “Hit your mark” means nothing to someone who’s never been on set.
- Use real-life scenarios instead of scripts when possible. Give them the situation and let them respond naturally. Improvisation techniques often yield surprisingly cinematic results.
- Frame directions as questions or invitations, not commands. “What would you do if…” opens people up far more than “Now do this.”
Techniques to Make People Comfortable on Camera
Camera anxiety is real. Here’s how to reduce it:
- Start with a warm-up conversation before you hit record. Ask them about their day, their interests, something they’re excited about. Let them forget the camera is there.
- Keep individual takes short so they never feel overwhelmed. Multiple short takes are easier to work with in the edit anyway.
- Normalize imperfection on set. Laugh off mistakes. The moment people stop trying to be perfect, they start being real.
- Show them their footage occasionally. Seeing that they look great is the fastest confidence builder available.
Common Mistakes to Avoid When Working with Non-Actors
- Over-directing — giving too many notes between takes causes people to perform instead of react
- Expecting perfection on the first take — plan for 5–10 takes and treat early ones as warm-ups
- Not capturing enough coverage — shoot more angles and more reactions than you think you need. Non-actors are unpredictable, which means your best material might show up when you least expect it
Putting It All Together: A Simple Workflow
Pre-Production: Planning with What You Have
- Scout your locations at the same time of day you plan to shoot — assess the light, the noise, and the logistics
- Build a shot list organized around light — plan to shoot golden hour exteriors first, overcast-day scenes on cloudy days, and indoor window scenes during mid-morning when light is soft but present
- Cast thoughtfully — choose people who are comfortable around you and naturally expressive. Energy matters more than experience
Production: Shoot Day Tips
- Shoot in lighting order, not story order. Get all your golden hour shots before the light changes.
- Keep your setup simple — fewer camera moves, fewer setups, more focus on performance
- Capture B-roll generously — extra footage of hands, details, environments, and reactions will save your edit
Post-Production Basics
- Color correct before you color grade — fix exposure and white balance first, then add your stylistic look
- Natural light footage often benefits from a slight warm grade and gentle contrast lift
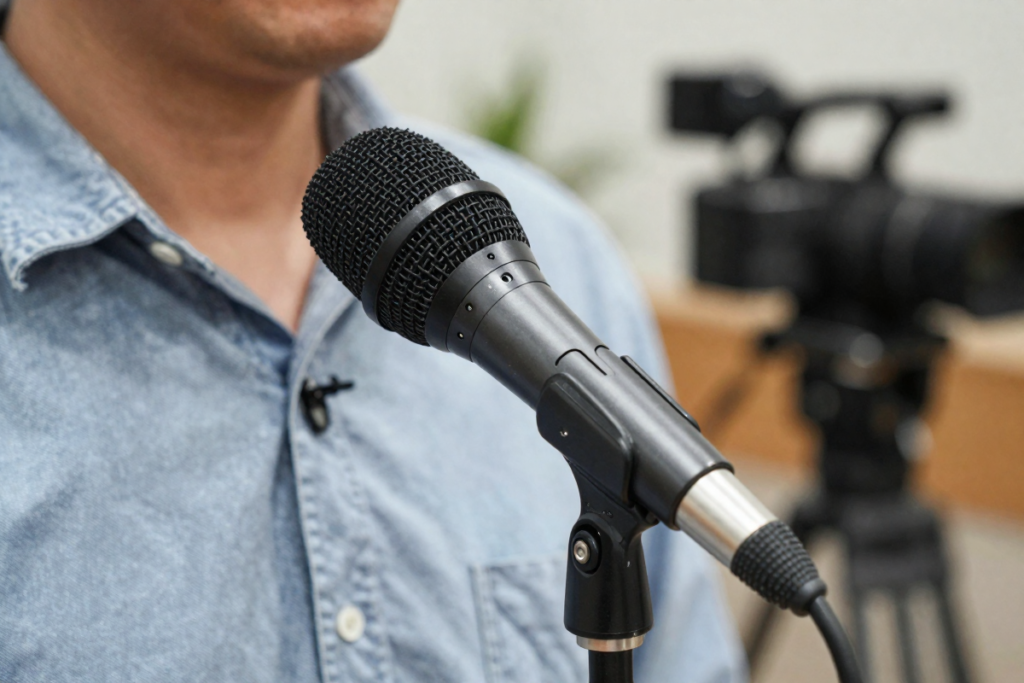
- Audio quality matters more than video quality — even basic sound cleanup makes a dramatic difference in perceived professionalism
[Beginner video editing software — CapCut for Windows users or – iMovie For Mac users]
[ Important Audio Gear: [Budget lavalier or shotgun microphone ]
Real-Life Mini Case Study: One Location, No Budget, No Actors
Here’s a realistic scenario that brings all three pillars together:
The Project: A 3-minute short film about a woman processing a difficult phone call.
The Setup:
- Shot entirely in a small apartment using window light from a single north-facing window
- Filmed during the late morning golden window when the light was soft and directional
- A foam board reflector filled in shadows on the opposite side of the subject’s face
- The “cast” was the filmmaker’s neighbor, who had never been on camera before
The Approach:
- Rather than scripting dialogue, the director explained the emotional situation and asked the neighbor to simply respond as she would in real life
- Three locations were created within one apartment: the kitchen (bright and exposed), a dim hallway (emotional low point), and a window seat (the resolution)
- Total shoot time: 4 hours. Total budget: $0
What Worked: The non-actor’s genuine discomfort in early takes became the emotional core of the piece. The changing natural light across the morning created an accidental continuity that reinforced the passing of time in the story.
This is the power of resourceful independent filmmaking. The constraints became the story.
Pro Tips to Elevate Your Results
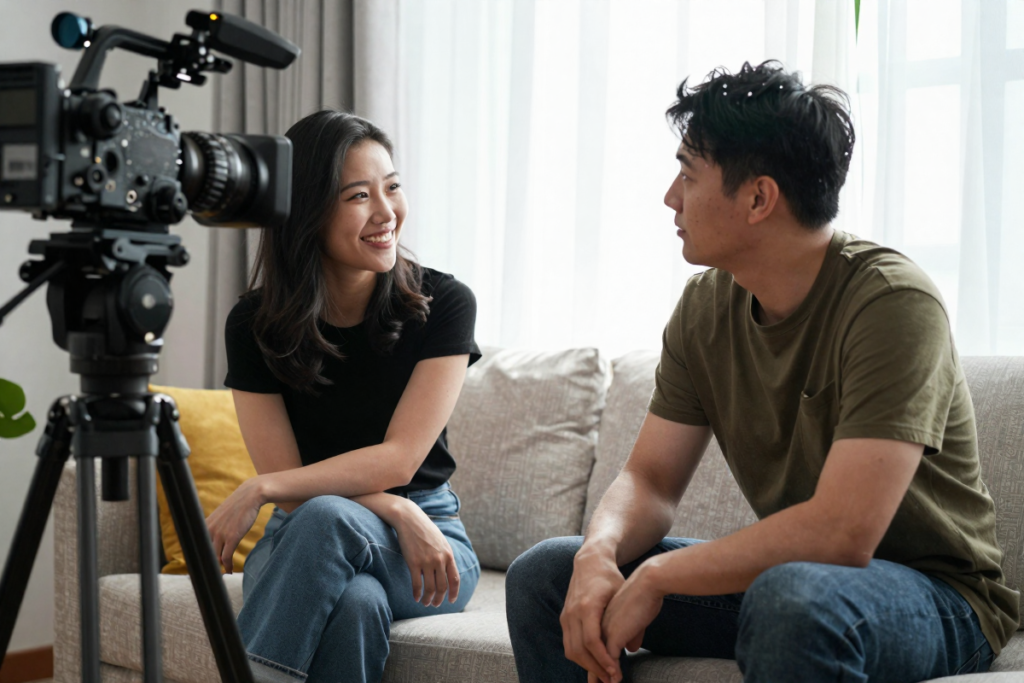
- Shoot more than you think you need — especially with non-actors and natural light, which are both unpredictable
- Let storytelling carry the visuals — a compelling narrative forgives technical imperfections every time
- Invest in audio before anything else — poor sound is the #1 reason audiences disengage from low budget content
- Review each project with fresh eyes before your next one. What worked? What didn’t? Each film is your best teacher.
Ready to Upgrade? (Optional Tools Worth Considering)
You don’t need gear to start. But when you’re ready to take the next step, a few affordable tools make a noticeable difference:
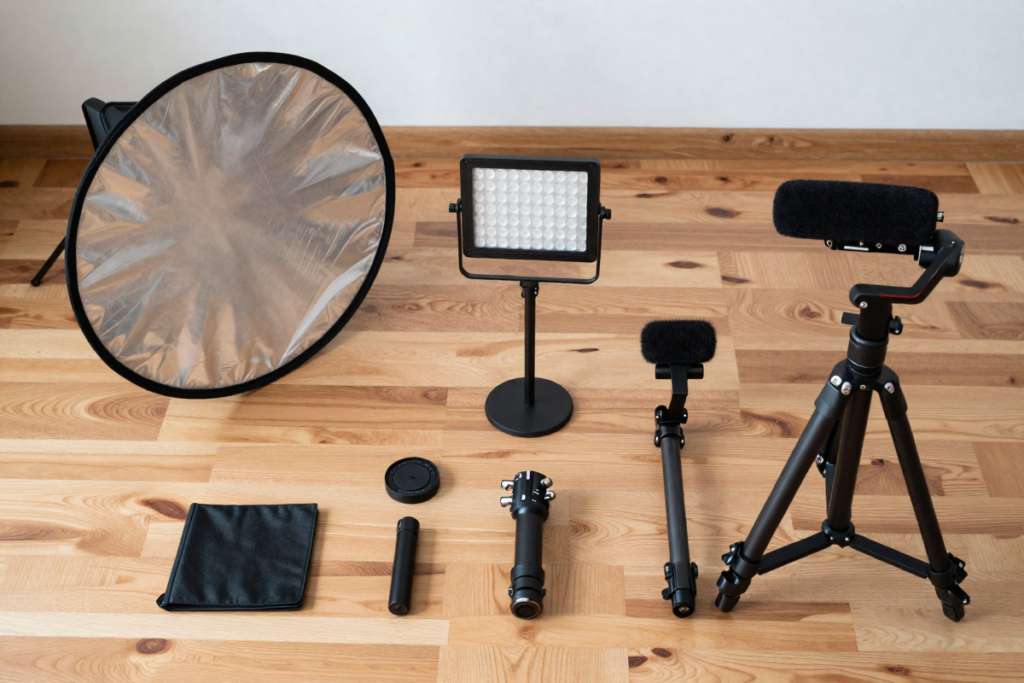
Essential For Good Lighting: [5-in-1 collapsible reflector/diffuser ]
Get Cinematic Shots: [Beginner gimbal or stabilizer ]
Pay Once – Own Forever Video Editing Software: [DaVinci Resolve]
Lighting is everything: [Budget LED light panel (optional upgrade) — update with link]
The key word is upgrade — not replace. These tools enhance a creative foundation. They don’t build it for you.
Conclusion: You Already Have What You Need
The best time to start filmmaking on a budget is right now, with exactly what you have. A north-facing window. A living room. A friend willing to sit in front of your camera. These are not limitations — they are your starting point.
The filmmakers who improve fastest are not the ones who wait for better gear. They’re the ones who pick up what’s available, figure out how to use it beautifully, and do it again and again until the craft becomes second nature.
Try this on your next project: Scout one free location, plan your shoot around the best natural light window of the day, and invite one real person to be in front of your camera. See what happens.
Then come back and tell us about it in the comments below. We’d love to hear what you created.
📩 Want more guides like this? Subscribe to our newsletter for weekly filmmaking tips, gear reviews, and creative inspiration — all built for creators working with real-world constraints.
More Guides To Check Out!
How to Start Filmmaking with Just a Smartphone
Must-Have Budget Filmmaking Accessories (Gear List)
Beginner Filmmaking Mistakes That Ruin Your First Film (And How to Avoid Them)
Frequently Asked Questions
Can you film without professional lighting?
Absolutely. Natural light filmmaking is not only possible — it’s often preferable. Window light, golden hour, and overcast skies each produce beautiful, cinematic results when used intentionally. Many celebrated films, including Barry Lyndon and Moonlight, relied heavily on available light cinematography.
What’s the best time of day to shoot video?
The golden hour — approximately one hour after sunrise and one hour before sunset — offers the warmest, softest, and most flattering natural light for video. Overcast days are also excellent for consistent, shadowless exposure. Avoid harsh midday sun for close-up or portrait-style shots.
How do you make a low-budget video look professional?
Focus on three things: good light (natural or window), clean audio (even a budget lavalier microphone makes a massive difference), and intentional framing (use depth, remove clutter, and compose thoughtfully). These three elements do more for production value than any camera upgrade.
Can beginners successfully work with non-actors?
Yes — and in many ways, non-actors are easier to work with when you understand the approach. Keep instructions simple, use real-life scenarios instead of scripted lines, create a relaxed environment, and shoot plenty of takes. Authenticity comes naturally when people stop trying to “perform.”
Looking for more on DIY content creation and no budget video production? Explore our full library of filmmaking guides on site.
Leave a Reply