Introduction
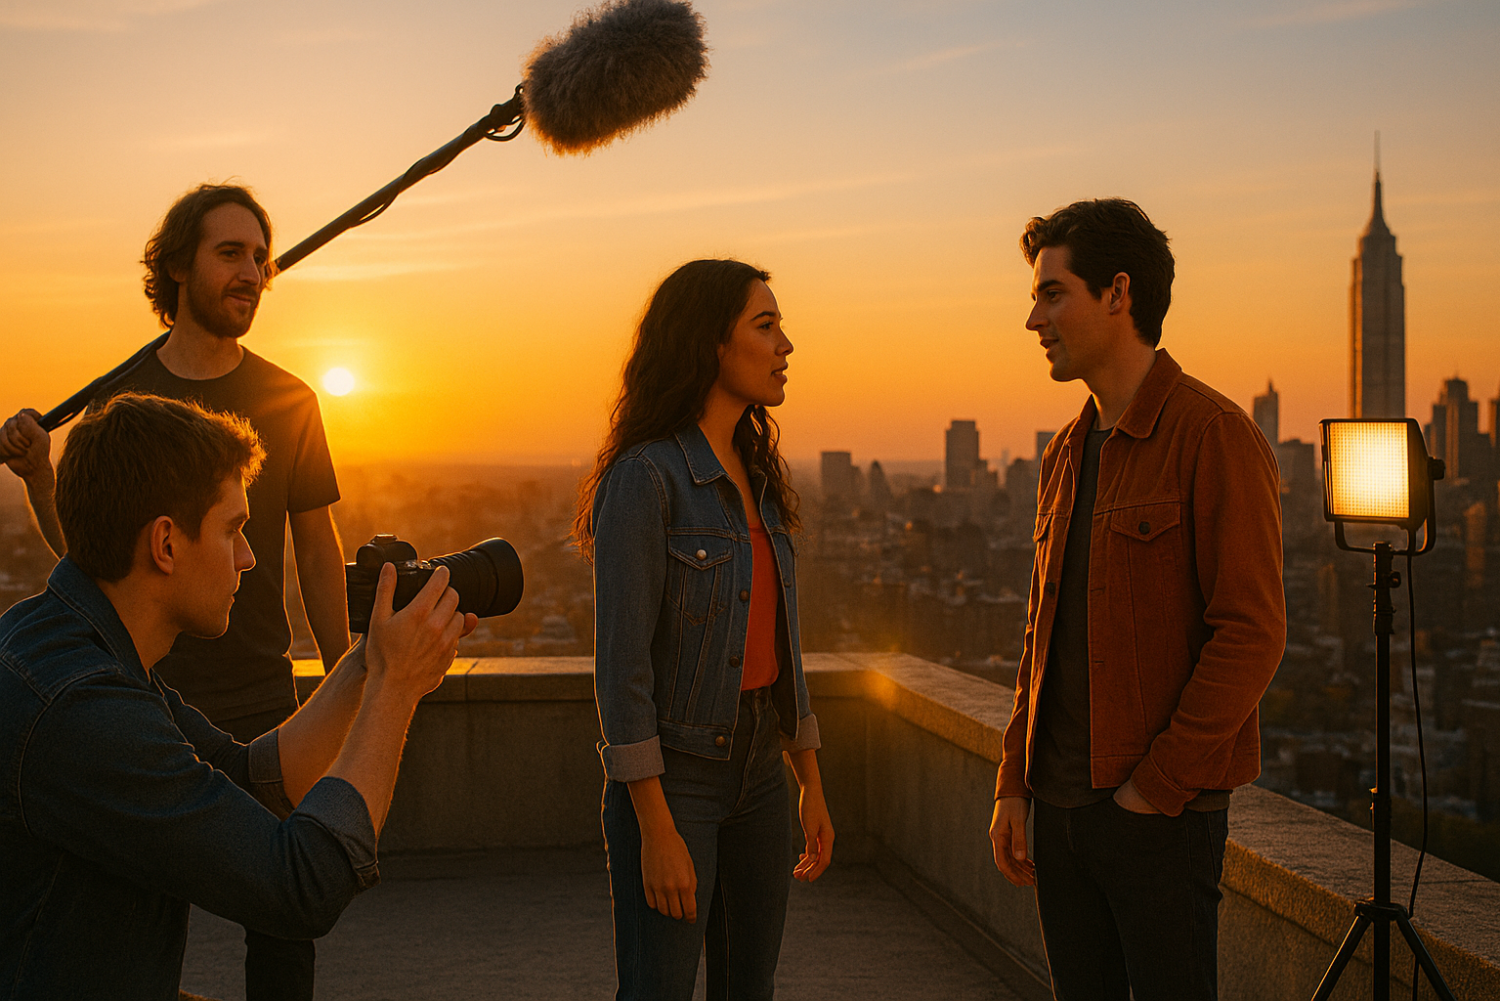
Filmmaking doesn’t require Hollywood budgets anymore. In recent times, the barrier to entry for creating professional-quality content has never been lower. Thanks to platforms like YouTube, TikTok, and the thriving independent film scene, aspiring filmmakers can launch their careers from their bedrooms with surprisingly affordable gear.
Here’s the truth most camera companies won’t tell you: accessories matter more than expensive cameras. While beginners obsess over the latest $3,000 mirrorless body, seasoned filmmakers know that a $500 camera paired with the right audio equipment, lighting, and stabilization tools will outperform a $5,000 setup every single time.
In this comprehensive guide, I’m breaking down the best budget filmmaking gear that improves production quality instantly—without breaking the bank. Whether you’re shooting your first short film, launching a YouTube channel, or building a filmmaking kit on a tight budget, this affiliate gear list features beginner-friendly picks that deliver professional results.
All items listed include affordable, tested recommendations with affiliate links to help you build your setup quickly.
What Makes a Great Budget Filmmaking Setup?
Prioritizing Audio, Lighting, and Stability Over Cameras
If you’re new to filmmaking, you’ve probably fallen into the same trap most beginners do: overspending on cameras first. The camera industry wants you to believe that megapixels, sensor size, and autofocus capabilities are what separate amateur footage from professional films. That’s only partially true.
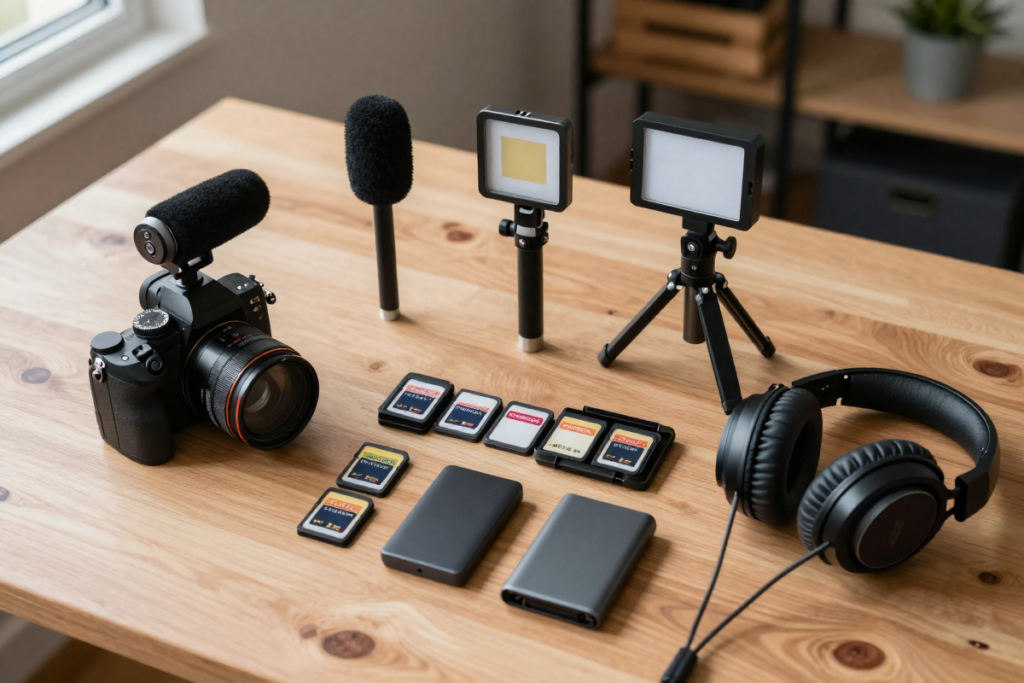
The reality is that great filmmaking rests on three pillars:
- Sound – Poor audio quality is the fastest way to make your project look amateur. Viewers will tolerate slightly soft footage, but they’ll click away the moment your dialogue sounds muffled or riddled with background noise.
- Lighting – Cinematic visuals aren’t about camera specs—they’re about how you control light. A well-lit scene shot on a smartphone will always look better than poorly-lit footage from a professional camera.
- Stabilization – Shaky footage screams “unprofessional.” Whether you’re using a basic tripod or a budget gimbal, stable shots instantly elevate perceived production value.
Budget vs Professional Gear Mindset
Here’s the mindset shift that separates hobbyists from working filmmakers: You don’t need expensive gear to look professional—you need the right accessories and the skill to use them.
Professional filmmakers started somewhere, often with the same budget gear you’re considering. The difference? They invested strategically in tools that solved specific production problems: capturing clean audio, shaping light, and keeping their shots stable.
Skill + smart accessories > camera body alone.
Now let’s dive into the essential budget filmmaking accessories that deliver the most value.
Essential Budget Filmmaking Accessories
1. Budget External Microphones (Audio Quality Upgrade)
Why built-in camera mics fail: Every camera—whether it’s a DSLR, mirrorless, or smartphone—comes with a built-in microphone. And every single one of them is inadequate for serious filmmaking. Built-in mics pick up camera handling noise, can’t isolate your subject’s voice, and capture audio that sounds distant and hollow.
Investing in an external microphone is the single most important upgrade for filmmaking on a budget.
Types of Budget Microphones:
Lavalier Mics (Lav Mics):
Perfect for interviews, vlogs, and dialogue scenes. These clip onto your subject’s clothing and capture clear, isolated audio.
[HERE: Budget Lavalier Mic]
Shotgun Mics:
Ideal for capturing directional audio—meaning they pick up sound from wherever they’re pointed while rejecting background noise. Great for narrative filmmaking and run-and-gun shooting.
[HERE: Budget Shotgun Mic for DSLR/Mirrorless]
USB/Phone Mics:
If you’re filming primarily on smartphones, USB and phone-compatible mics offer a plug-and-play solution without additional recording equipment.
[HERE: Smartphone-Compatible External Mic]
Recommendations:
Entry-Level Pick: Lavalier mic for under $30
Mid-Range Budget Pick: On-camera shotgun mic ($60–$120)
2. Portable LED Lighting Kits
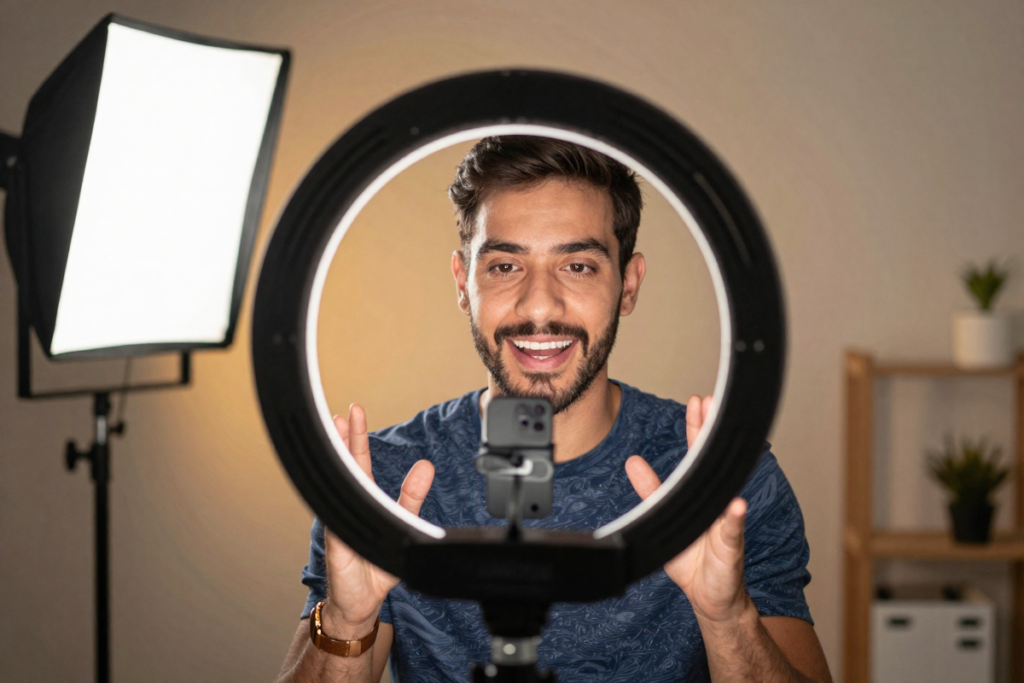
The importance of lighting in achieving a cinematic look cannot be overstated. Natural light is beautiful—when it’s available and consistent. The problem? Weather changes, the sun sets, and indoor spaces are often dimly lit or lit with unflattering overhead fluorescents.
Portable LED lighting gives you full control over your scene’s mood, depth, and professionalism.
Types of Affordable Lighting:
Ring Lights:
Popular among YouTubers and content creators for talking-head videos. They provide soft, even illumination and eliminate harsh shadows on faces.
[HERE: Budget Ring Light]
LED Panels:
Versatile, portable, and dimmable. LED panels are workhorses for indie filmmakers, offering adjustable brightness and color temperature.
[HERE: Portable LED Panel Light Kit]
RGB Lights:
Want to add cinematic color effects to your scenes? RGB LED lights let you dial in any color for creative lighting setups—perfect for music videos, narrative projects, and stylized content.
[HERE: RGB LED Light Stick]
Bonus Tip: Three-Point Lighting Basics on a Budget
You don’t need three separate lights to start. Begin with:
- Key Light: Your main light source (LED panel or ring light)
- Fill Light: A reflector or second dimmed light to soften shadows
- Back Light: A small LED or practical light (like a lamp) to separate your subject from the background
[HERE: Budget 3-Light LED Kit]
3. Tripods & Stabilization Tools
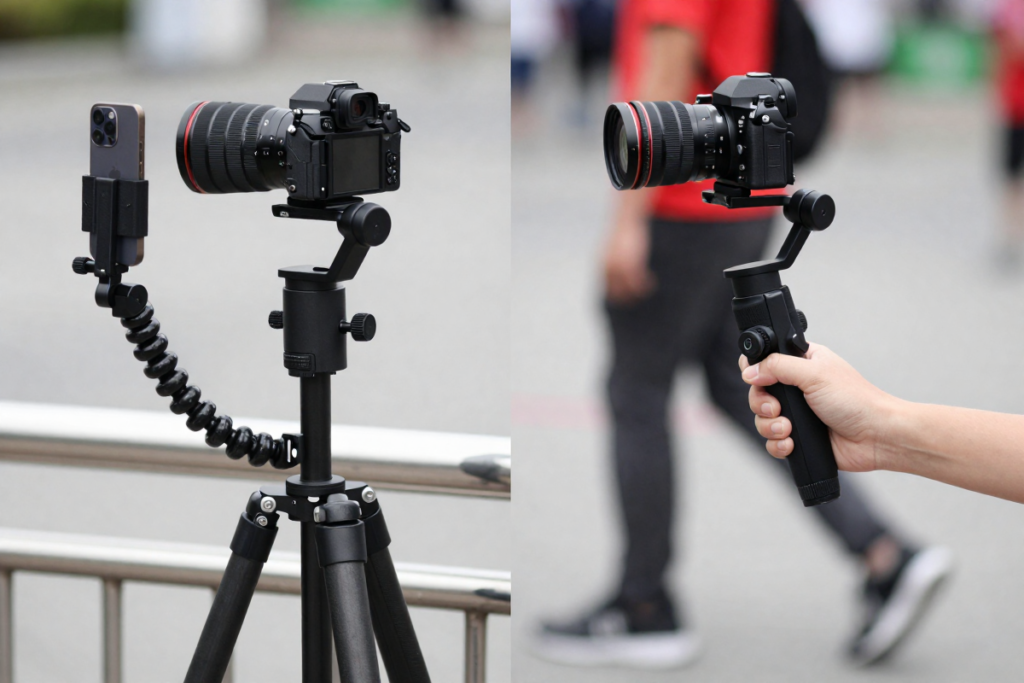
Why shaky footage kills professionalism: Handheld camera shake can work stylistically in certain scenarios (think documentary or action sequences), but for most filmmaking applications, unstable footage looks amateurish and distracts viewers from your story.
Types of Stabilization:
Basic Tripod:
Every filmmaker needs a reliable tripod. Look for one with a fluid head (for smooth panning) and adjustable height.
[HERE: Best Budget Fluid Head Tripod]
Flexible/Gorilla-Style Tripod:
These compact tripods have bendable legs that wrap around poles, railings, or uneven surfaces—perfect for smartphone filmmakers and vloggers.
[HERE: Flexible Smartphone Tripod]
Budget Gimbals:
Gimbals use motors to stabilize your camera while you move, creating smooth tracking shots, walk-and-talks, and dynamic sequences. Once a luxury item, budget-friendly gimbals are now accessible for smartphones and mirrorless cameras.
[HERE: Budget Smartphone Gimbal]
[HERE: Budget DSLR/Mirrorless Gimbal]
Affiliate-Friendly Angle:
“Best cheap tripods for phones and DSLR users” – Whether you’re shooting on an iPhone or a Sony A7, there’s an affordable stabilization solution for your setup.
4. Smartphone Filmmaking Rigs
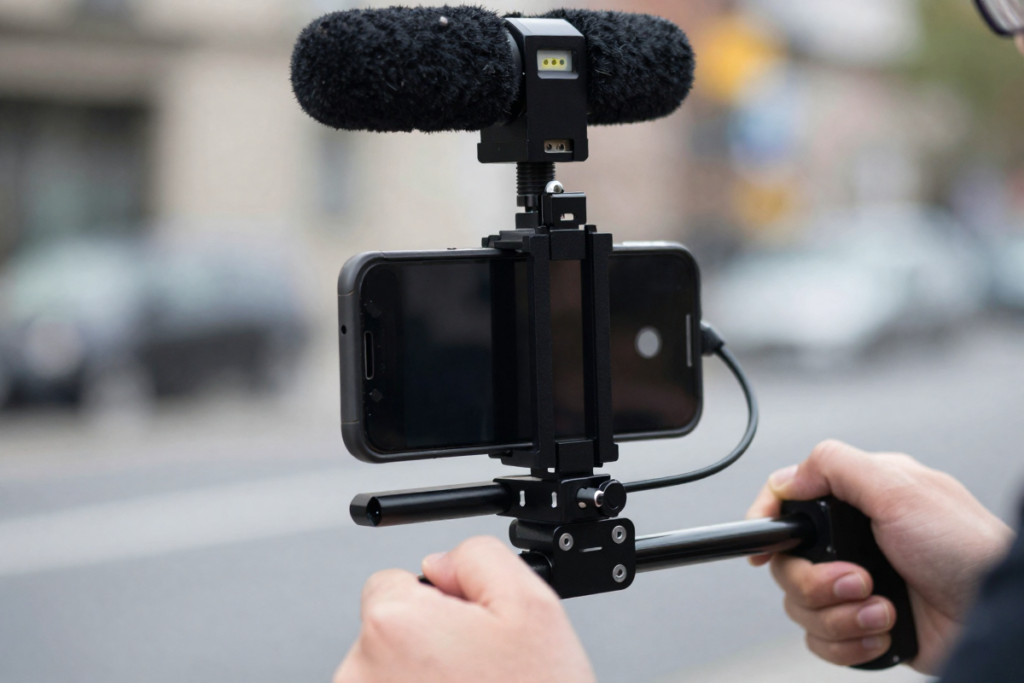
Smartphones have become legitimate filmmaking tools. Directors have shot entire feature films on iPhones. But to unlock their full potential, you need the right accessories.
Components of a Smartphone Filmmaking Rig:
Phone Cage Rig:
Transforms your phone into a handleable camera with mounting points for lights, mics, and monitors.
[HERE: Smartphone Cage Rig with Cold Shoe Mounts]
External Lenses (Wide/Macro):
Expand your creative options with clip-on lenses. Wide-angle lenses are great for establishing shots; macro lenses let you capture extreme close-ups.
[HERE: Smartphone Lens Kit]
Cold Shoe Mounts:
These mounting points let you attach microphones, lights, or monitors directly to your rig—turning your phone into a mini production studio.
[HERE: Cold Shoe Mounts]
5. Affordable Audio Recorders
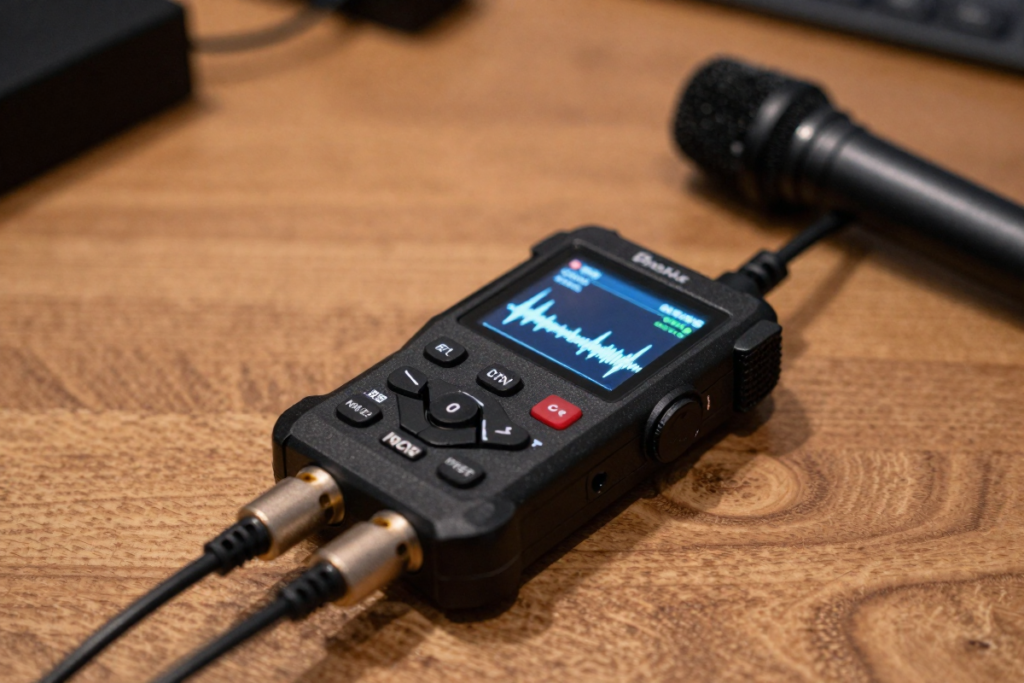
For maximum audio quality, many filmmakers record sound separately from the camera. This workflow gives you cleaner files, better control, and professional-grade results.
Why separate audio recording improves quality:
Dedicated audio recorders capture higher-quality sound with better preamps and less compression than cameras. Plus, if you’re using multiple microphones, recorders let you balance and mix inputs independently.
[HERE: Budget Portable Audio Recorder]
Alternative: If you’re not ready for a dedicated recorder, smartphone recording apps like Rode Reporter or Voice Record Pro can serve as budget alternatives when paired with external mics.
6. Memory Cards & Storage Solutions
Nothing ruins a shoot faster than running out of storage—or worse, losing footage to a corrupted card.
Fast SD Cards (UHS-I/UHS-II Basics):
When shooting 4K video, your memory card’s write speed matters. Look for cards rated:
- UHS-I (U3): Minimum for 4K recording
- UHS-II (V60/V90): Ideal for high-bitrate 4K and slow-motion footage
[HERE: Budget UHS-I SD Card for 4K Video]
[HERE: UHS-II High-Speed SD Card]
External SSDs for Video Editing Workflows:
Once you’ve shot your footage, you’ll need fast, reliable storage for editing. External SSDs (Solid State Drives) are portable, durable, and significantly faster than traditional hard drives—critical for smooth editing timelines.
[HERE: Portable SSD for Video Editing]
Avoiding Data Loss:
Pro tip: Always use the 3-2-1 backup rule—keep three copies of your footage on two different types of storage, with one copy stored offsite (cloud or external location).
7. Reflectors & Light Modifiers
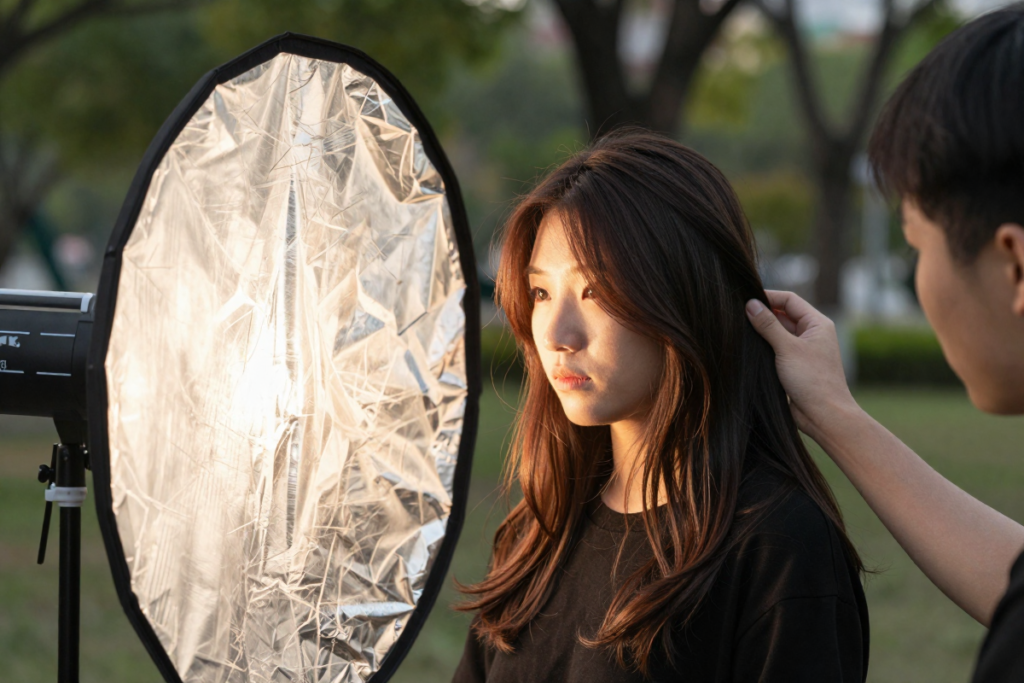
Want to improve your lighting instantly without buying additional lights? Reflectors are the cheapest secret weapon in filmmaking.
Types:
5-in-1 Reflectors:
These collapsible reflectors include multiple surfaces: silver (bright bounce), gold (warm bounce), white (soft fill), black (negative fill to deepen shadows), and translucent (diffusion).
[HERE: 5-in-1 Reflector Kit]
DIY Diffusion Hacks:
- White bedsheet or shower curtain: Hang between your light source and subject to soften harsh light.
- White foam board: Cheap, effective bounce boards available at any craft store.
8. Backdrops & Portable Shooting Environments
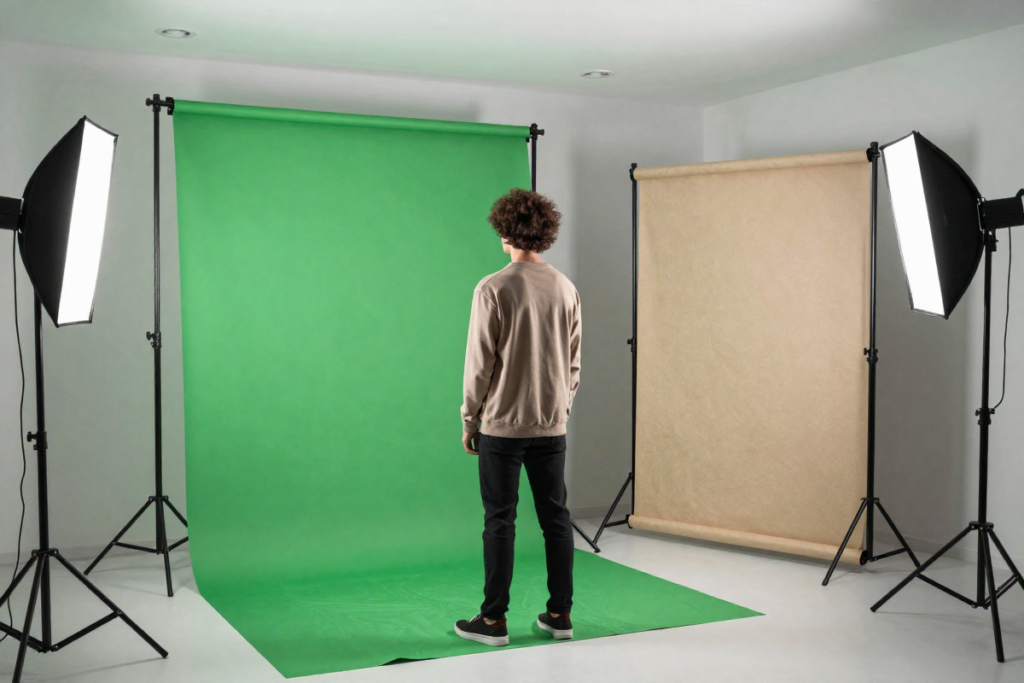
Creating professional-looking backgrounds at home elevates production value—especially for interviews, product videos, and YouTube content.
Green Screens vs Textured Cloth Backdrops:
Green Screens:
Perfect for virtual backgrounds and VFX work. Budget green screens are available in collapsible or hanging formats.
[HERE: Collapsible Green Screen Backdrop]
Textured Cloth Backdrops:
For a more natural, professional look (think portrait photography), invest in neutral-toned muslin or canvas backdrops.
[HERE: Neutral Muslin Backdrop]
9. Budget Editing Accessories
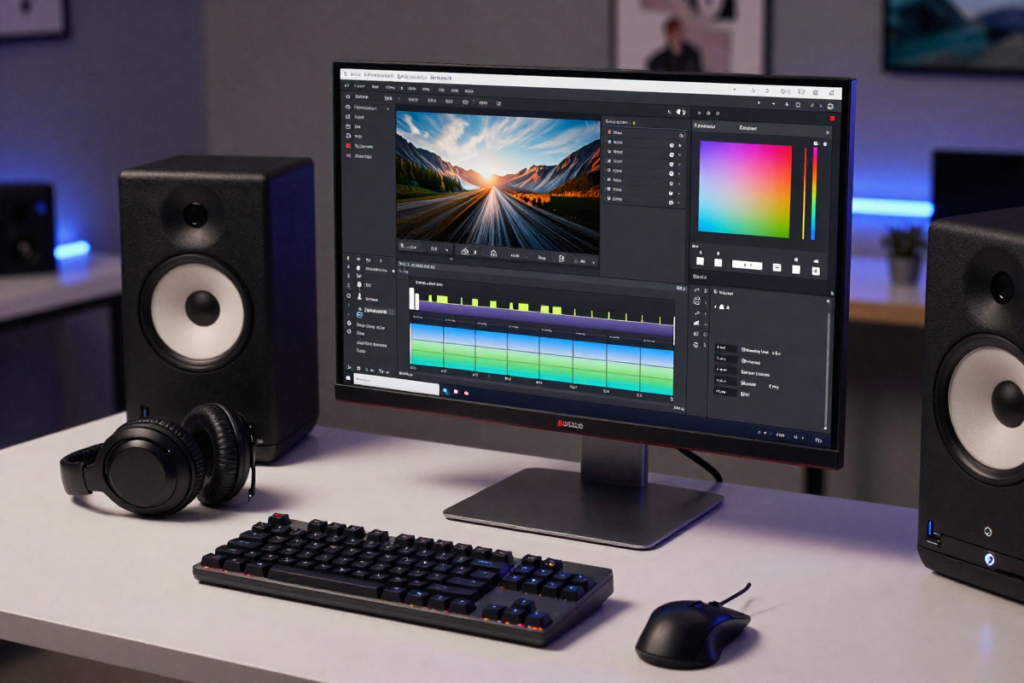
Great filmmaking doesn’t end when you stop recording—it continues in the editing room.
Ergonomic Keyboards/Mice for Editors:
Spending hours editing requires comfortable, responsive tools. Consider mechanical keyboards or ergonomic mice designed for precision work.
[HERE: Budget Mechanical Keyboard for Editing]
Affordable Monitors for Color Grading:
While professional color grading monitors cost thousands, budget IPS monitors with good color accuracy (~99% sRGB coverage) are available for under $200.
[HERE: Budget IPS Monitor for Video Editing]
Headphones for Audio Editing Accuracy:
Closed-back studio headphones let you hear every detail in your audio mix without bleed or distortion.
[HERE: Budget Studio Headphones]
10. Power Solutions for Filmmakers
Dead batteries mid-shoot = production nightmare. Plan ahead with reliable power solutions.
Portable Battery Packs:
USB power banks keep your phone, gimbal, LED lights, and monitors charged on location.
[HERE: High-Capacity Portable Battery Pack]
Camera Batteries vs Third-Party Options:
OEM (Original Equipment Manufacturer) batteries are reliable but expensive. Third-party batteries from reputable brands like Wasabi Power offer solid performance at half the cost.
[HERE: Third-Party Camera Battery Pack]
Charging Stations for Shoots:
Multi-bay chargers let you charge multiple batteries simultaneously—essential for all-day shoots.
[HERE: Multi-Battery Charging Station]
Bonus Section — Hidden Budget Gear Most Beginners Forget
These small, inexpensive accessories make a huge difference but often get overlooked:
Lens Cleaning Kits:
Smudges and dust ruin otherwise perfect shots. Keep microfiber cloths and lens cleaning solution in your bag.
[HERE: Lens Cleaning Kit]
Cable Organizers:
Tangled cables slow down your workflow and increase the risk of damage. Velcro ties and cable bags keep everything tidy.
[HERE: Cable Management Kit]
ND Filters for Smartphones and Cameras:
Neutral Density (ND) filters reduce the amount of light entering your lens, letting you shoot with wider apertures or slower shutter speeds in bright conditions—essential for that cinematic motion blur.
[HERE: Variable ND Filter for DSLR]
[HERE: ND Filter for Smartphone]
Windshields (“Dead Cats”) for Microphones:
Outdoor shoots are plagued by wind noise. Furry windshields (affectionately called “dead cats”) dramatically reduce wind interference.
[HERE: Microphone Windshield/Dead Cat]
How to Build a Complete Budget Filmmaking Kit (Step-by-Step Guide)
Starter Kit ($100–$250)
Purpose: Get started shooting immediately with essential upgrades.
Gear List:
- Smartphone or basic camera (use what you have)
- Lavalier or shotgun microphone: $30–$80
- Basic tripod: $30–$50
- 5-in-1 reflector: $15–$25
- Memory card (UHS-I): $20–$30
[HERE: Starter Kit Bundle]
Total: ~$100–$185
Intermediate Kit ($250–$600)
Purpose: Upgrade audio and lighting for noticeably better production value.
Gear List:
- Everything from Starter Kit
- LED panel light or ring light: $60–$120
- Smartphone cage rig or budget DSLR cage: $40–$80
- Portable audio recorder: $80–$150
- External SSD for editing: $60–$100
Total: ~$340–$635
Semi-Pro Budget Kit ($600–$1,200)
Purpose: Full creator setup ready for paid client work, short films, or serious content creation.
Gear List:
- Everything from Intermediate Kit
- Budget gimbal (smartphone or mirrorless): $150–$300
- 3-light LED kit with stands: $120–$200
- Multiple lavalier and shotgun mics: $100–$180
- Backdrop/green screen setup: $50–$100
- ND filters and lens accessories: $50–$100
- Headphones and editing monitor: $120–$200
Total: ~$690–$1,265
Common Mistakes When Buying Filmmaking Accessories
1. Overspending on Cameras First
Don’t drop $2,000 on a camera body when you don’t yet own a tripod, external mic, or lights. Your iPhone paired with good accessories will yield better results.
2. Ignoring Audio Quality
Bad audio = unwatchable content. Period. Prioritize audio gear early.
3. Buying Unnecessary “Pro” Gear Too Early
You don’t need a $500 follow-focus system or a $1,000 matte box when you’re just starting. Master the basics first.
4. Not Planning for Workflow/Storage
Shooting 4K footage eats up storage fast. Budget for memory cards, external drives, and backup solutions from day one.
Tips to Get the Most Out of Budget Gear
Lighting Hacks for a Cinematic Look:
- Shoot during “golden hour” (sunrise/sunset) for free, beautiful lighting
- Use practical lights (lamps, candles, string lights) in-frame to add depth
- Bounce light off walls/ceilings instead of pointing directly at subjects
Audio Placement Tricks:
- Get your mic as close to the subject as possible without appearing in frame
- Use blankets or foam to dampen echo in untreated rooms
- Record “room tone” (30 seconds of ambient silence) for smoother audio editing
Smartphone Filming Optimization:
- Always shoot in landscape (horizontal) mode
- Lock exposure and focus manually using your camera app
- Use FiLMiC Pro or Blackmagic Camera apps for advanced manual controls
DIY Solutions That Save Money:
- Build a DIY slider using PVC pipes
- Create diffusion with parchment paper over LED panels
- Make a shoulder rig from plumbing parts
FAQ (Frequently Asked Questions)
What is the most important filmmaking accessory?
An external microphone. Audio quality has the biggest impact on perceived professionalism and viewer retention.
Can you make professional videos on a budget?
Absolutely. Skill, storytelling, and smart use of budget accessories often matter more than expensive cameras. Many award-winning films and viral YouTube channels started with minimal gear.
What gear do beginner filmmakers need first?
Start with: a reliable tripod, an external microphone, and basic lighting (even a reflector counts). These three tools will dramatically improve your production quality.
Is a DSLR necessary for filmmaking?
No. Modern smartphones can shoot 4K video with excellent quality. If you already own a decent phone, invest in accessories before upgrading to a DSLR or mirrorless camera.
What is the best budget setup for YouTube videos?
Ring light ($50–$100), lavalier or USB microphone ($30–$80), basic tripod ($30), and your smartphone or webcam. Total investment: under $200.
Conclusion
Filmmaking has never been more accessible, and you don’t need Hollywood budgets to create compelling, professional-quality content. The key is smart investment in the right accessories—tools that solve real production challenges like poor audio, inadequate lighting, and shaky footage.
Whether you’re building a $150 starter kit or a $1,200 semi-pro setup, remember: great filmmaking is about storytelling, creativity, and technical fundamentals—not the price tag on your camera.
Start with the essentials: an external mic, a tripod, and some form of lighting. As your skills grow and your projects demand more, upgrade strategically based on your specific needs.
The most important step? Start filming now. Every project you complete teaches you more than any gear review ever could.
Check out the recommended budget filmmaking gear below and build your setup today:
[Complete Recommended Gear List (Everything From This Post]
Related Guides:
Leave a Reply