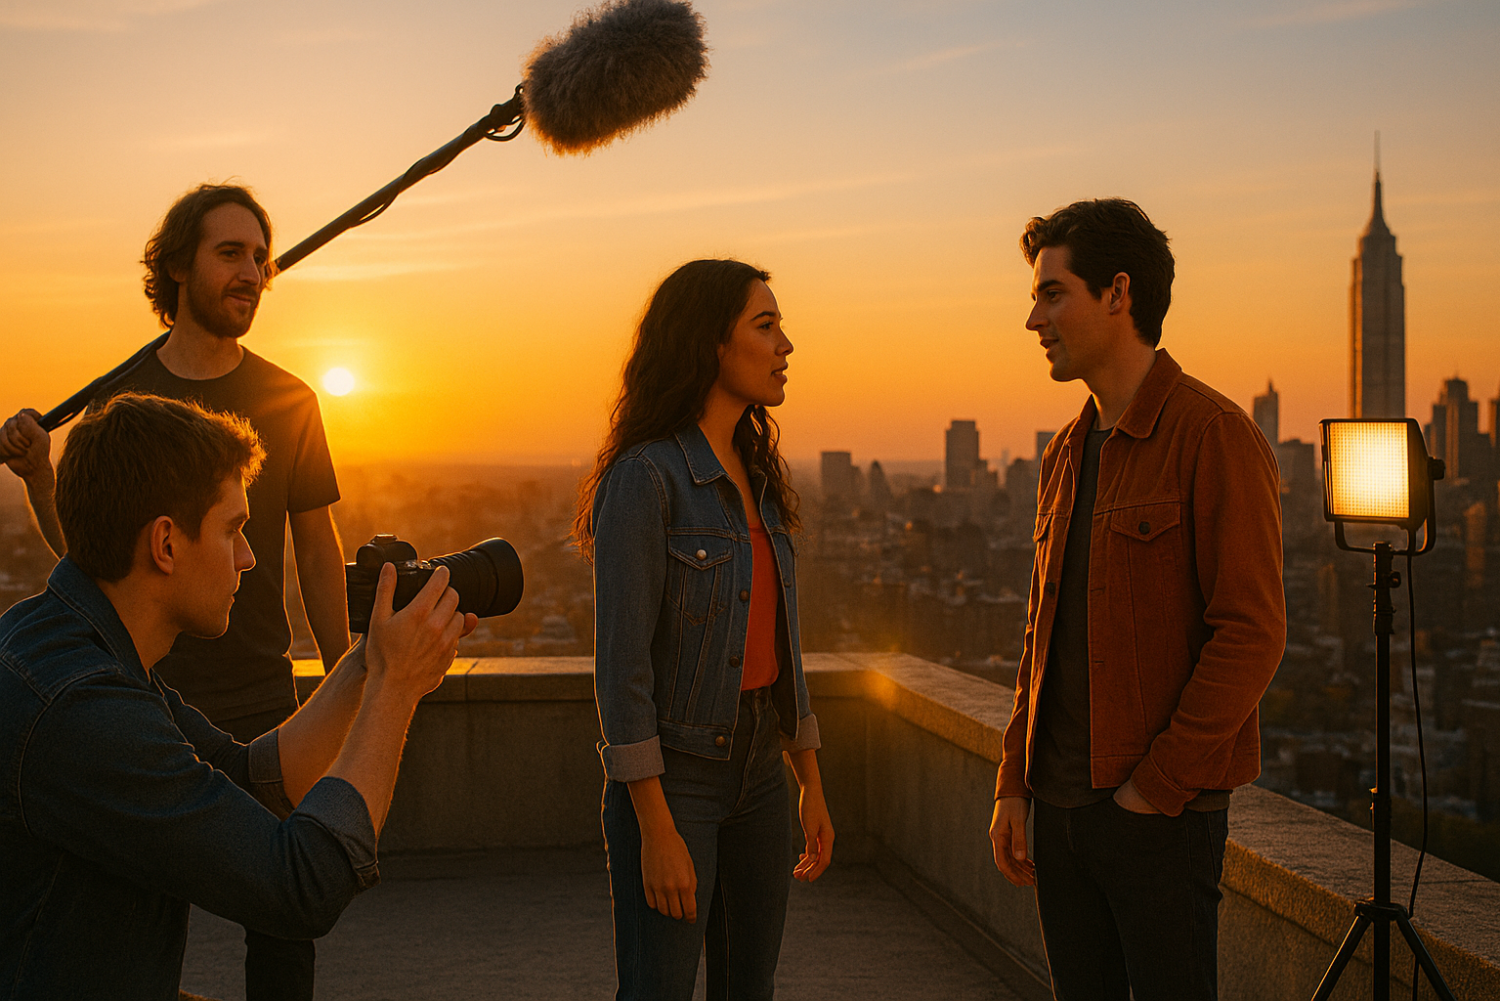
Shooting cinematic night scenes doesn’t require a Hollywood budget. While many aspiring filmmakers believe expensive lighting gear is essential for professional-looking nighttime footage, the truth is that understanding lighting principles matters far more than owning premium equipment. Whether you’re working on a short film, YouTube content, or indie production, this comprehensive guide will show you exactly how to shoot stunning night scenes using affordable lighting solutions.
By the end of this article, you’ll know which budget-friendly lights deliver the best results, how to set them up for maximum impact, and which camera settings will help you capture clean, cinematic footage—all without breaking the bank.
Why Night Scenes Are Challenging to Shoot
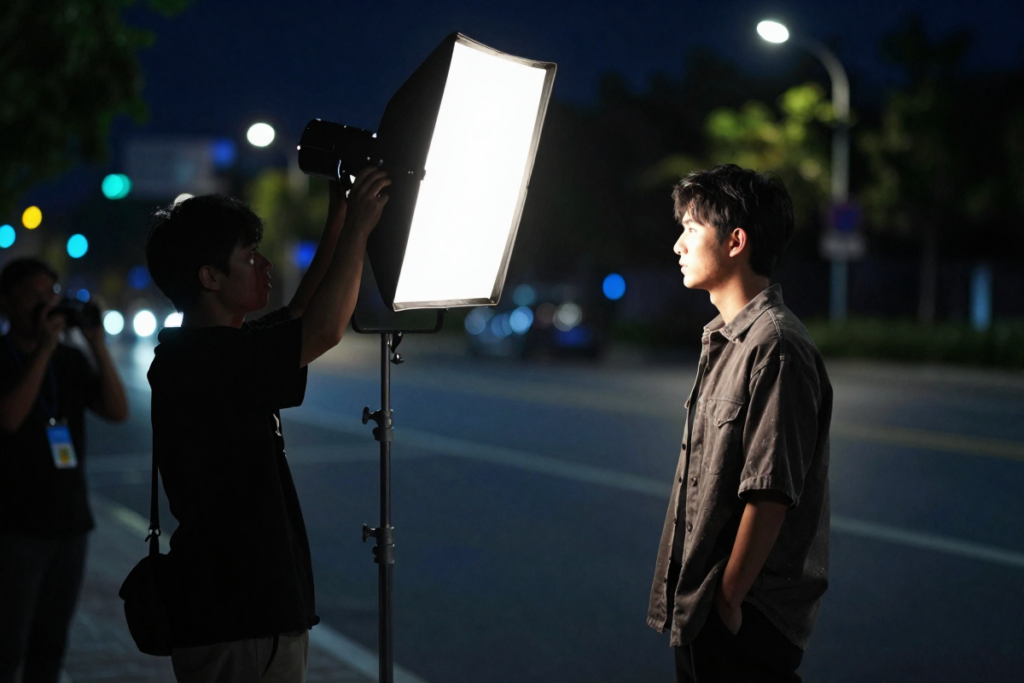
Before diving into solutions, let’s understand why night cinematography presents unique challenges:
Low Light Creates Technical Problems
When there’s insufficient light reaching your camera sensor, you’ll encounter noise (grain), motion blur, and loss of detail. These issues compound quickly, turning what should be a moody scene into an unwatchable mess.
Dynamic Range Becomes Your Enemy
Night scenes often feature extreme contrasts—bright streetlights against pitch-black shadows, neon signs next to dark alleys. Consumer cameras struggle with this dynamic range, causing either blown-out highlights or crushed blacks.
Autofocus Fails in Darkness
Most cameras rely on contrast detection for autofocus, which becomes unreliable when light levels drop. You’ll find yourself hunting for focus or missing critical moments.
Common Beginner Mistakes
New filmmakers typically make one of two errors: they either underlight their scenes (creating unusable footage) or overlight them (destroying the nighttime atmosphere). Finding the sweet spot requires understanding both technique and gear limitations.
Core Principles of Night Lighting (Before You Buy Anything)
Before purchasing a single light, master these fundamental concepts:
Understanding Light Quality and Direction
Light direction creates depth and dimension. Side lighting and backlighting are your friends for night scenes—they create shadows that add drama and separation. Front lighting, conversely, flattens your image and makes it look amateurish.
Light intensity doesn’t mean “more is better.” Night scenes should feel like night. You’re not trying to turn darkness into daylight; you’re selectively illuminating portions of your frame while embracing shadow.
Color temperature affects mood dramatically. Cooler tones (5600K-6500K) suggest moonlight or urban environments, while warmer tones (2700K-3200K) create intimacy or replicate practical light sources like lamps and fires.
The Power of Practical Lights
Practical lights are any light sources visible within your frame—street lamps, car headlights, table lamps, candles, or neon signs. These serve double duty: they justify the lighting in your scene (making it feel motivated and realistic) while actually contributing to your exposure.
The best night scenes use practical lights as anchors, then supplement with off-camera lights to fill in shadows and separate subjects from backgrounds.
Controlling Spill and Shaping Light
Cheap lights often have one major weakness: they spill light everywhere. Learning to control and shape this light using flags, barn doors, or even cardboard cutouts transforms amateur lighting into professional-looking setups.
Shadow is as important as light. Don’t be afraid of darkness in your frame—it creates contrast, mood, and visual interest.
Camera Settings for Night Scenes
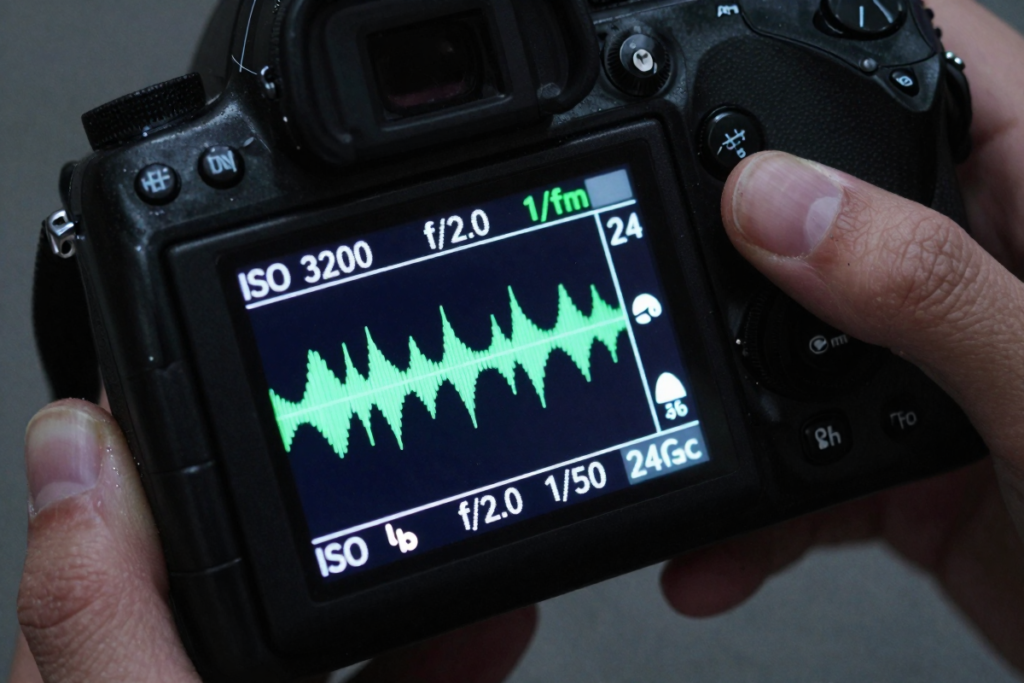
Even the best lighting setup fails without proper camera settings. Here’s how to optimize your camera for low-light shooting:
ISO: Finding the Sweet Spot
Modern cameras handle high ISO remarkably well, but there’s always a limit. Test your specific camera to find where noise becomes unacceptable—this is typically somewhere between ISO 1600-6400 for consumer cameras.
The key principle: Use the lowest ISO that gives you proper exposure with your available light. Don’t automatically crank ISO to maximum; add light instead when possible.
Aperture: The Balancing Act
A wide aperture (f/1.4, f/1.8, f/2.8) lets in more light, which is crucial for night shooting. However, it also creates shallow depth of field, making focus challenging.
For night scenes with movement or multiple subjects, consider f/2.8 to f/4 as a compromise between light gathering and focus control. For static, single-subject shots, wider apertures like f/1.8 create beautiful cinematic separation.
Shutter Speed: The 180-Degree Rule
Maintain the 180-degree shutter rule (shutter speed double your frame rate) for natural motion blur. At 24fps, this means 1/48 or 1/50 second. Going slower creates excessive motion blur; going faster produces stuttery, unrealistic movement.
If you need more light, adjust ISO or aperture first—only modify shutter speed as a last resort.
White Balance for Mixed Lighting
Night scenes often feature mixed color temperatures: tungsten street lamps, cool LED signs, warm practical lights. Choose a white balance that complements your story’s mood rather than trying to neutralize everything.
Setting white balance to 4000K-5000K often provides a good starting point, preserving warmth while maintaining the nighttime feel.
Shooting in LOG or RAW
If your camera offers LOG profiles or RAW recording, use them. These flat profiles capture more dynamic range, giving you flexibility to recover highlights and shadows in post-production. Night footage benefits enormously from this additional latitude.
Best Cheap Lighting Options for Night Shoots
Now let’s explore budget-friendly lighting gear that delivers professional results:
LED Panel Lights (Budget Picks)
LED panels have revolutionized budget filmmaking. They’re portable, adjustable, and increasingly affordable.
What to Look For:
- CRI (Color Rendering Index) above 90: Ensures accurate color reproduction
- Bi-color capability: Adjustable color temperature (3200K-5600K) provides maximum flexibility
- Battery operation: Essential for outdoor locations without power access
- Dimming control: Adjustable brightness from 0-100%
Recommended Budget Options:
These panels typically cost $40-$100 and provide excellent value for money. Mount them on light stands or hold them for run-and-gun shooting.
Clamp Lights & Work Lights from Hardware Stores
Here’s a secret professional filmmakers won’t tell you: basic clamp lights and LED work lights from hardware stores often outperform “professional” budget film lights.
Why They Work:
- Extremely high output for the price
- Durable, industrial construction
- Widely available at Home Depot, Lowe’s, or Harbor Freight
- Cost $15-$40 each
How to Use Them Safely:
- Always diffuse harsh light with shower curtains, parchment paper, or white fabric
- Ensure proper ventilation if using incandescent/halogen versions
- Use clamps or sandbags to secure them firmly
- Be mindful of heat—LED versions eliminate this concern
[Contractor Grade LED Work Light]
RGB Lights & Light Tubes
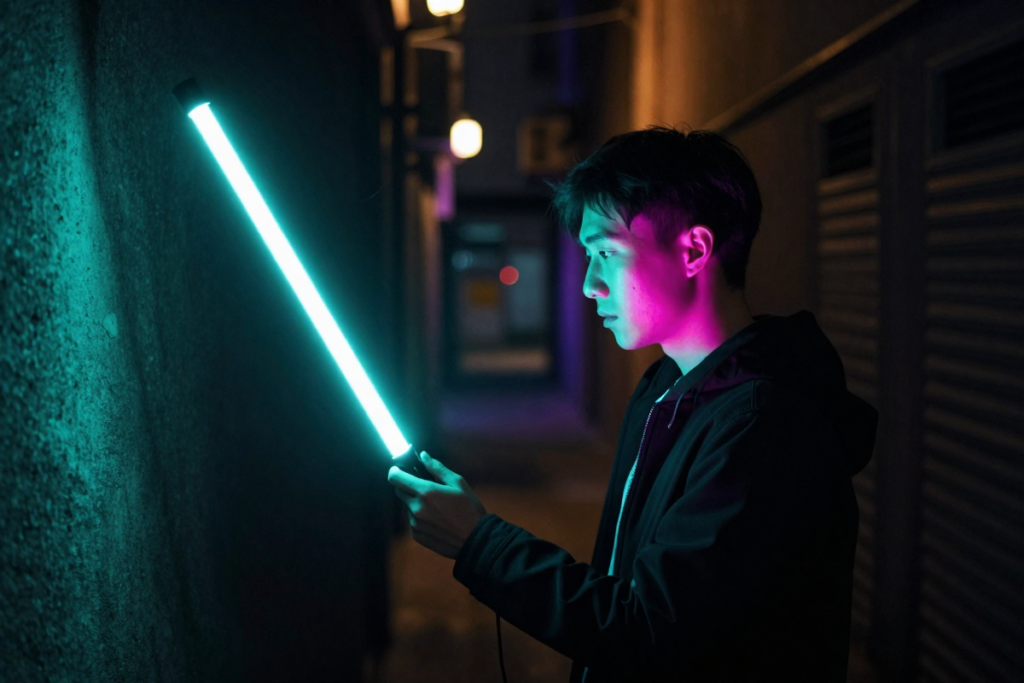
For cinematic color effects, budget RGB lights add production value that far exceeds their cost.
Applications:
- Background accent lighting
- Creating neon-lit urban aesthetics
- Color contrast (teal/orange film looks)
- Practical light replacements
Budget-Friendly RGB Options:
RGB tubes (ranging from $60-$150) create gorgeous background effects and can simulate everything from police lights to sci-fi environments.
Practical Lights You Already Own
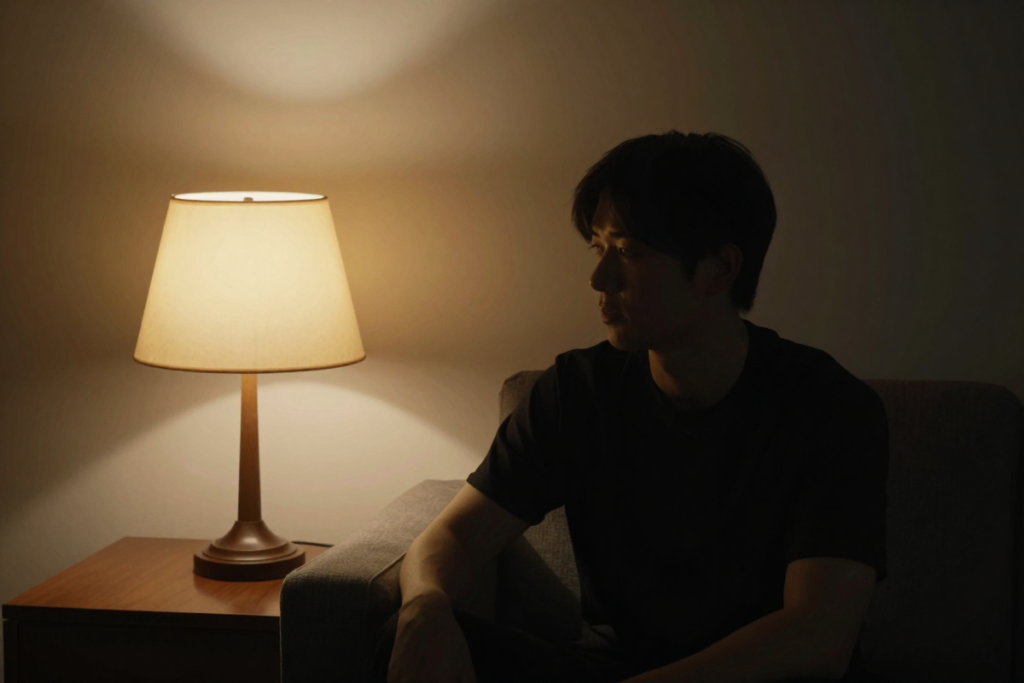
Don’t overlook household items that function as film lights:
Lamps and Floor Lights: Remove shades for harder light or keep them for soft, diffused illumination. Swap in daylight-balanced LED bulbs for color consistency.
Phone Flashlights: Surprisingly effective for close-up accent lighting or emergency fill light.
Car Headlights: Perfect for outdoor night scenes—they provide motivated lighting that justifies the illumination within your story.
Smart Bulbs: Affordable color-changing bulbs (Philips Hue, LIFX) offer RGB control for practical lights in frame.
String Lights and Fairy Lights: Create atmospheric backgrounds or soft, wrap-around lighting.
Cheap Light Modifiers That Make a Huge Difference
The difference between amateur and professional lighting often comes down to modifiers, not the lights themselves:
Diffusion Materials
Shower Curtains: White shower curtains create beautiful, even diffusion for under $10. Clip them in front of harsh lights to create soft, flattering illumination.
Parchment Paper: Use it for smaller lights (ensure adequate distance to prevent fire hazards). Creates soft, warm-toned diffusion.
White Bed Sheets or Fabric: Classic Hollywood diffusion on a budget. Stretch fabric in frames or clip it to C-stands.
Frost Gels: [Rosco Diffusion Gel Pack] provides professional-grade diffusion that’s reusable and fire-resistant.
Reflectors and Bounce Tools
Foam Boards (White, Black, Silver): Available at craft stores for $5-$10. White provides soft fill, silver gives punchy highlights, and black creates negative fill (deepening shadows).
Aluminum Foil: Crinkle it for sparkly, broken-up reflections or keep it smooth for harder bounce. Mount on cardboard for durability.
Car Windshield Reflectors: The silver sunshades designed for cars double as excellent lighting reflectors.
DIY Softboxes
Build simple softboxes using:
- Cardboard boxes
- White fabric or shower curtains
- Tape and clips
- Velcro Strips for Easy Assembly
YouTube offers countless tutorials for DIY softbox construction. A homemade softbox performs nearly identically to commercial versions costing hundreds of dollars.
Flags and Blockers
Black fabric, cardboard, or foam core blocks unwanted light spill, creating controlled shadows and preventing lens flares. Position flags between lights and camera or between lights and background to shape illumination precisely.
How to Set Up Cinematic Night Lighting (Step-by-Step)
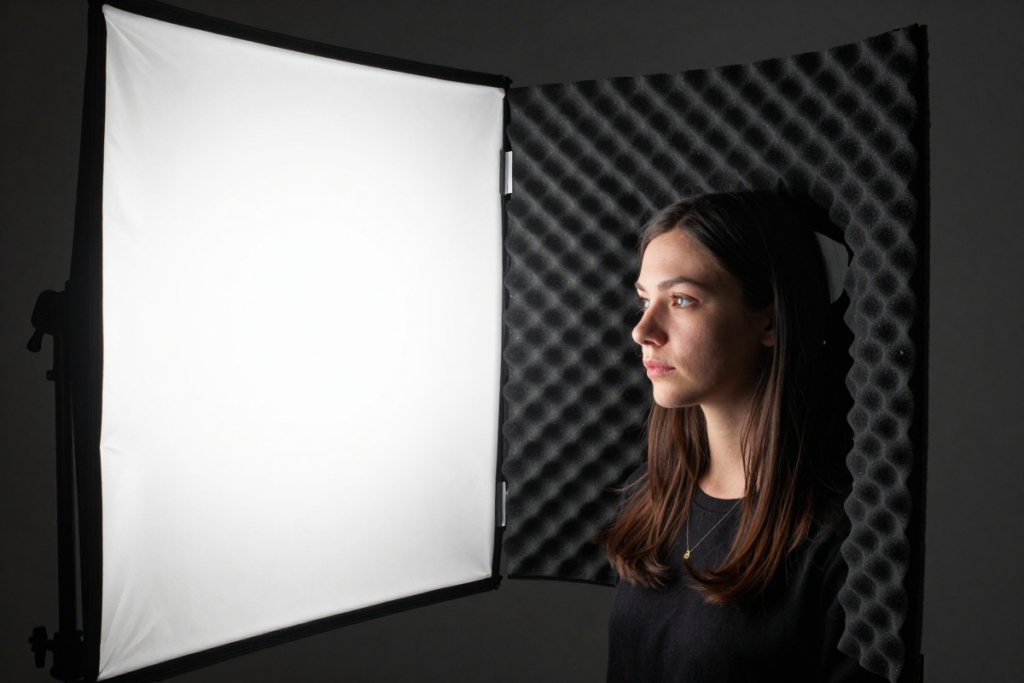
Let’s move from theory to practice with specific lighting setups:
Basic 1-Light Setup
When you have only one light, placement is everything.
Key Light Placement:
- Position your light 45 degrees to the side of your subject
- Elevate it slightly above eye level
- Angle it downward toward your subject
- Use diffusion to soften the light
This creates dimensional lighting with shadows that add depth. The side of the face away from the light falls into shadow, creating the dramatic contrast essential to night scenes.
Pro Tip: If the shadow side becomes too dark, position a white reflector opposite your light to bounce subtle fill back into shadows.
2-Light Setup
Adding a second light exponentially increases your options.
Option 1: Key + Fill
- Main light (key) at 45 degrees to one side
- Secondary light (fill) on the opposite side at 50-75% the intensity of the key
- Creates balanced but dimensional lighting
Option 2: Key + Rim/Backlight
- Main light illuminates the front/side of your subject
- Second light behind subject, angled toward camera
- Creates edge lighting that separates subject from background
- More dramatic than key + fill setup
For night scenes, the key + rim approach typically looks more cinematic because it maintains shadow areas while creating separation.
3-Light Setup (Budget Version)
The classic three-point lighting adapted for night scenes:
Components:
- Key Light: Your main illumination source (LED panel or diffused work light)
- Fill Light: Softer, lower-intensity light opposite the key (could be a reflector rather than an actual light)
- Backlight/Rim Light: Creates separation from background (small LED panel, RGB tube, or even a practical light)
Setup Process:
- Place key light first, establish your primary illumination
- Add backlight to create edge definition
- Finally, add minimal fill to control shadow density
Budget Implementation:
- Key: LED panel with diffusion ($50)
- Fill: White foam board reflector ($7)
- Backlight: Small LED panel or RGB tube ($40-$60)
- Total: Under $120
Creative Techniques for Stunning Night Shots
Beyond basic setups, these creative approaches elevate your night cinematography:
Using Motivated Lighting
Every light in your frame should feel justified. If a street lamp appears in your shot, position your key light to match its direction and color. If someone lights a cigarette, use that practical light as motivation for a warm glow on their face.
Motivated lighting creates believable, immersive night scenes that don’t feel artificially lit.
Silhouettes and Backlighting
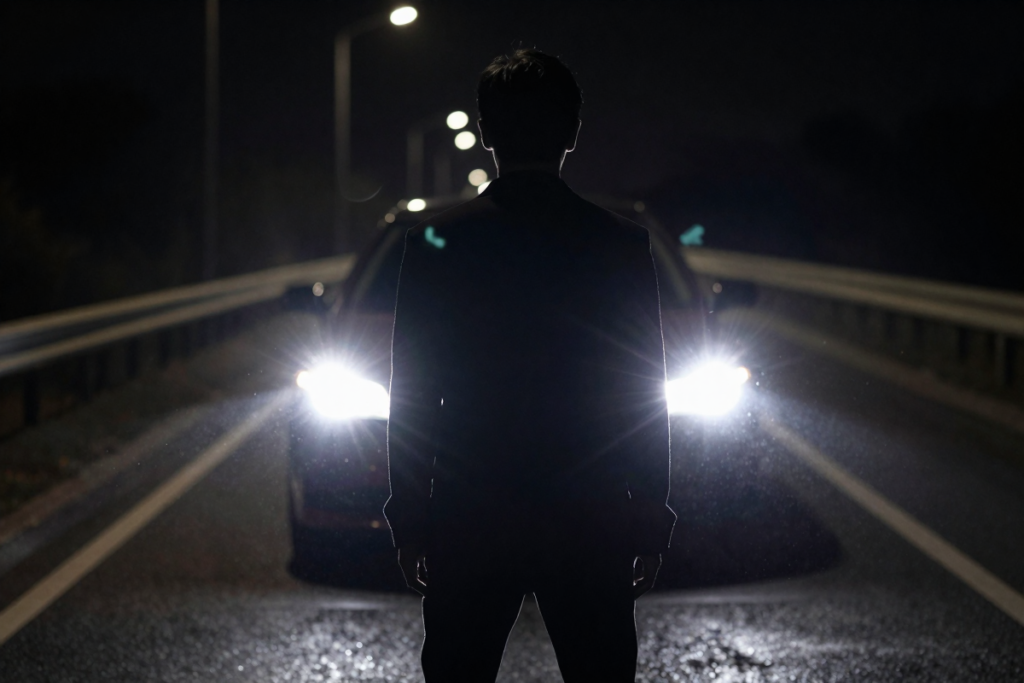
Position your subject between camera and a bright light source (streetlight, car headlights, window). Expose for the background, letting your subject fall into silhouette. This creates powerful, dramatic imagery with minimal lighting equipment.
Color Contrast (Teal and Orange Look)
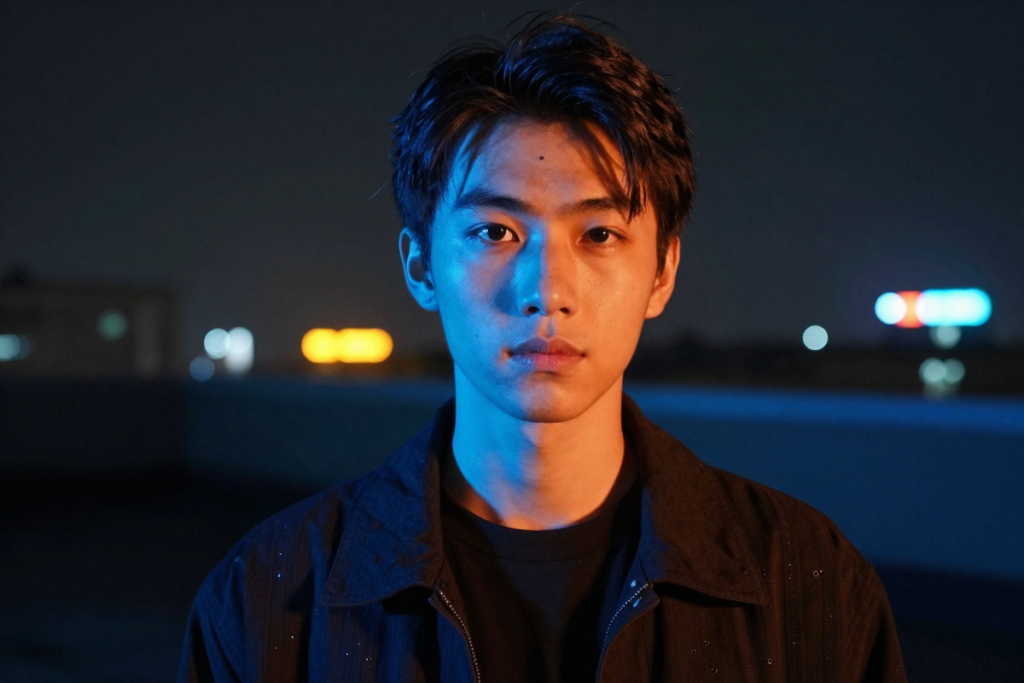
Modern cinematic aesthetics often feature cool blue/teal tones in shadows and warm orange in highlights. Achieve this by:
- Using cooler color temperature (5600K-6500K) for key lights
- Adding warm practicals (tungsten bulbs, warm LEDs) in the background
- Enhancing the separation in color grading
CTO and CTB Color Gel Pack helps you manipulate color temperatures of white lights.
Light Movement and Dynamics
Static lighting can feel stagey. Create realistic night atmosphere by:
- Simulating passing car headlights (sweep a light across the scene)
- Adding flicker to practical lights for realism
- Using moving shadows (have someone walk past off-camera lights)
- Incorporating real environmental movement (trees swaying, creating moving shadows)
Using Darkness Intentionally
Remember: night scenes should feature darkness. Don’t light everything. Leave backgrounds dark, allow portions of your frame to fall into shadow, and embrace negative space. This creates depth and focuses viewer attention where you want it.
Shooting Different Types of Night Scenes
Different scenarios require different approaches:
Indoor Night Scenes
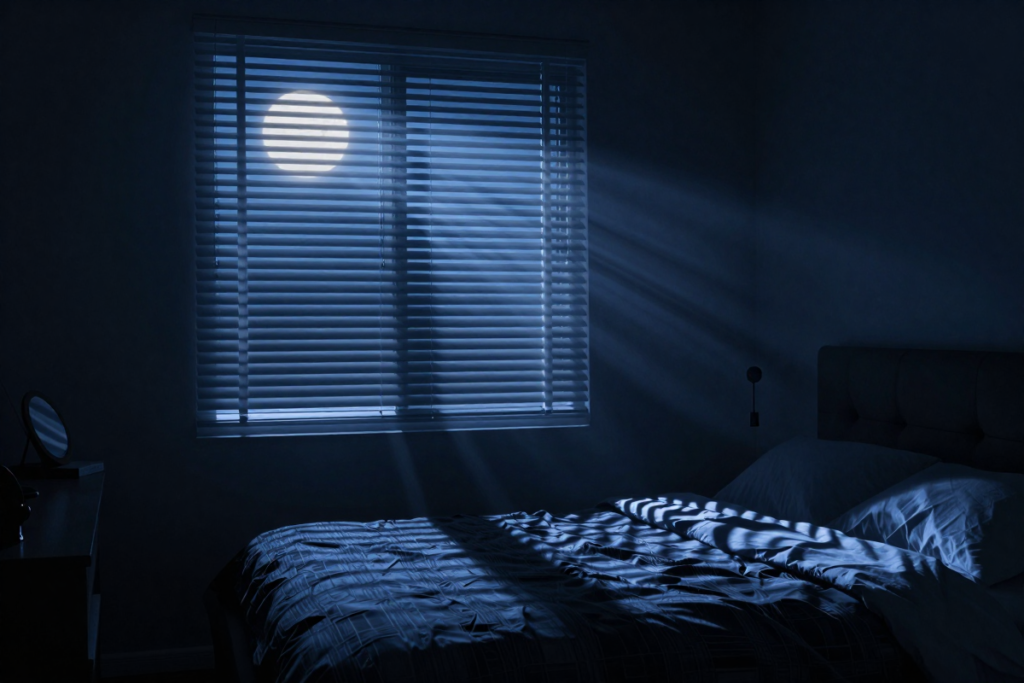
Simulating Moonlight:
- Use blue-tinted lights (5600K-6500K or add CTB gels)
- Position lights to stream through windows
- Keep intensity low—moonlight is subtle
- Allow large portions of the room to remain dark
Controlling All Light Sources:
Indoor shoots give you complete control. Turn off all existing lights, then add your film lights exactly where needed. This creates clean, intentional lighting without mixed color temperatures.
Outdoor Night Scenes
Working with Streetlights:
Scout locations during the actual shooting time to see available light. Position subjects near existing streetlights, then supplement with your own lights as needed.
Supplementing Natural Darkness:
Outdoor scenes rarely need extensive lighting. Use small battery-powered lights to:
- Add subtle fill on faces
- Create rim lighting for separation
- Illuminate important background elements
[Portable Battery-Powered LED Panel for Outdoor Shooting]
Dialogue Scenes at Night
Lighting Faces Naturally:
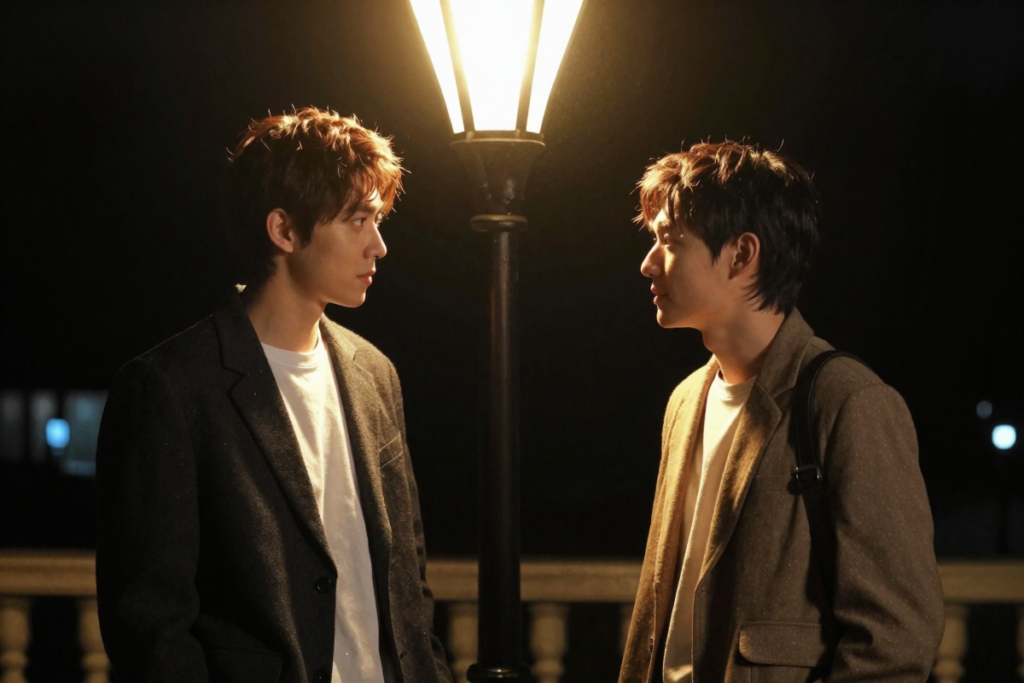
People should appear lit by available sources in the scene. If they’re near a street lamp, light from above. If they’re in a car, light from the dashboard direction.
Avoiding the “Over-Lit” Look:
The biggest mistake in night dialogue scenes is too much light. Faces should be visible but not brightly illuminated. Embrace shadows that add to faces rather than trying to eliminate them.
Common Mistakes to Avoid
Learn from these frequent errors:
Overlighting the Scene
If your night scene could pass for daytime, you’ve added too much light. Night should feel like night. Reduce overall intensity and increase contrast.
Mixing Color Temperatures Poorly
While some color temperature variation creates visual interest, random mixing looks amateurish. Choose a dominant color temperature and use contrasting temperatures intentionally, not accidentally.
Ignoring Background Lighting
Beginners focus exclusively on subject lighting, leaving backgrounds completely dark or randomly lit. Your background establishes environment and depth—light it intentionally, even if subtly.
Relying Only on ISO Instead of Adding Light
Cranking ISO seems easier than setting up lights, but it creates noisy, low-quality footage. Always add light first; use ISO as a final adjustment tool.
Post-Processing Tips for Night Footage
Lighting is only part of the equation—post-production completes the look:
Noise Reduction Tools
Modern editing software offers excellent noise reduction:
- DaVinci Resolve: Temporal and spatial noise reduction in the Color page (Advanced Paid Version) or (Free Version)
- Adobe Premiere Pro: Neat Video plugin for professional noise reduction
- Final Cut Pro X: Built-in noise reduction effects
Apply noise reduction conservatively—too much creates a plastic, over-processed look.
Color Grading for Cinematic Look
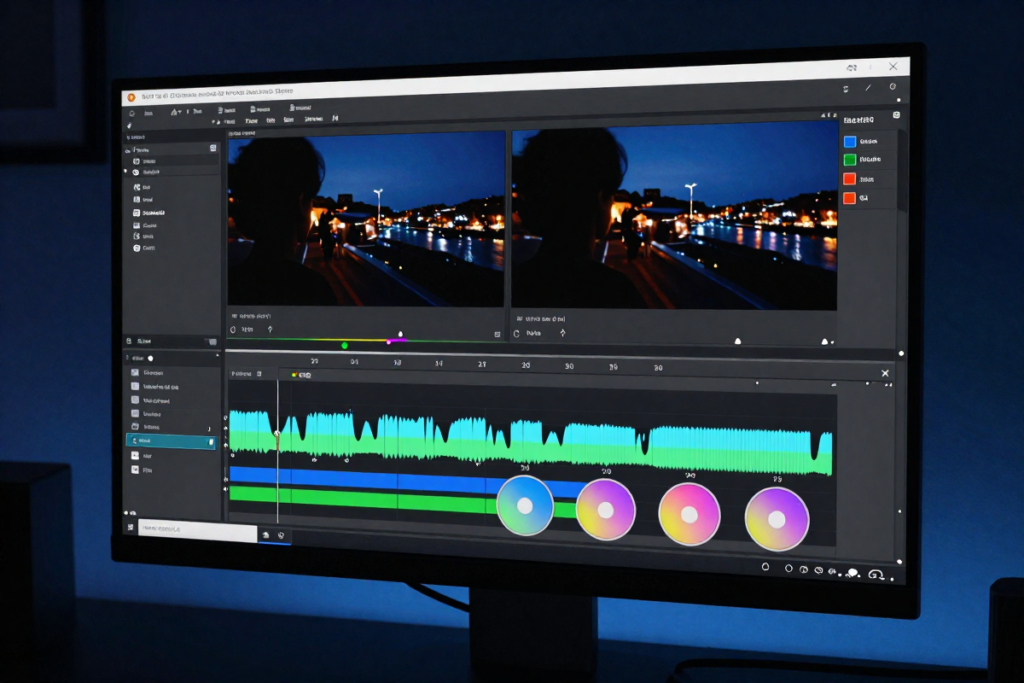
Night scenes benefit from:
- Crushing blacks slightly: Makes shadows deeper and more dramatic
- Adding blue tint to shadows: Creates that modern cinematic look
- Warming highlights: Creates separation from cool shadows
- Increasing contrast: Enhances the mood and separation
[Night Scene LUT Pack for Color Grading]
Enhancing Contrast Without Crushing Blacks
Use curves and levels to increase contrast while preserving shadow detail. Watch your waveform to ensure blacks don’t completely crush (unless that’s the intentional look).
Matching Shots for Consistency
Night footage can vary significantly between takes. Use reference stills and color match tools to ensure your sequence maintains consistent color and exposure throughout.
Budget Gear Kit Recommendations
Here are complete kits at different price points:
Starter Kit Under $100
- 2x [Budget LED Panels] – $80
- 1x [White Foam Board 3-Pack] – $10
- 1x White shower curtain for diffusion – $8
- Total: ~$98
This minimal kit handles most basic night scenes with smart positioning and light shaping. Prices are subject to change and could be more or less as time goes on.
Best Value Kit Under $250
- 2x [Quality LED Panel with Barn Doors] – $140
- 1x [RGB LED Tube Light] – $70
- 1x [Reflector Kit (5-in-1)] – $20
- 1x [Diffusion Gel Pack] – $15
- Total: ~$245
This setup provides professional flexibility with color control and proper light shaping tools.
Upgrade Kit Under $500
- 2x [Premium Bi-Color LED Panel] – $240
- 1x [RGB LED Tube (Advanced)] – $90
- 2x [Portable LED Work Lights] – $60
- 1x [Professional Gel Pack] – $35
- 2x [Light Stands with Boom Arms] – $70
- Total: ~$495
This kit handles nearly any night scene scenario with professional quality and complete control.
Quick Comparison Table
| Kit Level | Lights Included | Modifiers | Best For | Approximate Cost |
|---|---|---|---|---|
| Starter | 2 LED panels | Basic foam board | Single subject scenes | $100 |
| Value | 2 LED panels + RGB tube | Reflector kit, gels | Multi-subject, creative scenes | $250 |
| Upgrade | 4 lights (variety) | Professional modifiers, stands | Professional indie production | $500 |
Frequently Asked Questions
Can you shoot night scenes without lights?
Yes, but with limitations. Modern cameras with excellent low-light performance can capture scenes using only available light (street lamps, building lights, car headlights). However, you’ll have limited control over the mood, direction, and quality of light. Adding even one small LED panel significantly improves results.
What’s the cheapest lighting setup possible?
A single LED work light from a hardware store ($15-$25) with a white shower curtain for diffusion ($7) creates a functional night lighting setup for under $35. While limited, this combination can produce surprisingly professional results with smart positioning.
How do you avoid grainy footage at night?
- Add more light rather than increasing ISO excessively
- Use lenses with wide maximum apertures (f/1.4-f/2.8)
- Shoot at your camera’s native ISO when possible
- Apply noise reduction in post-production
- Choose cameras with larger sensors for better low-light performance
Are LED lights good for filmmaking?
Modern LED lights are excellent for filmmaking, especially budget productions. They offer adjustable color temperature, run cool, consume less power, and have become increasingly affordable. Ensure you choose LEDs with CRI above 90 for accurate color reproduction.
How do you simulate moonlight with budget film lights?
Use LED panels set to 5600K-6500K (or add CTB blue gels to tungsten lights). Position them high and at an angle to simulate moonlight streaming from above. Keep intensity low—moonlight is subtle. Adding a slight diffusion creates the soft quality of natural moonlight.
Conclusion: Skill Trumps Gear Every Time
The path to cinematic night scenes isn’t paved with expensive equipment—it’s built on understanding light, embracing shadows, and using whatever tools you have creatively. A $40 work light in the hands of someone who understands lighting principles will outperform a $400 LED panel used carelessly.
Start with one or two affordable lights, master their placement and modification, then gradually expand your kit as your skills and needs grow. The filmmakers who create stunning night cinematography aren’t the ones with the most expensive gear—they’re the ones who know how to see and shape light.
Your next step: Try a simple one-light setup tonight. Position a single light source (even a table lamp) at 45 degrees to your subject, add a white reflector on the opposite side, and experiment with different distances and diffusion. You’ll be amazed at what you can achieve with minimal equipment and maximum intention.
Ready to build your budget night lighting kit? Start with the essential gear linked throughout this guide and begin creating the cinematic footage you’ve been imagining.
Disclaimer: This article contains affiliate links. If you purchase an item through the link I will earn a small commission at no extra cost to you.
Leave a Reply