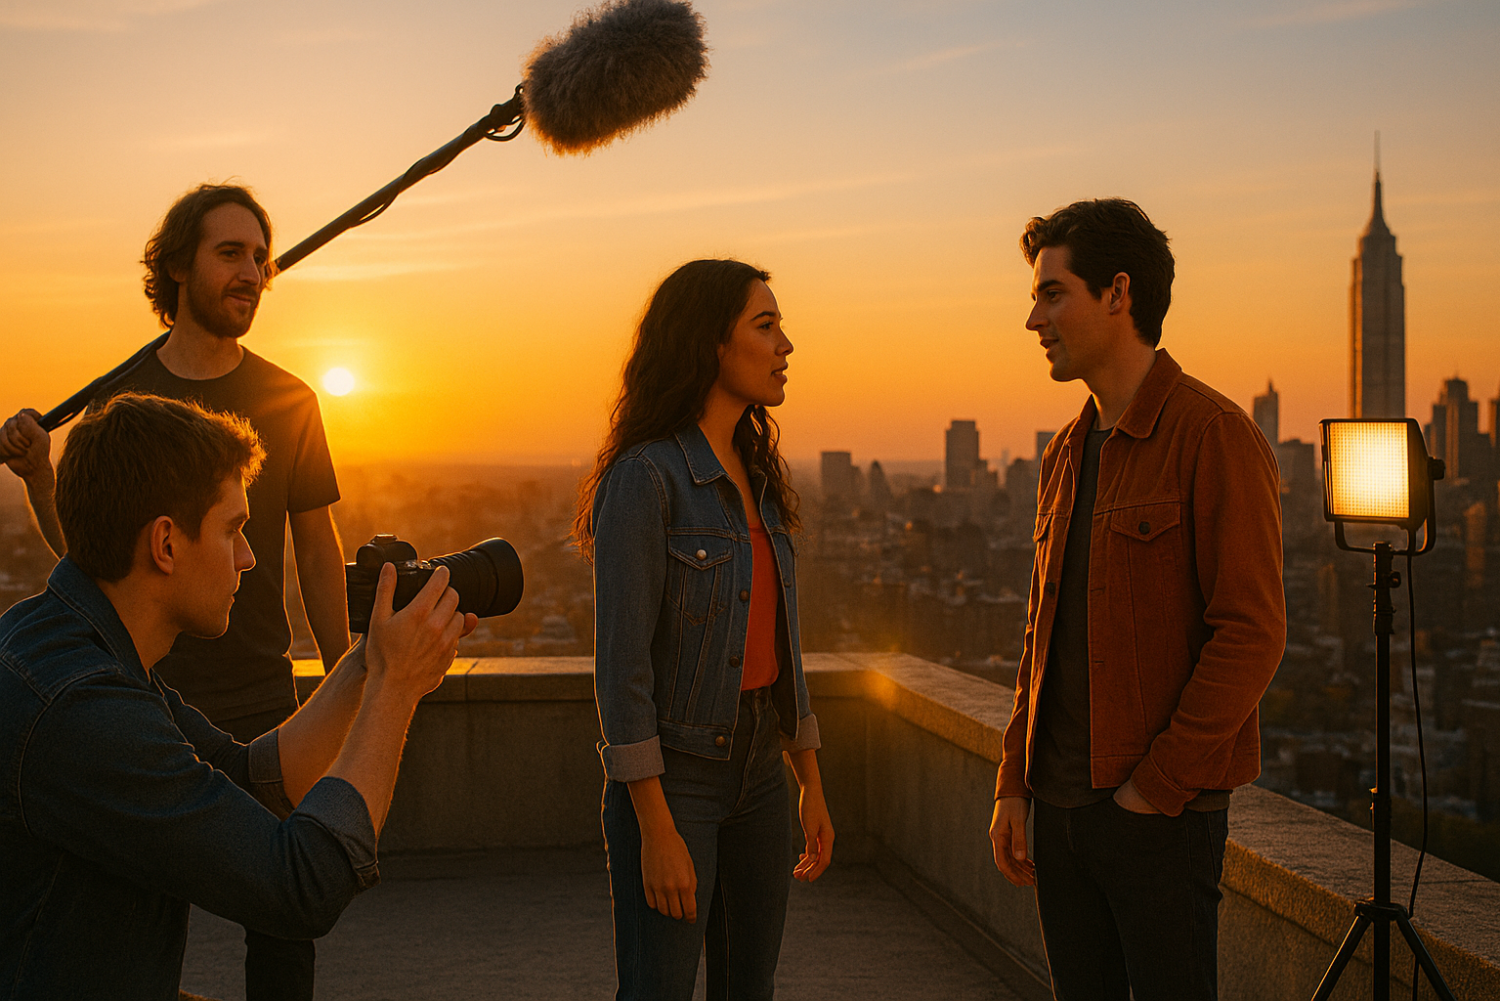
There’s a persistent myth in the filmmaking world that cinematic quality requires a Hollywood-sized budget. Aspiring directors and independent creators often assume that without a $50,000 camera rig, a professional lighting crew, and a state-of-the-art editing suite, their footage is destined to look amateur. That assumption is wrong — and it’s holding talented storytellers back every single day.
The truth is that professional-looking films are not defined by price tags. They are defined by visual clarity, intentional camera movement, clean audio, balanced lighting, and strong storytelling. Each of these elements can be achieved, or dramatically improved, without spending a fortune.
In this guide, you will learn exactly how to make your film look professional on a budget — from choosing the right affordable gear and mastering cinematic lighting techniques, to color grading your footage and editing like a seasoned pro. Whether you are working with a smartphone or a budget DSLR, these budget filmmaking tips will help you punch well above your weight class.
What Actually Makes a Film Look “Professional”?
Before spending a single dollar on gear, it helps to understand what “professional” really means to a viewer’s eye. Most audiences cannot identify the camera brand used in a scene. What they can detect almost instantly are the following quality signals:
- Visual clarity — sharp, well-exposed footage with consistent color
- Stable, intentional camera movement — smooth shots that feel controlled, not accidental
- Clean, balanced lighting — subjects that are lit with purpose and contrast
- High-quality audio — dialogue that is crisp, clear, and free of background noise
- Strong composition and framing — images that feel crafted, not just recorded
- Consistent editing style — a cohesive pacing and visual language throughout
The gap between a $1,000 camera and a $50,000 camera is often far less noticeable to a viewer than the gap between a poorly lit scene and a professionally lit one. This is the most important insight in all of low-budget cinematography, and it should guide every decision you make.
The Budget Filmmaking Mindset
The single most important upgrade you can make costs nothing: skill over gear.
Experienced cinematographers can shoot compelling footage on a smartphone. Beginners with expensive cameras consistently produce flat, uninspiring work. The knowledge you invest in learning — lighting theory, composition rules, camera settings — returns more cinematic value than any equipment purchase.
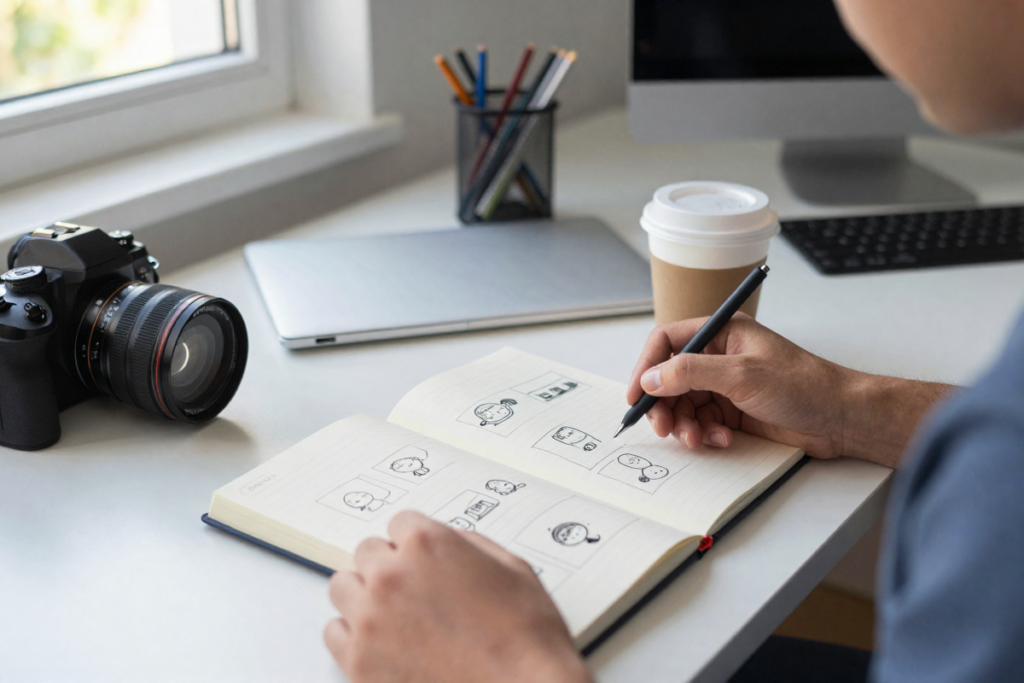
Pre-production is your budget’s best friend. Every hour spent planning saves money on set. Creating a simple shot list, storyboarding key scenes, and scouting locations ahead of time prevents costly mistakes, wasted shooting days, and reshoots. A storyboard does not need to be artwork — rough thumbnail sketches that map out your camera angles are enough to transform your efficiency on shoot day.
When you do spend money, focus on high-impact upgrades first. Based on what separates amateur footage from cinematic footage, invest in this order: lighting, audio, stabilization, then camera.
Choosing the Right Budget Camera Setup
Entry-Level Camera Options
Modern smartphones — particularly flagship models from Apple and Samsung — shoot stunning 4K video with advanced computational photography built in. For many short films, music videos, and documentary projects, a smartphone paired with the right accessories produces results indistinguishable from entry-level dedicated cameras.
If you want a dedicated camera, budget DSLRs and mirrorless cameras offer excellent value. Look for models with:
- 4K resolution or solid 1080p at high bitrates
- Multiple frame rate options (24fps, 30fps, 60fps)
- Full manual controls — the ability to set aperture, shutter speed, and ISO yourself is non-negotiable for a cinematic look
📌 [Budget mirrorless camera recommendation — e.g., Canon EOS M50 Mark II or Sony ZV-E10]
📌 [CINEMATIC SHOTS: Smartphone video rig / cage kit]
📌 [CAN’T FILM WITHOUT IT: High-speed SD card / memory cards]
One Lens That Changes Everything
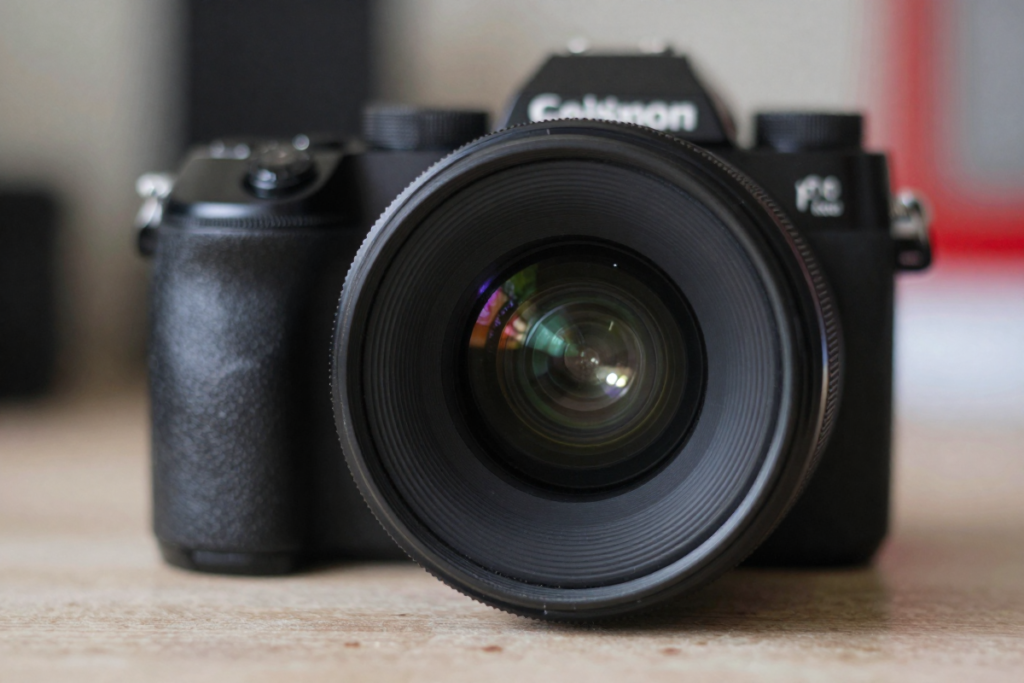
If your camera accepts interchangeable lenses, prioritize a fast prime lens — something in the 35mm to 50mm range with an aperture of f/1.8 or wider. A wide aperture gives you that coveted shallow depth of field, blurring backgrounds into smooth bokeh and instantly elevating your production value. It also performs dramatically better in low light, reducing the noise that makes footage look cheap.
📌 [Budget 50mm f/1.8 prime lens]
Lighting: The Biggest Upgrade for the Least Money
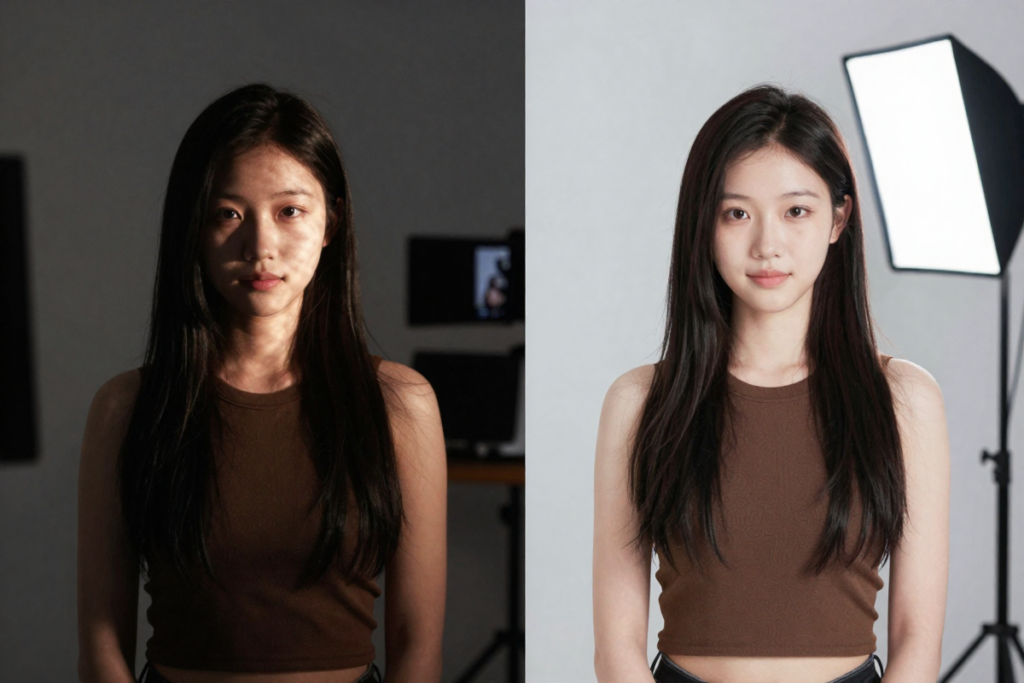
This is the most impactful section of this entire guide. If you do nothing else, fix your lighting.
Why Lighting Matters More Than Your Camera
A well-lit scene shot on a smartphone will consistently outperform a poorly lit scene shot on a professional cinema camera. Lighting creates depth, mood, contrast, and visual separation between your subject and the background — all the qualities that make an image feel “expensive.”
Affordable Lighting Solutions
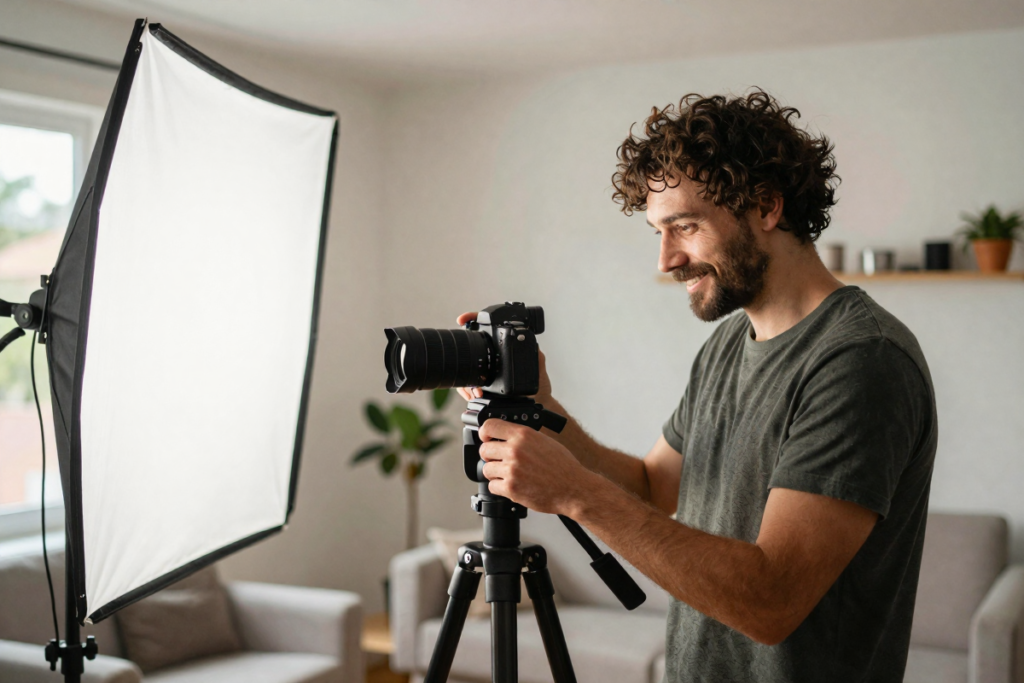
Natural light is your most powerful free tool. Large windows provide soft, flattering light when used correctly. Position your subject facing the window as your key light, and use a cheap reflector — or even a piece of white foam board — on the opposite side to bounce light back and fill in harsh shadows.
The golden hour (the 60 minutes after sunrise and before sunset) provides warm, directional, cinematic light that no artificial source can fully replicate. Build your outdoor shooting schedule around it.
DIY lighting hacks that work surprisingly well:
| DIY Hack | Materials | Effect |
|---|---|---|
| Reflector board | Cardboard + tinfoil or white foam | Free fill light for shadows |
| China ball | Paper lantern + high-wattage bulb | Soft 360-degree ambient light |
| Diffusion panel | White bedsheet or shower curtain | Softens harsh LED or sunlight |
| Negative fill | Black bedsheet or dark fabric | Creates contrast and depth |
| Color gels | Affordable colored transparent sheets | Transforms flat white walls into cinematic backgrounds |
Budget softbox and LED kits represent a massive leap in production value for relatively little money. A simple two-light LED panel kit with softbox diffusers gives you full control over your scene at a fraction of professional rental costs.
📌 [LIGHTING: Budget LED panel kit with softboxes]
Three-Point Lighting — Simplified
The foundation of professional lighting is the three-point setup:
- Key light — your main, brightest light source, positioned 45 degrees to the side of your subject
- Fill light — a softer, dimmer light on the opposite side to reduce harsh shadows
- Back/rim light — a light positioned behind the subject to create separation from the background
You do not need three dedicated lights to achieve this. Your key light can be a window. Your fill can be a reflector. Your rim light can be a simple LED panel. The technique is free. The equipment does not have to be expensive.
Audio Quality: The Secret Professional Filmmakers Know
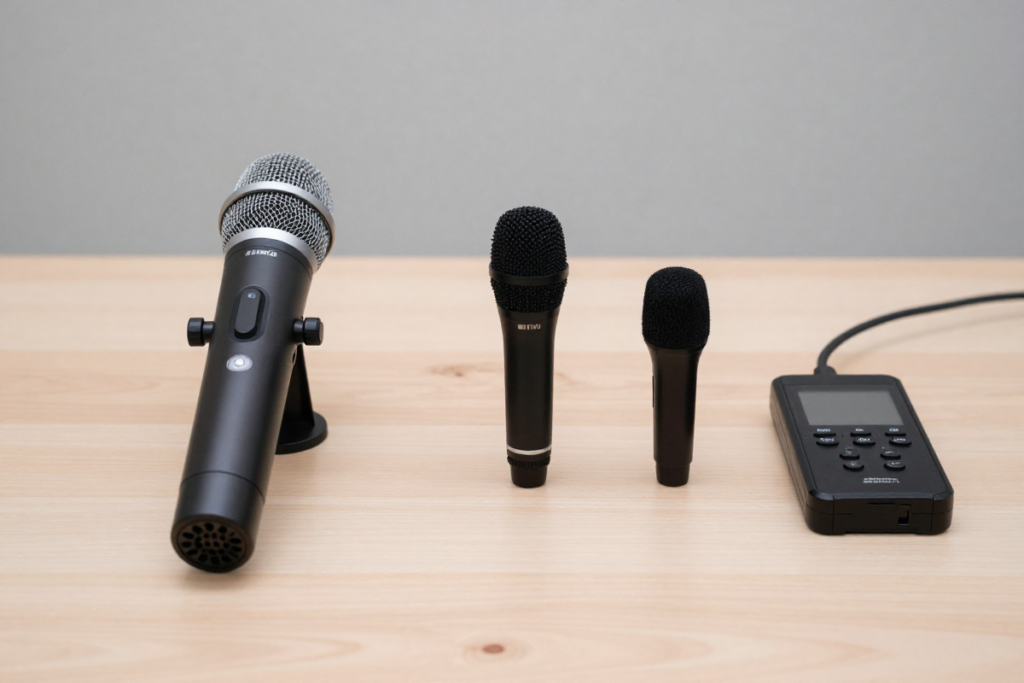
Here is the most counterintuitive truth in all of filmmaking: audiences will forgive imperfect video, but they will immediately stop watching if the audio is bad.
Bad audio is the number one thing that marks a film as amateur. Echoing dialogue, background hum, and low-volume recordings destroy credibility no matter how beautiful your images are.
Budget Audio Solutions
Lavalier microphones (lapel mics) are small clip-on microphones that record clean dialogue by staying close to the speaker’s mouth. Budget wired lavs can be had for under $30 and represent a significant upgrade over any built-in camera microphone.
📌 [Budget lavalier microphone — e.g., Rode SmartLav+ or Movo uLac-L]
Shotgun microphones are directional mics that mount on your camera’s hot shoe and reject ambient sound from the sides. They are ideal for run-and-gun shooting and documentary-style work.
📌 [Budget shotgun microphone — e.g., Rode VideoMicro or Deity V-Mic D3]
Portable audio recorders let you record audio separately from your camera at a much higher quality. Even a basic field recorder paired with a budget microphone will outperform most on-camera audio solutions.
📌 [Budget portable audio recorder — e.g., Zoom H1n or Tascam DR-40X]
Quick Audio Tips
- Always record room tone — 30 seconds of silence on every location. This ambient sound is used in editing to smooth audio cuts seamlessly.
- Get the microphone as close to the subject as possible without it being in frame.
- Listen to your audio through headphones while recording, not just monitor it on a meter.
- Avoid shooting near air conditioning units, refrigerators, and traffic whenever possible.
Stabilization: Smooth Footage Without Spending Big
Shaky, unstable footage is the second most common giveaway of an inexperienced production. Smooth, controlled camera movement communicates confidence and professionalism.
Budget Stabilization Options
A basic tripod is the most important piece of stabilization gear you can own. Even a budget fluid head tripod eliminates the majority of handheld shake for static shots and slow pans.
📌 [RECOMMENDED: Budget fluid head video tripod]
Handheld gimbals have become remarkably affordable and allow for smooth, flowing movement that previously required a Steadicam operator costing thousands of dollars per day. A three-axis gimbal dramatically expands the cinematic movement options available to low-budget filmmakers.
📌 [Smartphone gimbal — e.g., DJI OM 6 or Hohem iSteady]
📌 [Camera gimbal for mirrorless — e.g., Zhiyun Crane M3 or FeiyuTech AK2000C]
DIY stabilization tricks worth knowing:
- Press your elbows firmly into your body when shooting handheld to reduce micro-jitter
- Use a string tripod — tie a piece of string to your camera mount, step on the other end, and create tension to stabilize handheld shots
- Lean against walls and solid surfaces for impromptu stabilization
Camera Settings for an Instant Cinematic Look
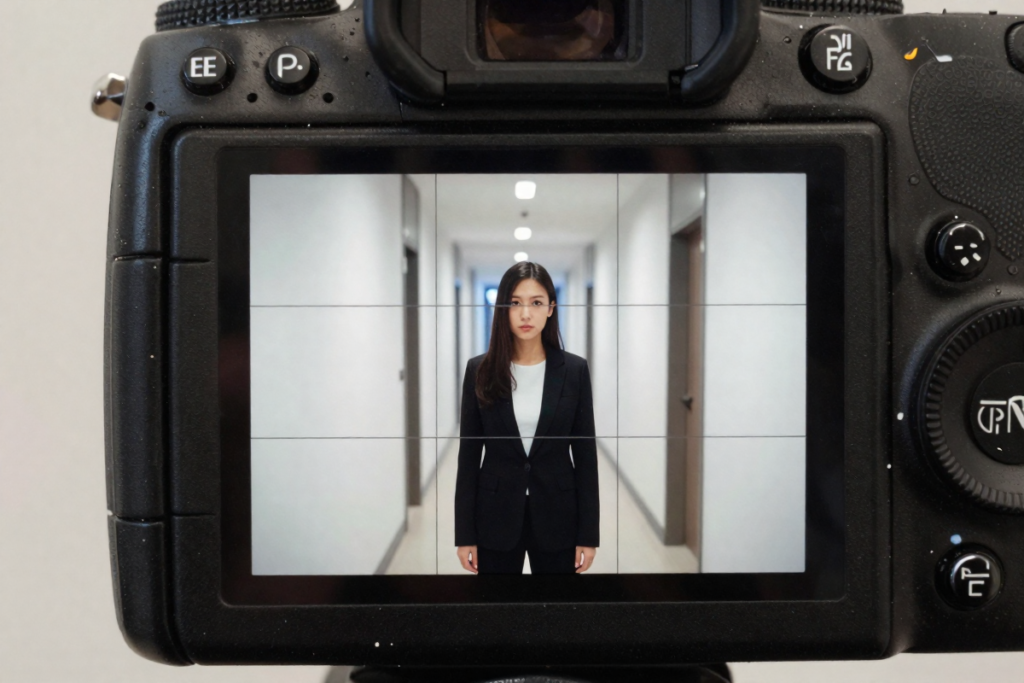
Getting your camera settings right costs nothing and makes an enormous difference.
Shoot at 24fps. The 24 frames-per-second frame rate is the standard for cinematic content. Higher frame rates like 60fps create the “soap opera effect” — an overly sharp, hyper-real look that immediately reads as non-cinematic.
Follow the 180-degree shutter rule. Set your shutter speed at approximately double your frame rate. At 24fps, use a shutter speed of 1/48 or 1/50. This creates the natural motion blur that human vision expects when watching a moving image. Deviating from this rule creates jittery, staccato motion that looks amateurish. In bright conditions, use an ND (neutral density) filter to maintain this shutter speed without overexposing the image.
📌 [FIND IT HERE: Variable ND filter]
Keep ISO as low as possible. High ISO introduces grain and noise that degrade image quality. Use lighting to expose your scene rather than cranking your camera’s sensitivity.
Set a consistent white balance manually. Auto white balance shifts between shots, creating color inconsistencies that make editing a nightmare. Lock it in for each location.
Composition and Framing: Free Upgrades That Work Immediately
Strong composition transforms ordinary footage into compelling visual storytelling. These techniques are entirely free and take only practice to master.
- Rule of thirds — divide your frame into a 3×3 grid and place subjects at intersection points rather than dead center
- Leading lines — use roads, walls, fences, and architectural elements to guide the viewer’s eye toward your subject
- Depth and layering — include foreground elements to create a sense of three-dimensional space
- Headroom — leave appropriate space above your subject’s head; too little feels claustrophobic, too much looks unintentional
- Background awareness — always check what is behind your subject before you shoot. Declutter, reposition, or use a shallow depth of field to minimize distracting backgrounds.
Color Grading on a Budget
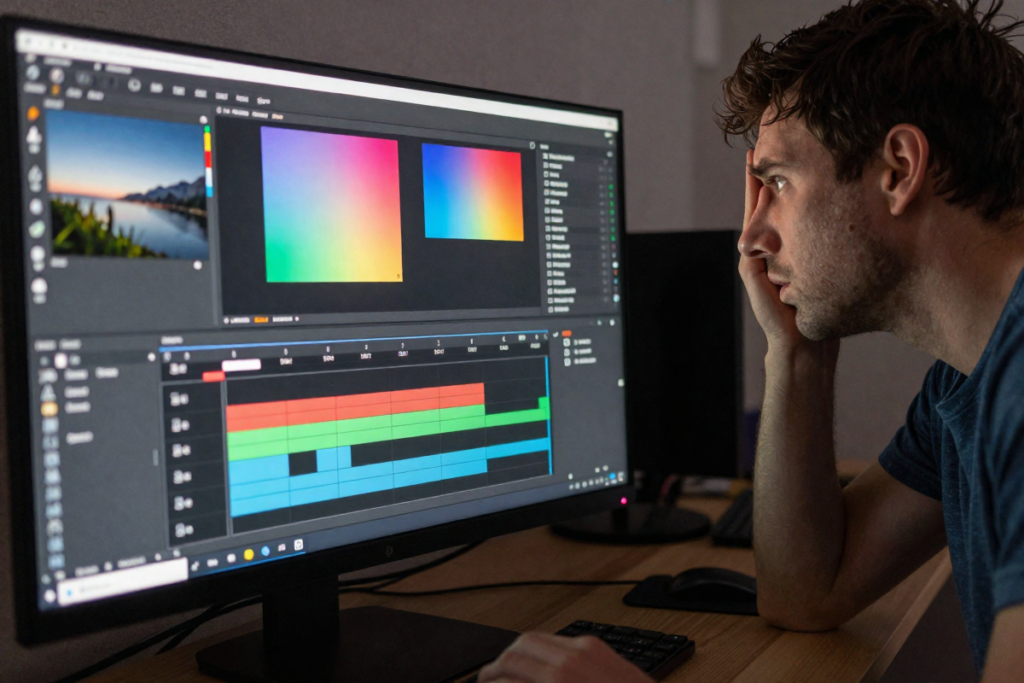
Color grading is the post-production process of giving your footage a cohesive visual style. It is the difference between raw, flat footage and the polished look of a finished film.
DaVinci Resolve is the industry-standard recommendation for budget filmmakers. The free version is genuinely professional-grade, with color correction and audio tools that rival paid software.
The basic color correction workflow:
- Correct exposure and white balance first — make every shot technically consistent
- Apply a creative grade — adjust contrast, shadows, highlights, and color tone for mood
- Use LUTs (Look-Up Tables) as a starting point, not a final answer. LUTs are color presets that can give your footage an instant cinematic style, but they work best when your footage is properly exposed and color-corrected first.
📌 [VIDEO EDITING: DaVinci Resolve course / DaVinci Resolve (Free Version) or (Advanced Paid Version)]
Your Beginner Budget Gear Kit
Here is a practical starter setup that covers every essential filmmaking need without breaking the bank:
| Category | Recommendation | Approx. Budget Range |
|---|---|---|
| Camera | Entry-level mirrorless or smartphone | $300–$700 |
| Prime lens | 35mm or 50mm f/1.8 | $100–$200 |
| Microphone | Shotgun or lavalier mic | $50–$150 |
| Tripod | Fluid head video tripod | $50–$120 |
| Lighting | 2-light LED softbox kit | $80–$200 |
| Editing software | DaVinci Resolve (free) | $0 |
📌 [Check out this Smartphone Filmmaker Bundle]
Common Mistakes That Make Films Look Cheap
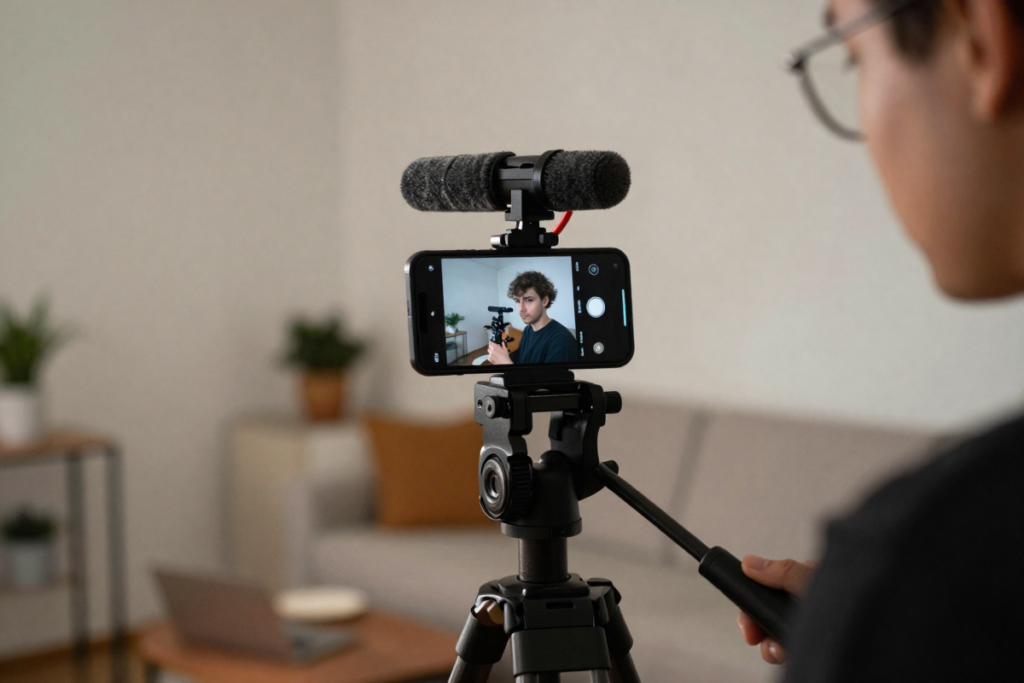
Avoid these pitfalls and you will immediately elevate your production value:
- Shooting in auto mode — manual control over exposure and white balance is essential
- Neglecting audio — invest in an external microphone before a new camera
- Overusing transitions and effects — cuts and dissolves serve the story; wipes and spinning transitions announce inexperience
- Inconsistent color grading — shots within the same scene should match each other
- Shooting without a plan — no shot list means wasted time and missed coverage
Frequently Asked Questions
Can I make a professional film with a smartphone?
Absolutely. Modern flagship smartphones shoot 4K video with impressive dynamic range and color science. Paired with a gimbal, external microphone, and proper lighting, a smartphone is capable of producing broadcast-quality results.
What is the most important piece of gear to invest in first?
Audio. A dedicated external microphone — even a budget lavalier or shotgun mic — will have a more dramatic impact on perceived production quality than any camera upgrade.
How much does it cost to start filmmaking?
A functional beginner setup covering camera, microphone, tripod, and basic lighting can be assembled for $500–$1,000. You can start for even less using a smartphone you already own paired with a budget microphone and a tripod.
What software do beginners use for editing?
DaVinci Resolve is the top recommendation — it is free, professional-grade, and used by working editors in Hollywood. Other beginner-friendly options include CapCut (free, mobile-focused) and iMovie (free, Apple devices).
Is it better to buy a cheap camera or rent an expensive one?
For a single, important production, renting allows access to higher-quality sensors and cinema lenses that would be unaffordable to purchase. For ongoing learning and practice, buying a budget camera to use regularly builds more skill over time.
Conclusion: Professional Results Come From Technique, Not Budget
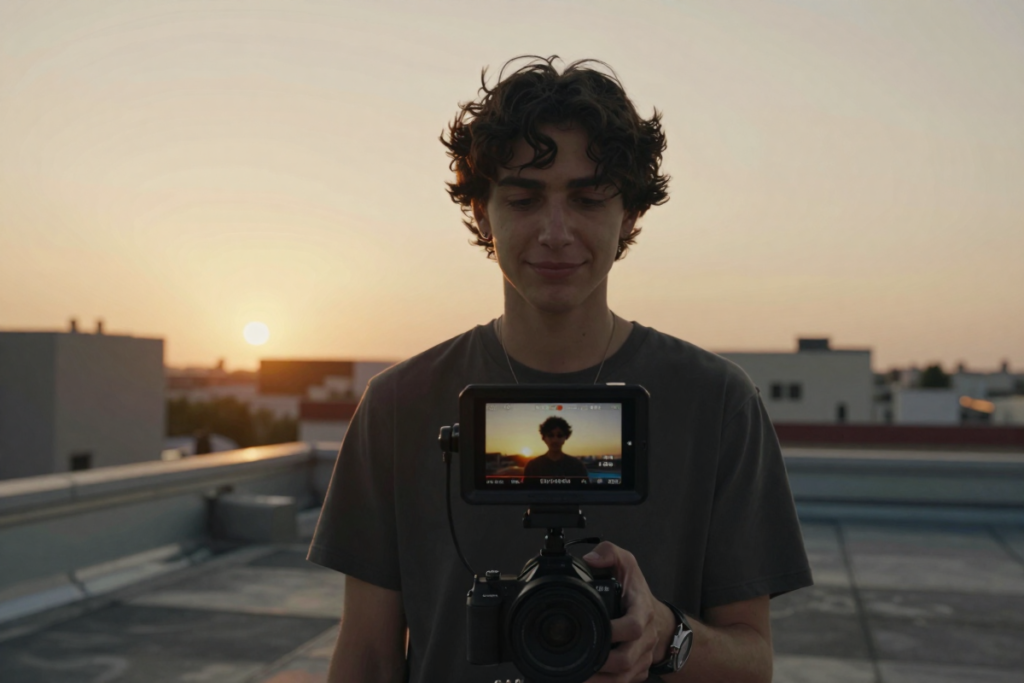
The most important lesson in budget filmmaking is this: every frame of every great low-budget film was made by someone who understood light, sound, and story — not someone who had unlimited money.
Skill compounds. Every hour you spend learning three-point lighting, practicing composition, or studying how professional editors pace a scene pays dividends across every project you make. Gear depreciates. Knowledge does not.
Start with what you have today. Fix your lighting with a window and a reflector. Record clean audio with a budget microphone. Shoot at 24fps with the 180-degree shutter rule applied. Grade your footage in DaVinci Resolve. These steps cost very little and produce results that will surprise you.
Ready to upgrade your filmmaking? Start with one item from the beginner kit above — the microphone is the highest-impact first purchase for most creators. Check out the recommended gear list, and if this guide helped you, share it with a fellow filmmaker who needs to hear that a Hollywood budget is not required.
Have questions about budget filmmaking? Drop them in the comments below.
Leave a Reply