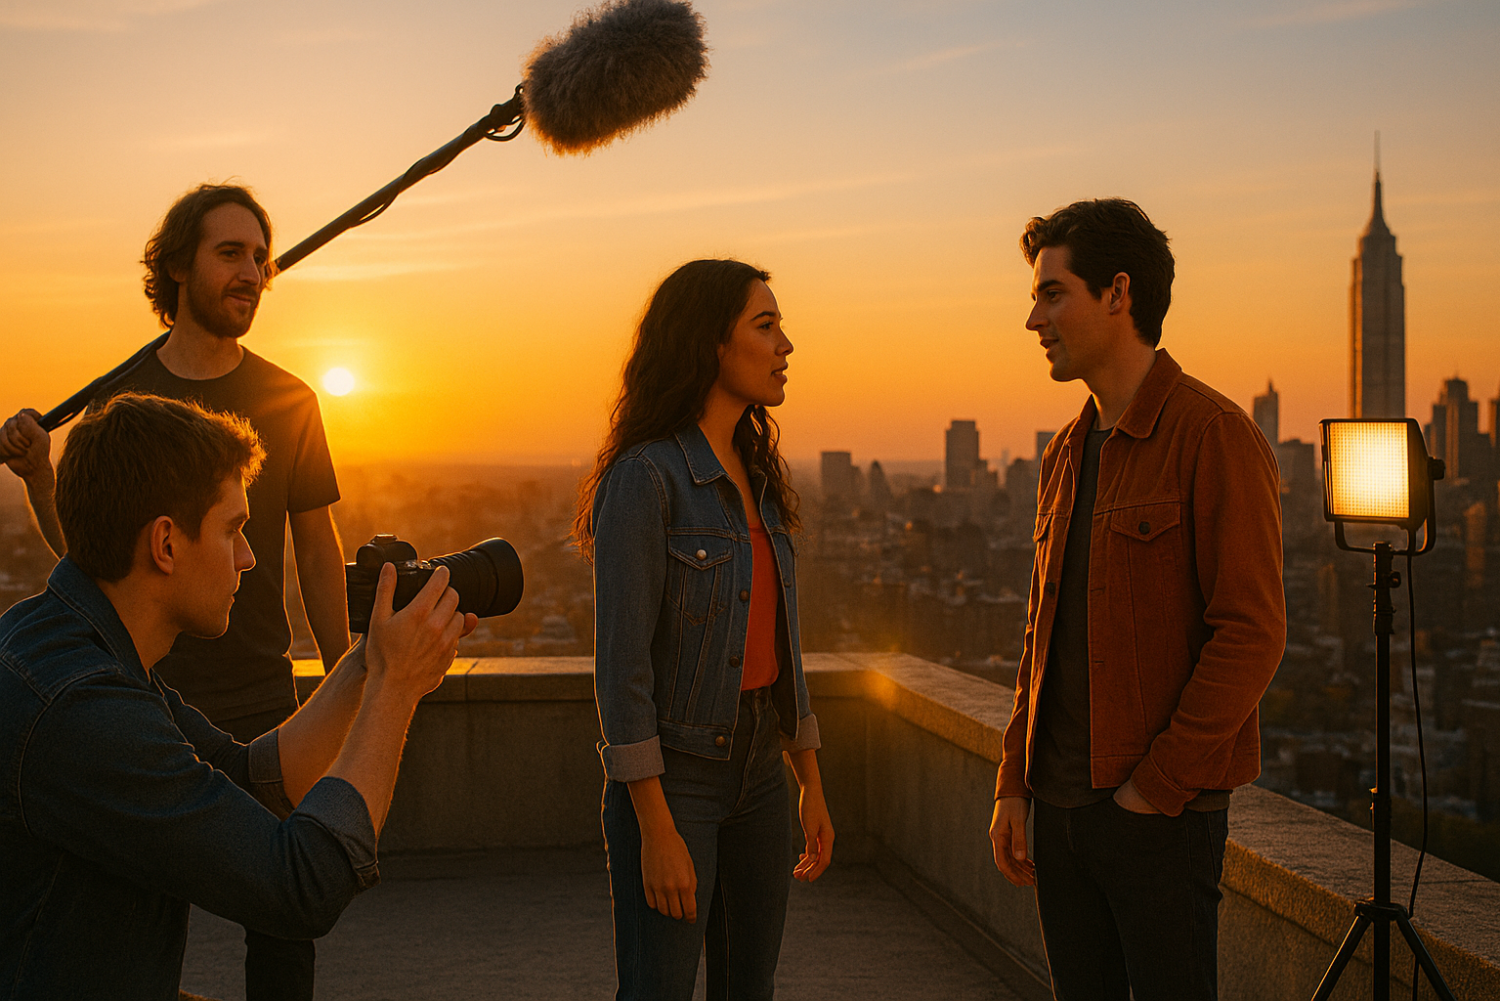
Filming a conversation between two people sounds simple enough — until you’re standing on set with a single camera, two actors waiting for direction, and no idea where to start. Whether you’re an indie filmmaker working with a shoestring budget, a YouTube creator leveling up your production quality, or a film student tackling your first scripted short, single camera dialogue filming is a skill that will define the quality of your storytelling.
Here’s the truth that Hollywood doesn’t advertise: some of the most iconic dialogue scenes ever captured were shot with one camera. From intimate character moments in indie dramas to emotionally charged arguments in prestige television, the single camera method gives you complete control over every frame. And with the right techniques — covering framing, lighting, audio, and editing — you can produce professional-looking results without a full production crew.
In this complete guide, you’ll learn exactly how to film dialogue scenes with only one camera, step by step. We’ll cover essential gear, the best camera angles for dialogue, a proven shooting workflow, lighting and audio tips, editing techniques, and the most common mistakes to avoid. By the end, you’ll have a clear, actionable system to shoot conversation scenes that look and sound cinematic.
Why Filming Dialogue With One Camera Is Totally Possible
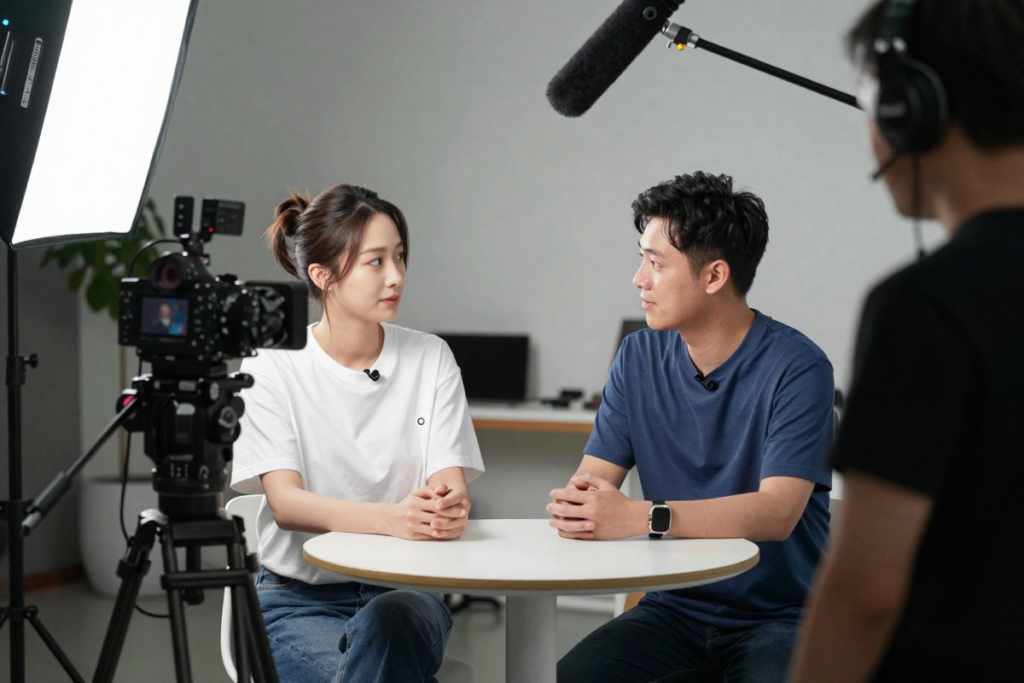
Let’s debunk a persistent myth right away: you do not need two cameras — or five — to shoot a compelling dialogue scene. The belief that multi-camera setups are necessary for professional results is largely a product of television production workflows, where speed takes priority over precision.
In narrative filmmaking, single camera dialogue filming is actually the industry standard. Directors like Christopher Nolan, Paul Thomas Anderson, and Richard Linklater have built careers on meticulous single camera setups that give them granular control over every composition.
The advantages of shooting dialogue with one camera include:
- Lower cost: One camera body, one lens setup, one lighting configuration at a time
- Greater creative control: Every shot is deliberate and precisely framed
- Simpler lighting: You only need to light one angle at a time, making it easier to achieve consistency
- Better performances: Actors can focus on a single camera, making eye-line matching more natural
- Flexibility in editing: When you control each shot independently, you have more options in post-production
The trade-off is time. Single camera dialogue filming requires actors to repeat the scene multiple times from different angles — but that repetition often produces stronger, more nuanced performances.
Essential Gear for Shooting Dialogue
You don’t need expensive gear to shoot great dialogue scenes. But choosing the right tools for the job will make your life significantly easier on set.
Camera Options
Your camera choice matters less than your technique, but certain features are genuinely useful for single camera dialogue filming.
Key features to look for:
- Reliable autofocus (especially eye-tracking AF for close-ups)
- Good dynamic range to handle mixed lighting situations
- Clean 1080p or 4K output for flexible post-production grading
- A flip-out or tilting screen for low-angle and off-tripod shots
Entry-level options like mirrorless cameras from Sony’s ZV or A-series line offer excellent autofocus and clean video output at accessible price points. Mid-range DSLRs from Canon and Nikon remain reliable workhorses for dialogue-heavy productions. Budget cinema cameras offer flat color profiles ideal for color grading in post.
📌 [Recommended mirrorless camera for dialogue filming: Sony EV-E10]
📌 [Recommended DSLR Camera for indie filmmakers]
📌 [Budget cinema camera recommendation:
Blackmagic Pocket Cinema Camera 4K]
Audio Equipment (Critical Section)
If there is one thing you take away from this entire guide, let it be this: audio quality matters more than video quality. Audiences will forgive slightly soft focus or imperfect framing. They will not forgive dialogue that is hard to hear, echoey, or buried under background noise.
Your two main options for dialogue recording:
Lavalier microphones clip directly onto actors and capture clean, consistent audio regardless of camera distance. They’re ideal for controlled environments but can pick up clothing rustle.
Shotgun microphones mounted on a boom pole above the frame deliver more natural sound with better directionality. This is the preferred method for professional dialogue recording.
For the cleanest results, use an external audio recorder rather than recording directly into your camera. This gives you higher quality audio files and a backup in case of sync issues.
📌 [Lavalier mic kit recommendation:
DJI Mic 3 Wireless Mic]
📌 [Shotgun microphone recommendation: Rode NTG3]
📌 [Portable audio recorder recommendation: Zoom H6]
Lighting Setup
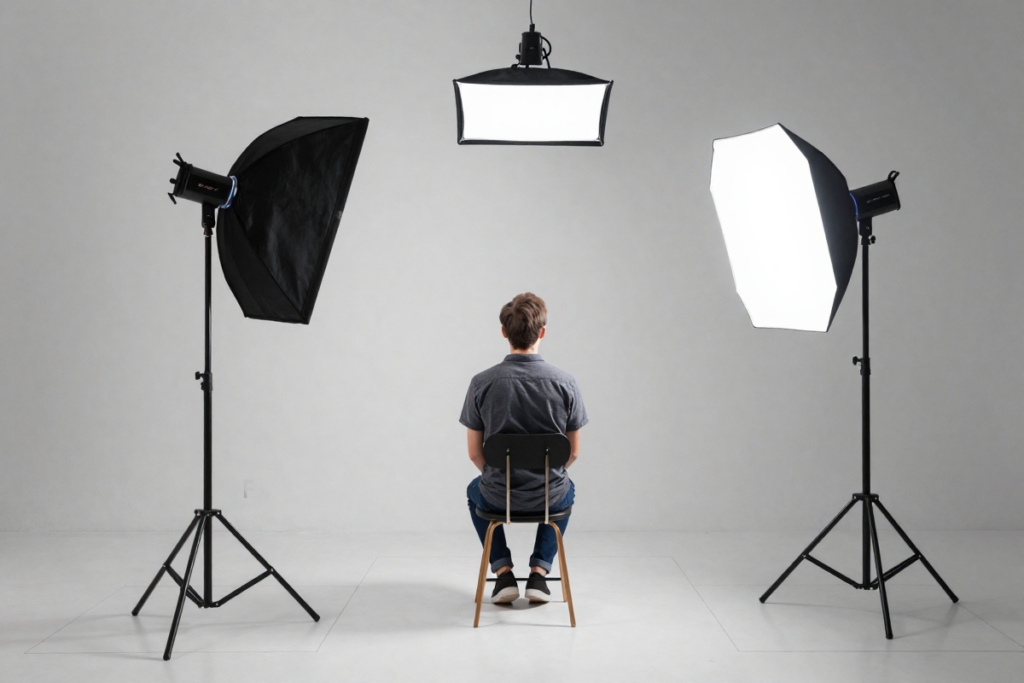
A basic three-point lighting setup — key light, fill light, and backlight — will give you professional-looking results in almost any dialogue scene. The key is maintaining consistency between setups when you flip the camera to cover the second actor.
Practical tips:
- Use LED panels with adjustable color temperature to match daylight or tungsten sources
- Softboxes create flattering, diffused light that reduces harsh shadows on faces
- A simple reflector can substitute for a fill light in a pinch
📌 [LED panel recommendation: Aputure 4 LED Panels Kit]
📌 [Softbox kit recommendation]
📌 [Reflector recommendation: K&F 5-in-1 Reflector]
Tripods and Stabilization
Consistency between takes is everything in single camera dialogue filming. A solid, fluid-head tripod ensures your framing remains identical whether you’re on take two or take twelve.
📌 [Tripod with fluid head recommendation]
📌 [Budget stabilizer recommendation]
Planning Your Dialogue Scene Like a Pro
The difference between a chaotic shoot and a smooth one almost always comes down to pre-production planning. Before you ever press record, complete these four steps.
1. Script breakdown: Identify every line of dialogue and note any physical actions (picking up a glass, standing up, turning away). These movements must be performed consistently across every take.
2. Shot list: Write out every shot you plan to capture — master shot, over-the-shoulder shots for each actor, close-ups, reaction shots, and any inserts. Don’t leave shot decisions to the day of the shoot.
3. Block your actors: Walk through the scene without cameras, deciding exactly where actors will stand, sit, and move. Mark their positions on the floor with tape. Precise blocking is the foundation of continuity.
4. Plan for continuity: Note which hand holds a prop, which direction an actor turns, and the exact moment an action begins or ends. Continuity errors — a glass that switches hands between cuts, or a jacket button that appears and disappears — are the most visible artifacts of single camera dialogue filming.
The Best Camera Angles for Dialogue Scenes
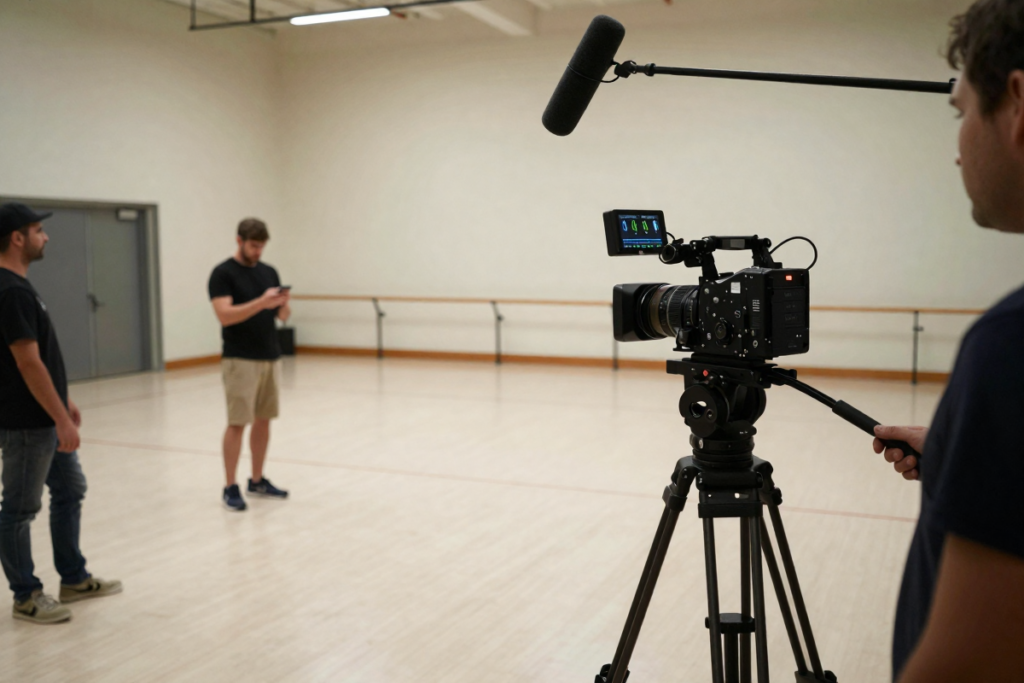
Building a strong coverage package for a dialogue scene relies on a handful of core angles that you’ll use on almost every shoot.
Master Shot
The master shot captures both actors in the same frame for the duration of the scene. It is your safety net — an angle you can always cut back to if coverage doesn’t match up perfectly. Shoot the master shot first, before either actor or the environment has changed.
A two-shot or wide shot framing works well for most master shots. It establishes geography, shows the spatial relationship between characters, and gives your editor a neutral landing pad between cuts.
Over-the-Shoulder (OTS) Shots
The over-the-shoulder shot is the workhorse of dialogue cinematography. Position the camera behind and slightly to the side of one actor, with the other actor’s face visible in the frame. Then flip the setup to cover the second actor.
Critical rule: Maintain screen direction. If Actor A is on the left side of the frame in the master shot, they should remain on the left throughout all coverage. This connects directly to the 180-degree rule — imagine a line drawn between your two actors. Keep your camera on one side of that line for every shot in the scene.
Close-Ups and Reaction Shots
Close-ups are where emotion lives. A tight shot on an actor’s face — capturing the micro-expressions, the held breath, the slight tightening around the eyes — can communicate more than any line of dialogue.
Reaction shots are equally important and often overlooked by beginners. Film each actor’s silent reactions while the other delivers their lines. These shots give your editor enormous flexibility to shape the rhythm and emotional tone of the scene in post.
Shot Variety Tips
Beyond your standard coverage angles, consider:
- Dirty singles (where the back of the listening actor’s head is slightly in frame) versus clean singles (pure close-up with no foreground element)
- Insert shots of props, hands, or environmental details
- Slightly different focal lengths between master and coverage shots to create visual variety without breaking continuity
Step-by-Step: How to Film Dialogue With One Camera
Step 1 – Shoot the Master Shot First
Run the entire scene from beginning to end in the master shot framing. Get at least two clean takes. This establishes your baseline for all subsequent coverage and gives your editor a complete version of the scene to work from.
Step 2 – Film Coverage for Each Actor
Without moving your actors, reposition the camera to cover Actor A (over Actor B’s shoulder, into Actor A’s face). Run the entire scene — yes, the whole scene — from this angle. Both actors should be present and performing at full energy throughout.
Then flip the setup: reposition lighting, reframe for Actor B’s coverage, and run the scene again.
Matching eye lines: When filming Actor A’s coverage, Actor B should be standing or sitting in their exact position. Actor A should look at Actor B’s actual eyes, not at a point on the wall. This keeps eye-line matches natural and believable.
Step 3 – Capture Inserts and Cutaways
After completing your main coverage, pick up insert shots — close-ups of hands, props, objects referenced in the dialogue, or environmental details. These cutaway shots are invaluable in the edit, helping you smooth over continuity issues or trim performances without jarring jump cuts.
Step 4 – Record Clean Audio
At the end of every setup, record at least 60 seconds of room tone — the ambient sound of the location with no one speaking. This allows your audio editor to fill gaps between dialogue lines seamlessly. If you’re using an external recorder as a backup, confirm sync points are marked with a clapperboard or a loud handclap at the start of each take.
Lighting Techniques for Professional Dialogue Scenes
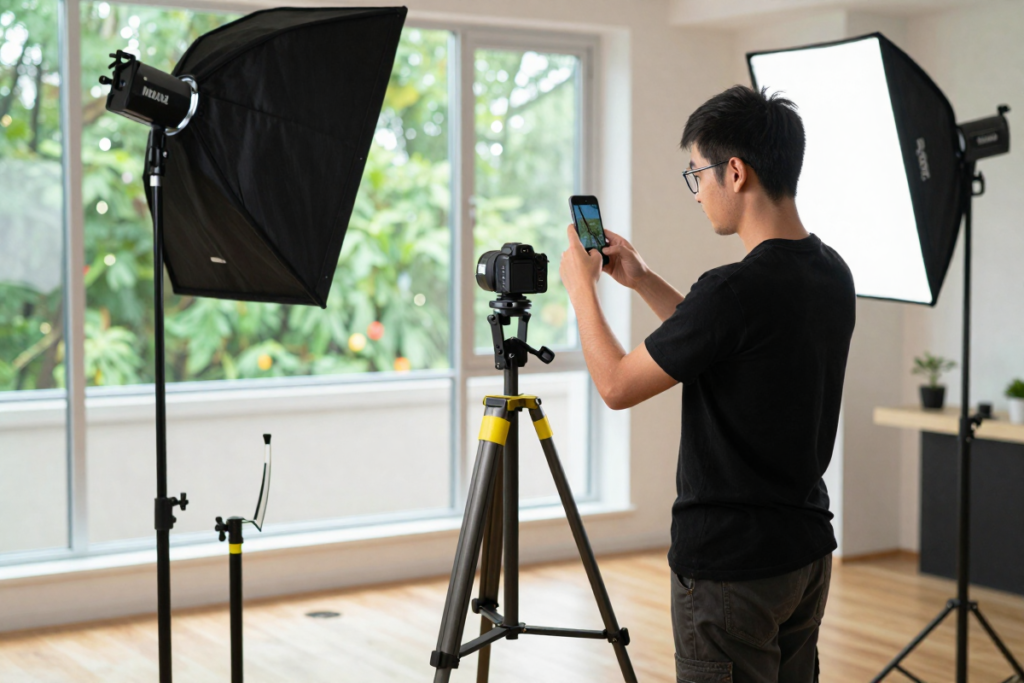
The most common lighting challenge in single camera dialogue filming is maintaining consistency as you reposition the camera for each coverage angle.
Practical tips for consistent lighting:
- Photograph your lighting setup before moving anything. This gives you a visual reference when rebuilding it
- Use gaffer tape to mark the exact position of light stands on the floor
- Check your color temperature between setups — mixing warm and cool sources creates visible inconsistencies in the edit
- If shooting near windows, be aware of how natural light shifts over time. Overcast days are more consistent than direct sunlight
Motivated lighting — where light appears to come from a practical source in the scene like a lamp or window — looks more naturalistic and is easier to maintain across setups than purely artificial lighting rigs.
Audio Tips That Make or Break Your Scene
Even with great visuals, poor audio will destroy the illusion of a professional dialogue scene. Here’s how to protect your sound.
- Mic placement: For boom microphones, position the mic 6–12 inches above the frame line, angled down toward the actor’s mouth. Too close creates plosives; too far loses clarity.
- Control your environment: Turn off HVAC systems, refrigerators, and any appliances generating background hum. These sounds are nearly impossible to remove cleanly in post.
- Monitor your audio: Use headphones to listen in real time. What sounds fine in the room may sound terrible through a microphone.
- Record each actor separately if possible: Even if you’re only using one camera, you can use two lavalier microphones simultaneously to capture each actor on a separate audio track, giving you maximum flexibility in post.
Editing Dialogue Scenes Seamlessly
Great single camera dialogue editing is largely invisible. The goal is to cut in a way that feels organic and emotionally driven rather than mechanical.
Core editing techniques for dialogue:
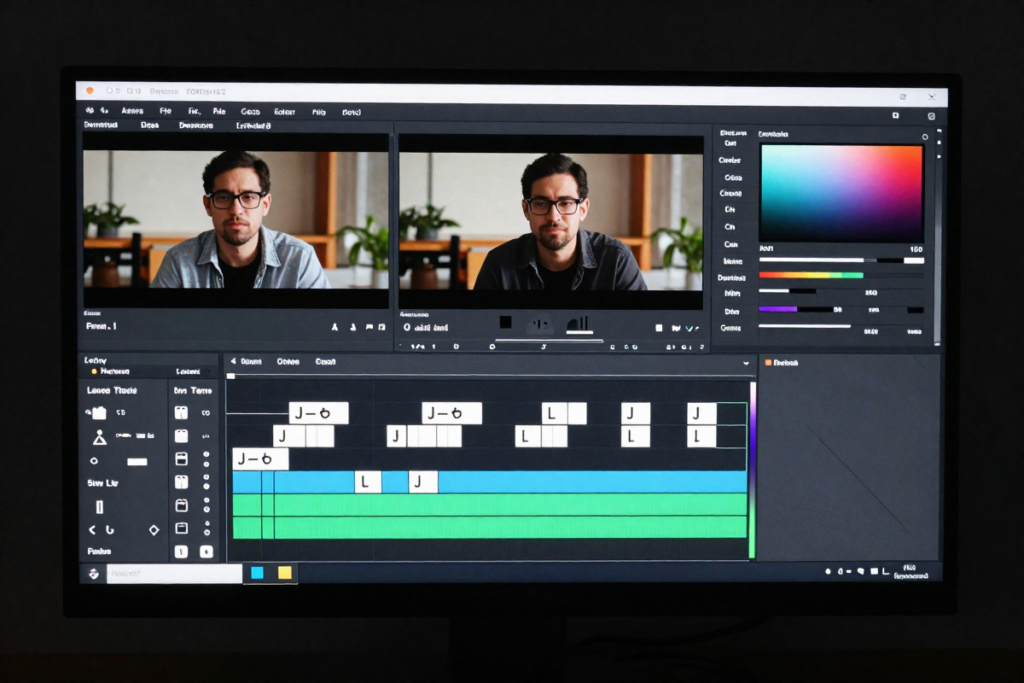
- J-cuts and L-cuts: A J-cut brings in the audio of the next shot before the picture cuts — you hear Actor B start speaking while still watching Actor A’s reaction. An L-cut does the reverse, holding on a shot after the audio has already moved to the next. Both create more fluid, naturalistic transitions than straight cuts.
- Cut on action or emotion: The best cut points are moments of physical movement or emotional shift, not arbitrary mid-sentence breaks.
- Use reaction shots strategically: Cutting to a reaction shot can compress or expand time, heighten tension, or reveal what a character is really feeling beneath their words.
- Color correct for consistency: Because you shot the scene across multiple setups, slight color variations between angles are common. A basic color correction pass in your editing software will unify the look.
📌 [Video editing software recommendation — e.g., DaVinci Resolve (Advanced) or (Free Version]
Common Mistakes When Filming Dialogue With One Camera
1. Not shooting enough coverage. Always get more than you think you need. You cannot go back to a location after the shoot to grab a missing reaction shot.
2. Breaking the 180-degree rule. Crossing the camera axis disorients viewers and makes it unclear which direction characters are facing relative to each other.
3. Inconsistent lighting between setups. Not marking light positions before repositioning is one of the most common — and preventable — errors on low-budget sets.
4. Poor audio quality. Relying on a built-in camera microphone for dialogue is always a mistake. Invest in even a basic external microphone.
5. Rushing performances. Because single camera filming requires multiple passes of the same scene, there’s a temptation to rush through later setups. The performances in your coverage angles matter just as much as in your master shot.
Pro Tips to Make Your Scene Look Cinematic
- Use depth of field creatively. A wide-open aperture (f/1.8–f/2.8) separates your subject from the background and draws attention to subtle facial expressions.
- Add camera movement sparingly. A slow push-in toward an actor during a key emotional beat can be devastating in the best possible way — but only if the rest of the scene is relatively static.
- Direct for the edit. Give actors clear instructions about the pace and energy of each take. A slow-burn performance and a more urgent read of the same lines give your editor options.
- Embrace silence. The moments between words — the pause before an answer, the held breath after a revelation — are often where the most compelling performance lives. Don’t rush them.
Sample Workflow: Filming a Two-Person Dialogue Scene
Here’s a realistic timeline for a single-location, two-person dialogue scene running approximately two to three minutes:
| Time | Activity |
|---|---|
| 0:00–0:30 | Blocking rehearsal, lighting setup, audio check |
| 0:30–1:00 | Master shot — 2–3 takes |
| 1:00–1:45 | Coverage angle for Actor A — full scene, 2–3 takes |
| 1:45–2:30 | Coverage angle for Actor B — full scene, 2–3 takes |
| 2:30–3:00 | Close-ups, reaction shots, inserts |
| 3:00–3:15 | Room tone, audio backup confirmation |
Total on-set time: approximately 3–4 hours for a well-prepared crew. Without prep, the same scene can eat an entire day.
Frequently Asked Questions
Can you film a movie with one camera?
Absolutely. The vast majority of narrative feature films — including major studio releases — are shot with a single camera as the primary setup. Multi-camera configurations are more common in comedy television and live events, not scripted drama.
How do you avoid continuity errors in single camera filming?
The key is a detailed shot list, consistent actor blocking with marked floor positions, and a designated continuity supervisor (or a thorough set of reference photos) to track props, wardrobe, and physical actions between takes.
What’s the best lens for dialogue scenes?
The 50mm focal length is often called the “human eye” lens because it replicates natural perspective closely. For close-ups, an 85mm or 100mm lens produces a flattering compression with beautiful background separation. Avoid wide-angle lenses (below 35mm) for close-up dialogue shots, as they can distort facial features at short distances.
How long does it take to shoot dialogue scenes with one camera?
A well-planned two-person dialogue scene typically takes 3–6 hours to shoot with a single camera, depending on the length of the scene, the number of coverage angles planned, and the experience of the crew and cast. Preparation always cuts shooting time.
Recommended Gear for Filming Dialogue Scenes
Here’s a quick-reference roundup of the essential tools for single camera dialogue filming across budget levels:
| Category | Budget Option | Premium Option |
|---|---|---|
| Camera | Entry mirrorless | Cinema camera |
| Audio | Clip-on lavalier kit | Shotgun mic + recorder |
| Lighting | LED panel kit | Softbox + modifiers |
| Stabilization | Budget fluid tripod | Pro fluid head system |
| Monitoring | Camera screen | External field monitor |
📌 [PRO TIP: Own your equipment over renting and then use for your current and future film projects saving you money on multiple productions.]
Conclusion
Filming dialogue scenes with only one camera is not a limitation — it’s a craft. The single camera method demands more planning, more patience, and more precise execution than a multi-camera setup, but it rewards you with tighter compositions, more controlled lighting, and a shooting style that forces intentional storytelling.
Start simple. Write a one-page scene, block your actors, shoot a master and basic coverage, and edit it together. You’ll discover quickly that the fundamentals covered in this guide — the master shot, OTS angles, clean audio, consistent lighting, and deliberate editing — are the building blocks of virtually every professional dialogue scene you’ve ever watched.
Your next steps:
- Try filming a short two-person conversation using the step-by-step workflow above
- Check out the recommended gear to find the right tools for your budget
- Drop your questions or share your results in the comments below — we’d love to see what you create
Single camera filmmaking is within your reach. Now go shoot something.
Leave a Reply