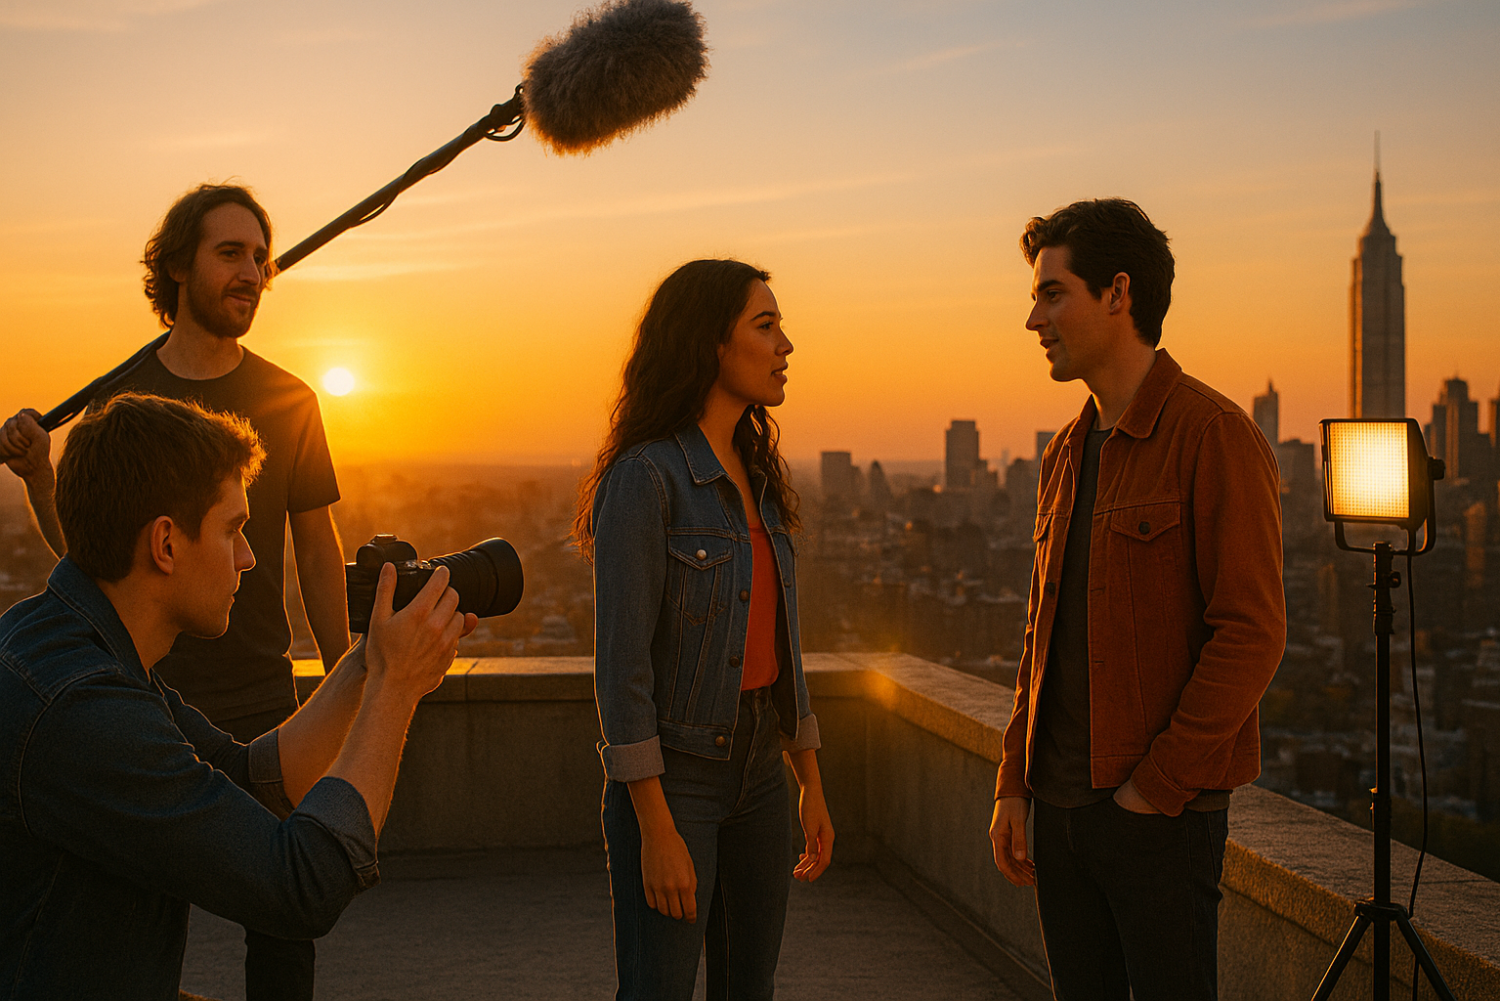
You’ve got a great idea for a video. The concept is solid, the location is perfect, and you’re ready to shoot. Then production day arrives — and chaos takes over. You forget a critical angle, your team is confused about the next setup, and you spend three hours re-shooting scenes that should have taken thirty minutes.
Sound familiar? The truth is, most video production problems don’t happen on set — they happen before you ever pick up a camera. The solution is simpler than you think: a solid shot list and storyboard created during pre-production.
The best part? You don’t need expensive software to plan like a professional filmmaker. Creating shot lists and storyboards with free tools is not only possible — it’s practical, efficient, and accessible to anyone from solo YouTube creators to indie filmmakers managing a full crew. In this guide, you’ll learn exactly what these documents are, why they matter, and which free filmmaking planning tools will help you visualize your film before you ever call “action.”
What Is a Shot List?
Definition and Purpose
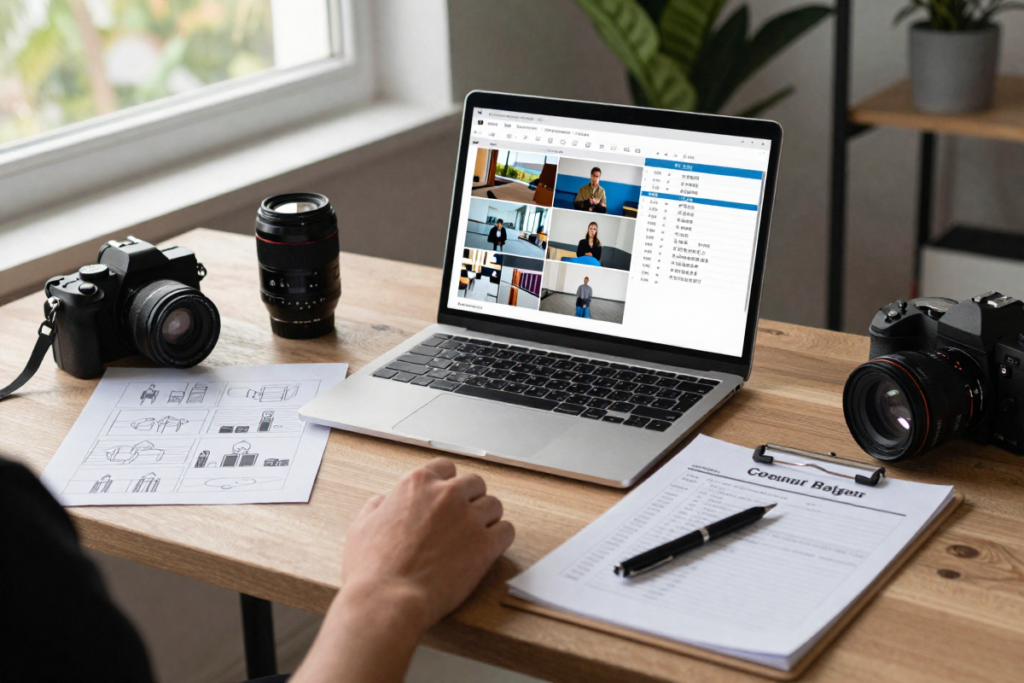
A shot list is a structured document that maps out every individual shot you plan to capture during production. Think of it as your filming blueprint — a text-based pre-production tool that ensures nothing gets missed when the camera rolls.
Every professional film production, from Hollywood blockbusters to corporate video shoots, begins with a detailed shot list. It’s how directors communicate their visual vision to cinematographers, and it’s how crew members stay organized across long shooting days.
Key Elements of a Shot List
A well-built shot list template typically includes these columns:
- Shot number – Sequential identifier for each shot
- Scene number – Which scene the shot belongs to
- Shot type – Wide shot, medium shot, close-up, extreme close-up, etc.
- Camera angle – Eye level, high angle, low angle, bird’s eye view
- Camera movement – Static, pan, tilt, dolly, handheld
- Location – Interior or exterior, specific room or setting
- Description – Brief note on what’s happening in the shot
- Notes – Lighting considerations, props needed, timing
Benefits of Using a Shot List
- ✅ Saves time on set by eliminating guesswork
- ✅ Improves team communication so everyone knows what’s coming next
- ✅ Reduces costly reshoots caused by missed angles
- ✅ Keeps your shooting schedule organized by location or scene
A film shot list for even a short 3-minute video might contain 15 to 40 individual shots. Organizing them in advance is the difference between a smooth production day and an expensive disaster.
What Is a Storyboard?
Definition and Role in Visual Planning
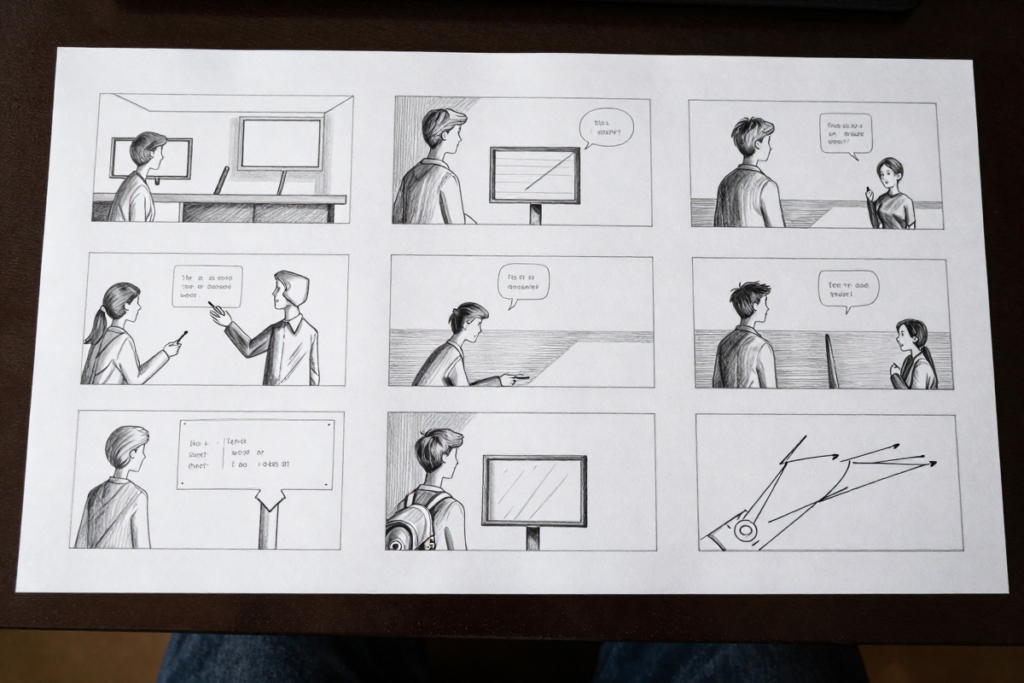
A storyboard is the visual counterpart to your shot list. Instead of text, it uses sequential illustrated frames — like a comic strip — to show how each scene will look on camera. Each panel represents a shot, complete with composition, character placement, and directional notes.
Storyboarding is one of the oldest tools in filmmaking, used by directors like Alfred Hitchcock and Steven Spielberg to pre-visualize their entire films before production began. Today, content creators, YouTubers, and indie filmmakers use the same technique — and with free storyboard software, you don’t even need professional drawing skills to do it.
Storyboard vs. Shot List: Quick Comparison
| Feature | Shot List | Storyboard |
|---|---|---|
| Format | Text-based | Visual/illustrated |
| Best for | Organizing shots logically | Visualizing composition and flow |
| Collaboration | Easy to share via spreadsheet | Great for showing clients and crew |
| Skill required | Minimal | Basic drawing or drag-and-drop |
| Works best | Complex multi-location shoots | Narrative or scene-heavy content |
The bottom line: Use both when possible. Your storyboard shows how something looks; your shot list tracks what needs to be captured. Together, they create a complete pre-production planning system.
Benefits of Storyboarding
- 🎬 Clarifies your creative vision before a single frame is shot
- 🎬 Helps plan pacing and transitions between scenes
- 🎬 Makes client approval faster — visuals communicate better than descriptions
- 🎬 Identifies problems early — awkward compositions, missing coverage, continuity issues
Why Use Free Tools Instead of Paid Software?
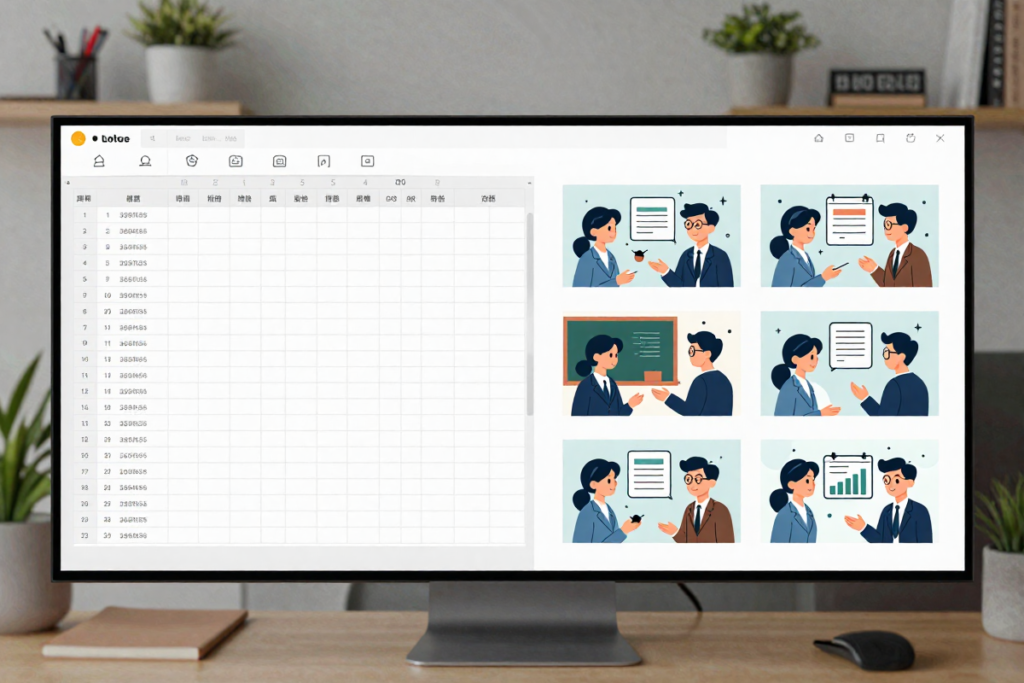
If you’re a beginner, indie filmmaker, student, or content creator on a budget, the idea of paying $30–$100/month for pre-production software doesn’t make sense — especially when free alternatives can accomplish the same core tasks.
Here’s why free filmmaking planning tools are worth taking seriously:
- They’re surprisingly powerful. Many free tiers include collaboration features, pre-built templates, and export options that rival paid tools.
- Cloud-based access means your shot list or storyboard is available on any device, anywhere.
- No commitment required. You can test multiple tools without financial risk.
- Perfect for beginners who are still developing their workflow.
That said, as your productions grow in complexity — or as you start working with larger teams — premium upgrades on platforms like StudioBinder or Canva Pro can offer significant advantages. We’ll note those options throughout so you can decide when the time is right.
👉 [ALL-IN-ONE PRODUCTION SOFTWARE – StudioBinder]
Best Free Tools for Creating Shot Lists
A. Spreadsheet-Based Tools
If you want maximum flexibility and zero learning curve, spreadsheet tools are your best starting point for building a shot list template.
Google Sheets
Google Sheets is the go-to free shot list maker for filmmakers who want a simple, shareable, cloud-based solution. You can build a custom shot list template from scratch or download a pre-made one and import it in seconds. Real-time collaboration makes it ideal for teams — your DP, director, and producer can all view and edit the same document simultaneously.
Microsoft Excel (Free Online Version)
Excel Online offers the same grid-based functionality through your browser at no cost. If your team is already in the Microsoft ecosystem, this is a natural fit for organizing your shot list for video production.
Pros of Spreadsheet Tools:
- Fully customizable to your workflow
- Easy to share and collaborate in real time
- Free forever with no feature restrictions
Cons:
- Not visual — harder to see the “big picture” at a glance
- Requires manual formatting
👉 [Premium shot list template pack — Available at Etsy]
B. Dedicated Shot List Tools
StudioBinder (Free Tier)
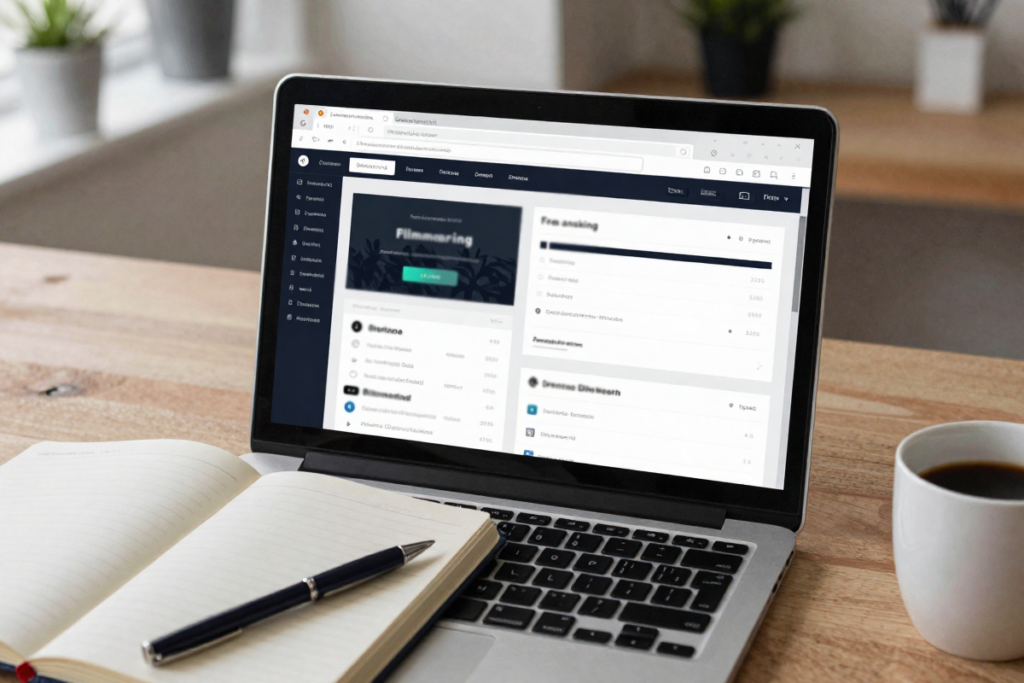
StudioBinder is one of the most popular dedicated pre-production platforms available, and its free tier is genuinely useful. You can build a filmmaking shot list using professional formatting, add shot types and camera movements from dropdown menus, and share your list with collaborators via link. The interface is clean and intuitive, making it one of the best shot list apps for beginners who want structure without building everything from scratch.
Free tier limitations: Limited projects and exports — but more than enough to get started.
Celtx (Limited Free Plan)
Celtx started as screenwriting software but has evolved into a full pre-production suite. The free plan includes basic shot listing and script breakdown tools, making it a solid option for pre-production planning on short films and student projects.
👉 [TRY THEM OUT: StudioBinder paid plan upgrade or Celtx Pro]
Best Free Tools for Creating Storyboards
A. Drag-and-Drop Design Tools
Canva (Free Plan)
Canva has become one of the most popular free storyboard makers for non-artists — and for good reason. Its free plan includes storyboard templates specifically designed for video planning, with drag-and-drop image placement, text fields for dialogue and notes, and easy export to PDF or PNG.
If you can’t draw, Canva is your best friend. You can use stock images, icons, or simple shapes to represent compositions in each frame. It’s an especially powerful tool for YouTubers and content creators who need a video storyboard template they can put together quickly.
Canva Pro unlocks brand kits, additional templates, and advanced collaboration tools — worth considering if you’re producing content at scale.
👉 [RECOMMENDED: Canva Pro upgrade]
Milanote
Milanote is a visual workspace that works beautifully as a free storyboard tool. Its card-based layout lets you build storyboard panels using images, notes, and sketches arranged in a flexible grid. It’s especially popular with creative directors and visual storytellers who want a mood board and storyboard combined in one place.
B. Digital Drawing Tools
For creators who want full artistic control over their storyboard frames, these free drawing tools offer professional-grade capabilities at zero cost.
Krita
Krita is a powerful open-source digital painting application beloved by illustrators and animators. For storyboarding, it offers a brush library, layer management, and a dedicated storyboard mode — all completely free. It has a learning curve, but for artists who want to sketch detailed storyboard frames with precision, it’s an excellent free storyboard software option.
Sketchbook (by Autodesk)
Sketchbook‘s free version is streamlined and intuitive, making it great for quick storyboard sketches on desktop or tablet. It’s one of the best free storyboard apps for iPad, with touch and stylus support that makes sketching frames feel natural.
👉 [Recommended Drawing tablet (Huion)]
C. Storyboard-Specific Platforms
Storyboarder (by Wonder Unit)
Storyboarder is a completely free, open-source application built specifically for filmmakers. It’s one of the most powerful digital storyboard tools available at any price point. Key features include:
- Built-in drawing tools with simple character shapes for non-artists
- Shot timing and animatic playback — see your storyboard move like a video
- Direct integration with Final Draft for script-based storyboarding
- Export to PDF, animated GIF, or video
If you’re serious about pre-production but don’t want to pay for software, Storyboarder is the closest thing to a professional filmmaking tool you’ll find for free. It’s an especially strong choice for indie filmmakers who want to create storyboards without drawing skills — the built-in shapes make it approachable for anyone.
Step-by-Step Guide: How to Create a Shot List
Step 1: Break Down Your Script
Before you can list shots, you need to understand your story. Read through your script or content plan and identify every distinct scene — a scene being any continuous action in a single location.
Step 2: Identify Key Shots
For each scene, ask: What does the audience need to see to understand what’s happening? Start with your essential coverage shots — typically a wide establishing shot, a medium shot for context, and close-ups for emotion or detail.
Step 3: Choose Shot Types and Angles
Decide on your camera angles and shot types for each moment:
- Wide Shot (WS): Establishes location and context
- Medium Shot (MS): Standard conversational framing
- Close-Up (CU): Emotion, detail, reaction
- Over-the-Shoulder (OTS): Dialogue scenes
- Insert Shot: Product details, hands, props
Step 4: Organize in Your Tool
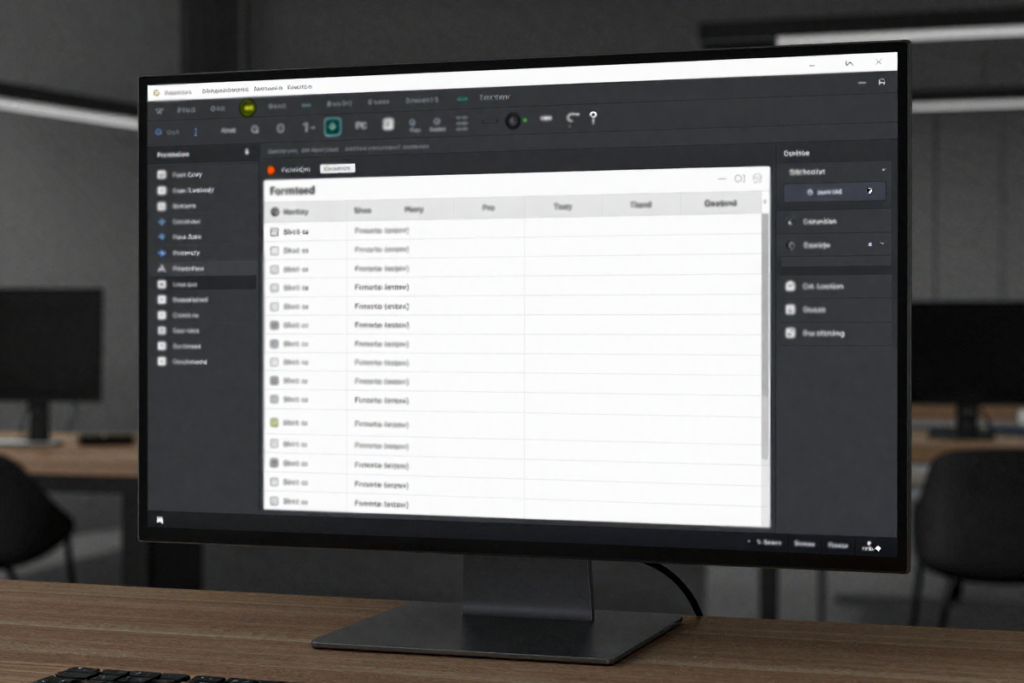
Open your preferred tool — Google Sheets, StudioBinder, or another shot list app — and enter each shot with its number, type, angle, movement, location, and notes. Group shots by location to shoot efficiently (never move equipment more than necessary).
Step 5: Add Notes and Details
Include any special considerations: lighting setups, props required, lens preferences, estimated shot duration, or crew-specific instructions. The more detail in your shot list, the smoother your production day.
📥 Pro Tip: Create a master shot list template you can reuse across projects. This saves hours of setup time on every future production.
👉 [CHECK IT OUT – Filmmaking software bundle / productivity suite]
Step-by-Step Guide: How to Storyboard a Video
Step 1: Sketch Key Scenes First
Don’t try to draw every single shot — start with the key scenes that define the emotional or narrative beats of your video. These anchor frames will guide everything else.
Step 2: Focus on Composition, Not Perfection
You don’t need to be an artist to storyboard effectively. Stick figures, basic shapes, and rough outlines are completely acceptable. The goal is to communicate composition and camera placement — not to create fine art. Tools like Storyboarder make this even easier with built-in simple character shapes.
Step 3: Add Notes for Dialogue and Movement
Below each panel, write:
- Any dialogue or voiceover happening in the shot
- Character or camera movement directions
- Transition type (cut, dissolve, wipe)
- Estimated duration of the shot
Step 4: Use Free Tools to Digitize
Take your rough sketches and digitize them using Canva, Storyboarder, or Krita. Digital storyboards are easier to share with your team, revise quickly, and present to clients for approval.
Step 5: Review and Refine
Watch your storyboard panels in sequence — ideally using Storyboarder’s animatic feature — and ask yourself: Does this visual story flow logically? Are there gaps in coverage? Are transitions smooth? Refine until the pre-visualization feels right.
The Shot List + Storyboard Workflow: Using Both Together
The most efficient pre-production workflow for indie filmmakers and video creators looks like this:
Script → Storyboard → Shot List → Shoot Day
- Write your script or content outline
- Create your storyboard to visualize scenes and confirm your creative direction
- Build your shot list from the storyboard, adding technical details for each frame
- Group shots by location in your shot list to maximize efficiency on shoot day
- Share both documents with your crew before production begins
This workflow helps you visualize your film before shooting, catch problems early, communicate clearly with your team, and walk onto set with confidence.
Efficiency Tip: Color-code your shot list by location so you can immediately see which shots can be grouped together — this alone can cut your shooting time significantly.
Common Mistakes to Avoid
❌ Overcomplicating the process
Your first shot list doesn’t need 40 columns. Start simple: shot number, type, description, and notes. Add complexity as your workflow matures.
❌ Skipping planning entirely
“I’ll figure it out on set” is the most expensive sentence in filmmaking. Even a rough shot list is infinitely better than none at all.
❌ Not updating your documents during production
Shot lists and storyboards are living documents. If something changes on set — a location falls through, an actor is unavailable — update your shot list in real time.
❌ Ignoring collaboration
Share your shot list and storyboard with your entire crew before shoot day. Surprises on set waste time and money.
Pro Tips for Faster Planning
- Use templates every time. Don’t rebuild from scratch — save a master shot list template and a blank storyboard grid you can duplicate instantly.
- Reuse shot lists from similar projects. A talking-head interview setup uses roughly the same coverage every time. Build a base template and customize it.
- Keep storyboard panels simple. Rough sketches done quickly are better than perfect drawings that take three hours.
- Collaborate in real time. Use Google Sheets for your shot list and Canva for your storyboard — both support live multi-user editing.
- Plan shots in location order, not script order. Shoot everything in one location before moving to the next, regardless of where it falls in the narrative.
Recommended Tools & Resources
Here’s a quick-reference summary of the best free tools covered in this guide, plus some premium options worth considering as you grow:
Free Shot List Tools:
- Google Sheets — [Free shot list template for Google Sheets]
- StudioBinder (free tier)
Free Storyboard Tools:
- Canva (free plan)]
- Storyboarder by Wonder Unit — Free, no upgrades needed
- Krita — Free, open-source
- Milanote — Free tier available
Premium Templates:
Hardware for Digital Storyboarding:
- [Wacom drawing tablet — beginner-friendly]
- [Huion tablet — budget-friendly alternative]
- [iPad + Apple Pencil for Sketchbook]
👉 Check out my Must-Have Budget Filmmaking Accessories (Gear List)
Frequently Asked Questions
What is the difference between a shot list and a storyboard?
A shot list is a text-based document that catalogues every shot you plan to film with technical details. A storyboard is a visual, frame-by-frame representation of how each scene will look. Both serve different purposes and work best when used together.
Do I need drawing skills to create a storyboard?
No. Tools like Storyboarder use simple pre-made shapes, and Canva allows drag-and-drop image placement. Even stick figures communicate composition effectively.
Is StudioBinder really free?
StudioBinder offers a free tier that includes shot list creation with limited projects. It’s enough to get started, and paid plans are available for larger productions.
Can I create a shot list in Google Sheets?
Absolutely — and it’s one of the best free options available. Google Sheets is flexible, shareable, and free forever with a Google account.
What’s the best free storyboard tool for beginners who can’t draw?
Canva is the most beginner-friendly option for visual storyboarding without drawing skills. Storyboarder is the best choice if you want a dedicated filmmaking tool with animatic playback.
Conclusion
Great videos aren’t made on set — they’re made in pre-production. Creating shot lists and storyboards with free tools is one of the highest-impact habits you can develop as a filmmaker or video creator, and thanks to the tools available today, there’s no reason to skip this step.
Start with a free shot list template in Google Sheets or StudioBinder. Build your first storyboard in Canva or Storyboarder. Take even one hour before your next shoot to map out your shots — and watch how dramatically your production efficiency improves.
You don’t need a Hollywood budget to plan like a professional. You just need the right workflow and the right tools — all of which are waiting for you at zero cost.
Disclaimer: This article contains affiliate links. If you purchase an item through the link I will earn a small commission at no extra cost to you.
Have a question about shot lists or storyboarding? Drop it in the comments below — and if this guide helped you, share it with a fellow filmmaker who’s ready to level up their pre-production game.
Leave a Reply