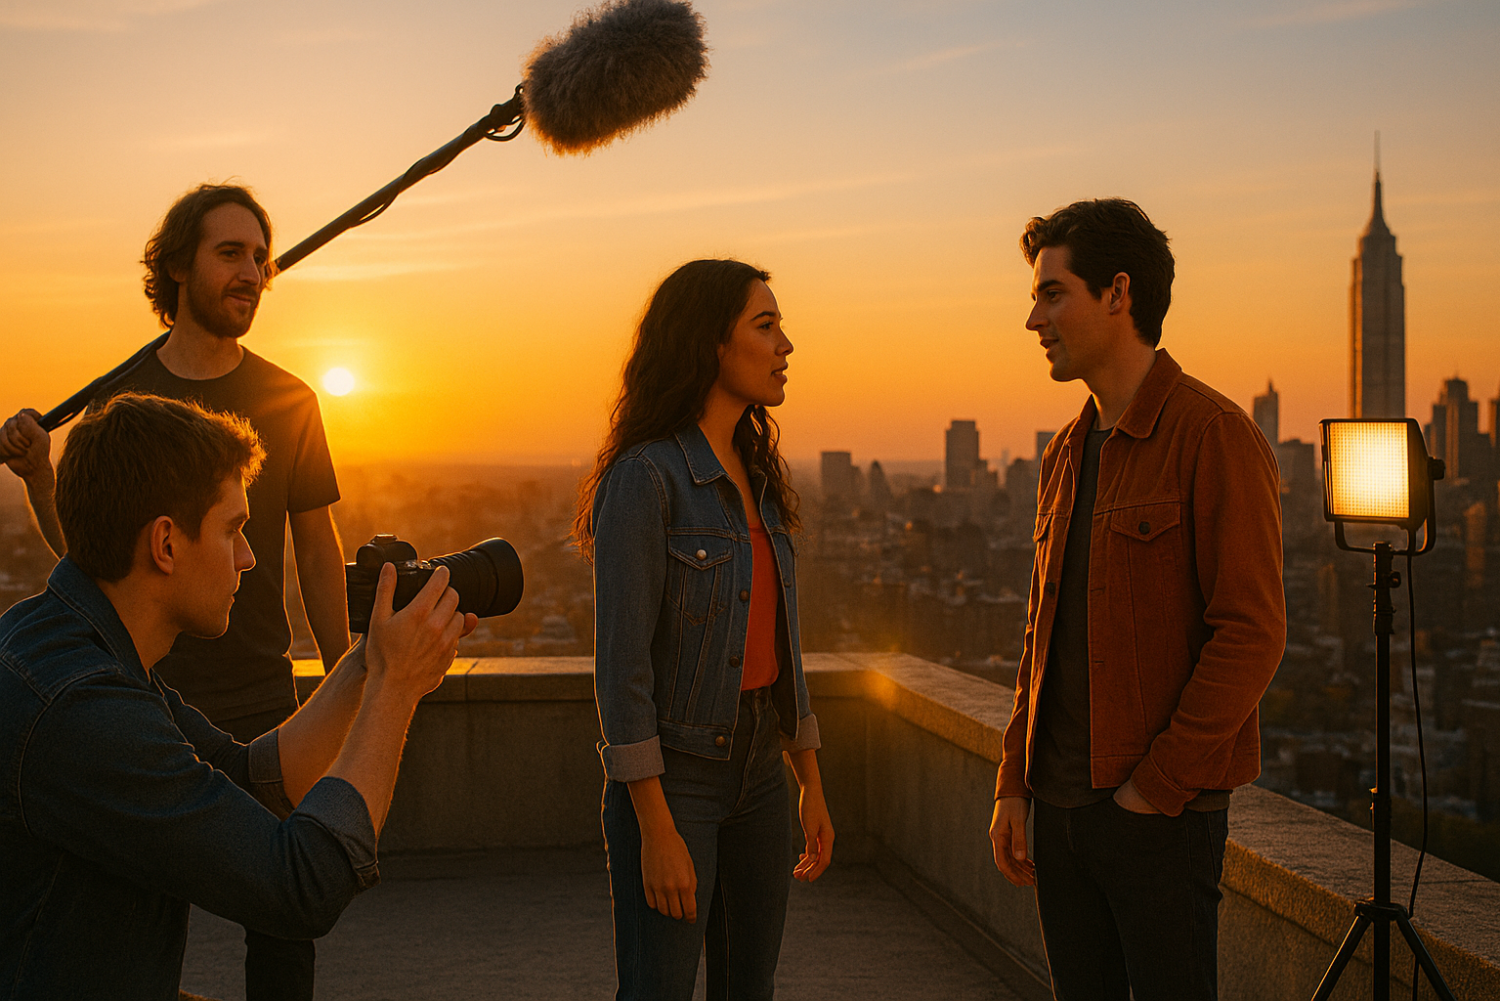
Can you really make a movie with just your phone? Absolutely — and thousands of creators are already doing it.
Not long ago, filmmaking required expensive cameras, professional crews, and a budget most people could only dream of. Today, the camera in your pocket is capable of shooting stunning 4K footage, handling challenging low-light conditions, and producing results that rival entry-level professional gear. Whether you’re scrolling through TikTok, binging YouTube, or catching indie films at a festival, smartphone filmmaking is everywhere — and it’s only getting more powerful.
In this complete beginner’s guide, you’ll learn exactly how to start filmmaking with just a smartphone — from choosing the right accessories and apps to mastering basic techniques, editing your footage, and even monetizing your work. No expensive gear required. Let’s dive in.
Why Smartphone Filmmaking Is More Powerful Than Ever
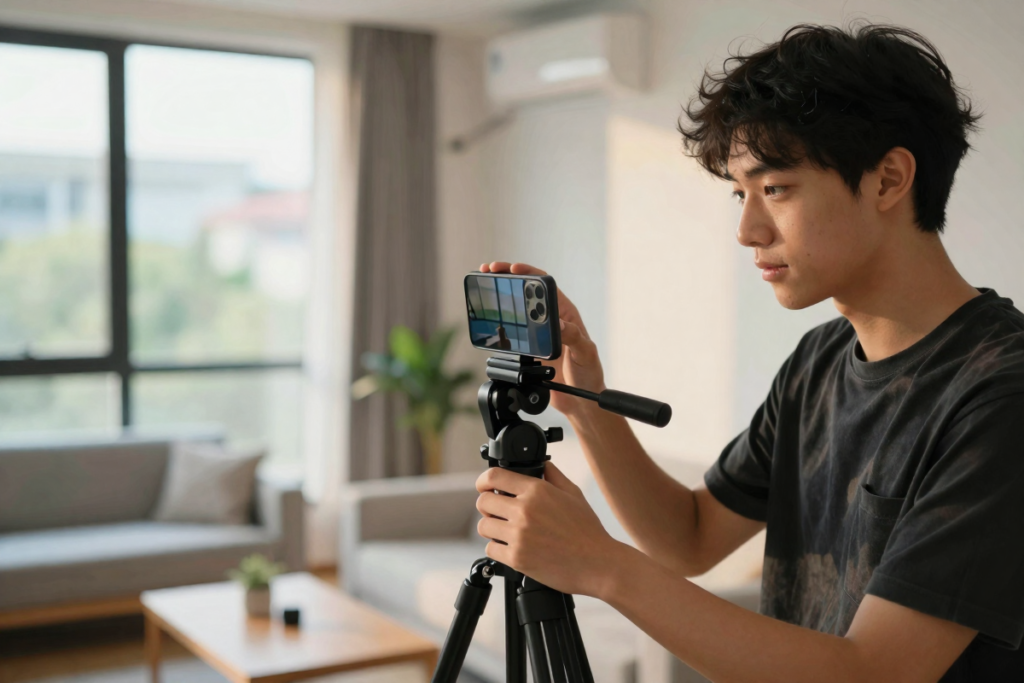
The gap between smartphone cameras and traditional cinema cameras has never been smaller. Modern flagship phones — and even mid-range models — now shoot in 4K resolution, offer optical image stabilization (OIS), include multiple focal length lenses, and use AI-powered processing to dramatically improve image quality in real time.
The proof is in the results. Tangerine (2015), directed by Sean Baker, was shot entirely on an iPhone 5S and premiered at the Sundance Film Festival. Steven Soderbergh shot Unsane (2018) on an iPhone 7 Plus and more recently 28 Years Later. These aren’t experimental gimmicks — they’re fully realized films that prove smartphone cinematography is a legitimate creative medium.
For beginners especially, mobile filmmaking removes every major barrier to entry. You don’t need to rent equipment, hire a crew, or enroll in film school. You just need your phone, a few affordable accessories, and the knowledge in this guide.
What You Really Need to Get Started (Beginner Mobile Filmmaking Gear)
One of the most common misconceptions about mobile filmmaking is that you need to spend a lot of money before you can start. You don’t. Here’s what actually matters.
Your Smartphone (Core Tool)
Any modern smartphone released in the last three to four years will work well for filmmaking. Whether you’re shooting iPhone filmmaking projects or working with an Android device, look for these key features:
- 4K video recording — gives you maximum detail and flexibility in editing
- Manual camera controls — the ability to set ISO, shutter speed, and focus independently
- Good low-light performance — a larger sensor and wider aperture handle indoor and evening shooting much better
- Optical image stabilization — reduces camera shake without relying on digital cropping
If you’re unsure whether your phone is capable, open your native camera app and check the video settings. If you can record in 4K at 24fps or 30fps, you’re ready to shoot.
Essential Accessories for Smartphone Filmmaking (Budget-Friendly)
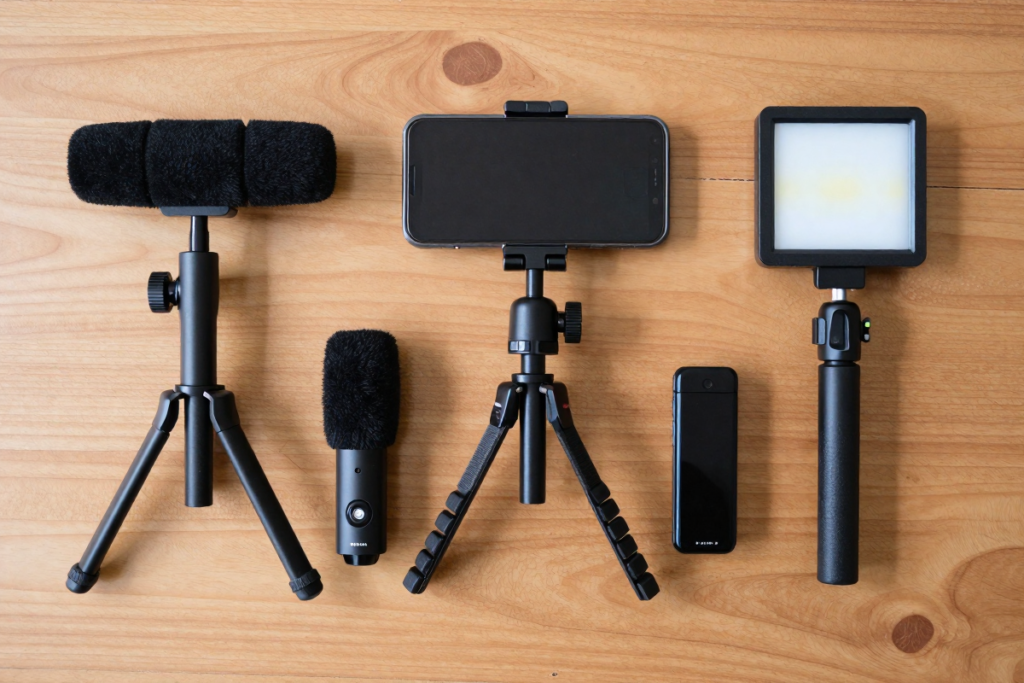
Your phone alone will only take you so far. These three affordable accessories will immediately and dramatically improve the quality of your footage.
Tripod
Shaky footage is the number one giveaway of amateur video. A sturdy tripod eliminates camera shake entirely and gives your shots a polished, professional look. Look for a flexible or mini tripod designed for smartphones.
👉 [AFFILIATE PLACEHOLDER: Recommended Smartphone Tripod]
External Microphone
This is the single most impactful upgrade you can make. Built-in phone microphones pick up everything — wind, handling noise, room echo — and deliver thin, hollow audio. A clip-on lavalier microphone or a compact shotgun mic connects to your phone and captures clean, clear sound that makes your film feel professional immediately.
👉 [AFFILIATE PLACEHOLDER: Lavalier Microphone for Smartphone]
👉 [AFFILIATE PLACEHOLDER: Compact Shotgun Microphone]
Portable LED Lighting
Lighting transforms the mood, clarity, and professionalism of your video. A small, portable LED panel or ring light gives you control over your scene, especially indoors or in low-light environments.
👉 [AFFILIATE PLACEHOLDER: Portable LED Video Light]
Best Filmmaking Apps for Smartphones
Your phone’s native camera app works, but dedicated filmmaking apps unlock a level of creative control that makes a real difference. Here are the best options by category.
Camera Apps for Manual Control
The biggest limitation of default camera apps is automation — the phone is constantly adjusting exposure, focus, and white balance for you. For cinematic video, you want to control these settings manually.
FiLMiC Pro is widely considered the gold standard for mobile filmmaking. It gives you full manual control over ISO, shutter speed, focus, white balance, and even LOG recording profiles for professional color grading in post. It’s used by professional filmmakers and serious content creators alike.
👉 [AFFILIATE PLACEHOLDER: FiLMiC Pro App]
Moment Pro Camera is another excellent option for both iPhone and Android users, with an intuitive interface and strong manual controls.
For Android filmmakers, Open Camera is a powerful free alternative worth exploring.
Video Editing Apps for Smartphone Filmmaking
Once you’ve captured your footage, you’ll need an editing app to cut it together. Here are the best options depending on your skill level:
Beginner-Friendly:
- CapCut — free, intuitive, excellent for quick edits and social media content
- iMovie (iPhone only) — clean interface, great for first-time editors
Intermediate to Advanced:
- DaVinci Resolve (mobile) — a professional-grade editor with powerful color grading tools, available free on iPad and Android tablets
- Adobe Premiere Rush — cross-platform, syncs with desktop, and integrates well into a broader workflow
👉 [AFFILIATE PLACEHOLDER: Adobe Creative Cloud / Premiere Rush Subscription]
Look for apps that offer timeline editing, basic color correction, audio mixing, and title overlays at a minimum.
Basic Smartphone Filmmaking Techniques That Instantly Improve Quality
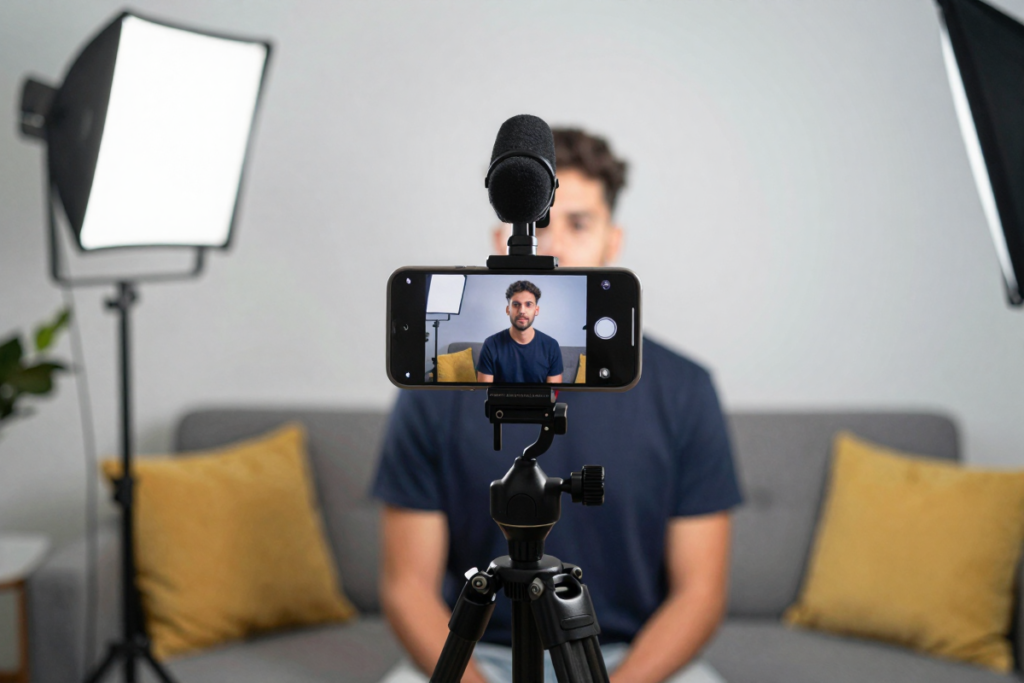
Great gear matters, but technique matters more. These phone filmmaking tips will immediately elevate your footage from casual to cinematic.
Framing & Composition
Rule of Thirds: Divide your frame into a 3×3 grid (most phones have a grid overlay option). Place your subject along the grid lines or at the intersections rather than dead center. This creates more visually engaging and dynamic compositions.
Leading Lines: Use natural lines in your environment — roads, fences, hallways — to guide the viewer’s eye toward your subject.
Headroom: Leave a small amount of space above your subject’s head. Too much looks empty; too little feels claustrophobic. Getting this right makes your framing feel intentional.
Lighting Basics for Mobile Filmmaking
Lighting can make or break your shot more than any piece of gear.
- Natural light is your best free resource. Position your subject facing a window for soft, flattering light. Shoot during the golden hour (just after sunrise or before sunset) for warm, cinematic tones.
- Avoid shooting into bright light sources unless it’s intentional. Backlighting without compensation will turn your subject into a silhouette.
- Diffuse harsh light with a white sheet, foam core, or a cheap diffusion panel to soften shadows.
Camera Movement
Movement adds energy and professionalism to your shots — when done intentionally.
- Static shots on a tripod convey stability and control, ideal for dialogue scenes.
- Handheld shots create energy and urgency, perfect for action or emotional moments.
- Pan and tilt slowly and steadily — jerky movements are distracting. Practice the movement before hitting record.
- For smooth tracking shots, consider a smartphone gimbal like the DJI OM series.
👉 [AFFILIATE PLACEHOLDER: DJI OM Smartphone Gimbal]
How to Capture High-Quality Audio (Most Beginners Skip This)
Here’s something most beginners learn the hard way: viewers will forgive mediocre video, but they will not tolerate bad audio.
Poor audio — muffled sound, background hiss, wind noise — makes even beautifully shot footage unwatchable. Your built-in phone microphone is not designed for filmmaking. It captures everything in the room equally, with no directional control.
Quick audio wins:
- Record in a quiet environment with minimal echo (carpeted rooms, small spaces)
- Use a lavalier (clip-on) mic for interviews and dialogue — clips directly to your subject’s clothing, close to the mouth
- Use a shotgun microphone for more directional control in run-and-gun shooting scenarios
- Always do a 30-second test recording before your shoot to check audio levels
👉 [AFFILIATE PLACEHOLDER: Lavalier Microphone Kit]
👉 [AFFILIATE PLACEHOLDER: Shotgun Microphone for Smartphone]
Shooting Your First Short Film: Step by Step
Ready to shoot? Follow this simple process to give your first film the best possible foundation.
Step 1: Plan Your Story
Even a simple two-minute short film benefits from basic planning. Write a one-page script or a simple scene-by-scene outline. Then sketch a rough storyboard — stick figures are perfectly fine — showing what each shot will look like. This saves enormous time on set and keeps you focused.
Step 2: Set Up Your Shots
Scout your location ahead of time. Check the lighting at the time of day you plan to shoot. Confirm your framing before you start rolling. Great shots are almost always planned, not stumbled upon.
Step 3: Record Your Footage
- Shoot multiple takes of every scene — you’ll thank yourself in the edit
- Lock your settings before each take (especially exposure and focus) to keep footage consistent
- Call action clearly and let your shot run for a few extra seconds before and after — this gives you editing room
- Film in landscape orientation for any content intended for YouTube or film festivals; portrait for TikTok or Instagram Reels
Editing Your Smartphone Footage Like a Pro
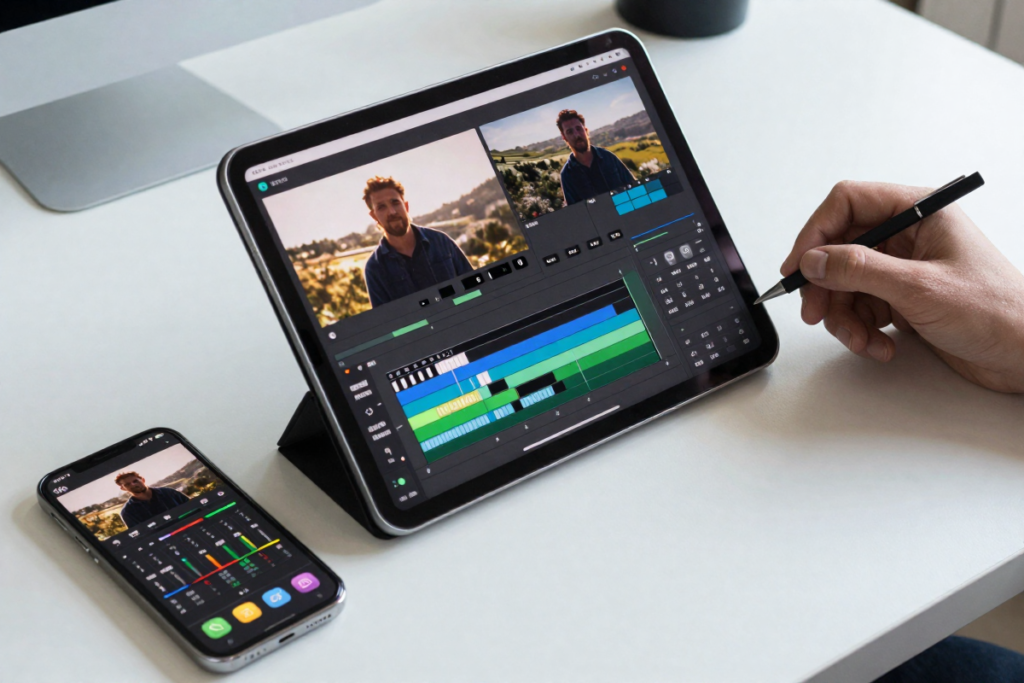
Editing is where your film truly comes to life. Here’s a simple workflow for beginners:
- Import all clips into your editing app and review your footage
- Build a rough cut — lay your clips on the timeline in order without worrying about precision yet
- Trim and tighten — cut unnecessary pauses, bad takes, and anything that slows the story down
- Add music and sound effects — use royalty-free music to set the emotional tone
👉 [AFFILIATE PLACEHOLDER: Stock Music Subscription (e.g., Artlist or Epidemic Sound)]
- Color correct — adjust brightness, contrast, and white balance to ensure consistency across clips
- Export at the highest quality your platform supports
Common Smartphone Filmmaking Mistakes to Avoid
Even talented beginners fall into these traps. Knowing them ahead of time puts you miles ahead.
- Shaky footage — always use a tripod or gimbal for static and slow-moving shots
- Poor audio — invest in even a budget external microphone before anything else
- Overusing effects and transitions — less is almost always more; cuts are your primary tool
- Ignoring lighting — shoot in well-lit environments and control your light source
- No plan — even a rough outline prevents wasted time and missed shots on the day
How to Make Your Smartphone Videos Look Cinematic

Want that film look? These specific cinematic video techniques work beautifully on a smartphone.
- Shoot at 24fps — this frame rate mimics the motion cadence of traditional cinema and immediately gives footage a filmic feel
- Add depth — place objects in the foreground and background to create layered, three-dimensional compositions
- Color grade your footage — apply a subtle LUT (Look-Up Table) or manually adjust your shadows, midtones, and highlights in your editing app for a cohesive, polished visual style
- Use slow motion strategically — shoot at 60fps or 120fps for moments you want to slow down in editing; use sparingly for maximum emotional impact
- Shoot in a wider aspect ratio — cropping to 2.35:1 or 2.39:1 (cinematic widescreen) in post gives your film an unmistakably theatrical look
Monetizing Your Smartphone Filmmaking
Once you’ve developed your skills, your smartphone filmmaking can become a genuine income stream.
- YouTube channel — build an audience around your short films, tutorials, or behind-the-scenes content
- Freelance video work — businesses, nonprofits, and local brands constantly need affordable video content for social media and marketing
- Social media content creation — brands pay content creators to produce short-form video for Instagram, TikTok, and Facebook
- Stock footage — upload b-roll footage to platforms like Pond5 or Shutterstock and earn passive royalties
- Film festival submissions — yes, smartphone films are accepted at and have won prestigious festivals worldwide
Recommended Beginner Smartphone Filmmaking Kit
Here’s a practical gear guide organized by budget to help you build your mobile filmmaking gear setup:
Budget Setup (Under $100)
- Flexible smartphone tripod
- Budget lavalier microphone
- Clip-on wide-angle lens
👉 [AFFILIATE PLACEHOLDER: Budget Filmmaking Kit Bundle]
Mid-Range Setup ($100–$300)
- Sturdy fluid head tripod
- Compact shotgun microphone
- Portable LED light panel
- FiLMiC Pro app
👉 [AFFILIATE PLACEHOLDER: Mid-Range Filmmaking Accessories]
Best Value Picks
- Smartphone gimbal (DJI OM series)
- Moment lens kit
- Adobe Premiere Rush subscription
👉 [AFFILIATE PLACEHOLDER: Best Value Smartphone Filmmaking Gear]
Final Thoughts: Your Film Starts Today
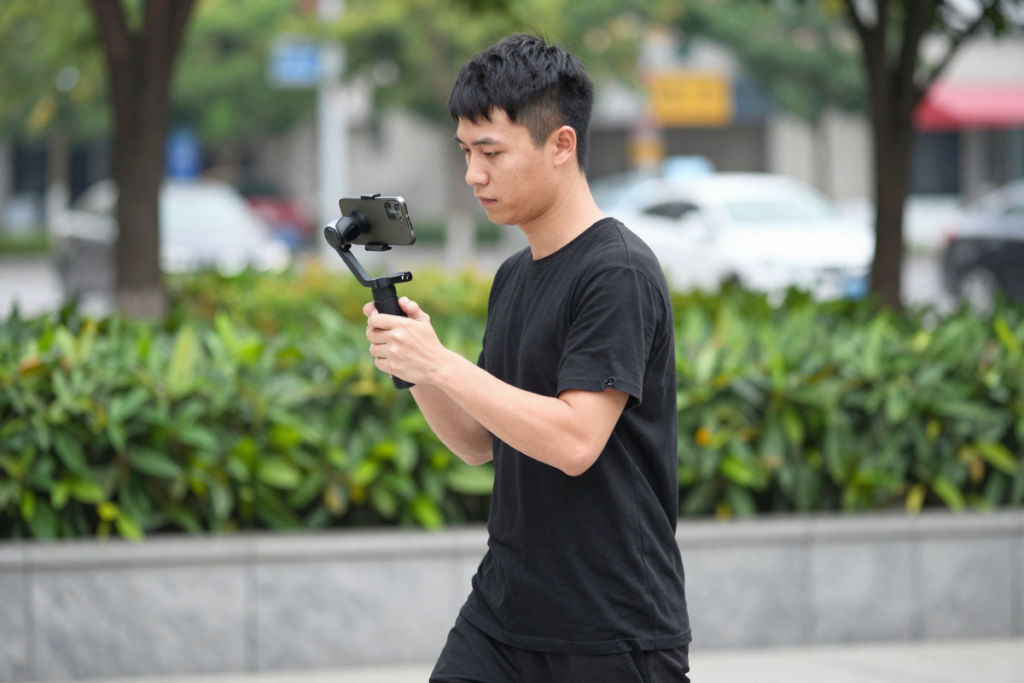
Here’s the truth about how to start filmmaking with just a smartphone: the hardest part isn’t the gear, the apps, or the techniques. It’s pressing record for the first time.
Every filmmaker you admire — from indie legends to viral YouTube creators — started exactly where you are right now. They had questions, imperfect equipment, and a story they wanted to tell. The difference between them and everyone else is that they started anyway.
You already have the most important piece of equipment in your pocket. The knowledge is now in your hands. All that’s left is to go make something.
📌 Your next steps:
- Drop a comment below — what kind of film do you want to make first?
- Share this guide with a fellow aspiring filmmaker
- Check out the recommended gear above to build your starter kit
Frequently Asked Questions About Smartphone Filmmaking
Can you make a film with just a smartphone?
Absolutely. Many indie films, documentaries, and short films have been shot entirely on smartphones and screened at major film festivals. With the right techniques and a few affordable accessories, smartphone filmmaking produces genuinely impressive results.
What apps are best for mobile filmmaking?
For shooting, FiLMiC Pro offers the most professional-level manual controls. For editing, DaVinci Resolve (mobile) provides powerful, free tools including professional color grading. CapCut and iMovie are excellent beginner-friendly options.
Do I need a microphone for smartphone filmmaking?
Yes — this is arguably the most important upgrade you can make. Built-in phone microphones capture poor-quality, ambient audio that immediately makes videos feel unprofessional. Even a budget lavalier microphone delivers a dramatic improvement in audio clarity.
What frame rate should I use for cinematic smartphone video?
Shoot at 24fps for the most cinematic look. This frame rate matches the motion characteristics of traditional film and is the industry standard for narrative cinema. Use 60fps or higher only when you intend to slow the footage down in editing.
How do I stabilize smartphone video without a gimbal?
Tuck your elbows into your body to minimize arm movement, use your phone’s built-in stabilization, or shoot with a tripod. You can also walk with bent knees in a smooth, gliding motion to reduce bounce when filming handheld on the move.
Leave a Reply